Salvaging a Broken Lenovo Yoga 900
- 3 minsDue to various random circumstances I was given a Lenovo Yoga 900 with a shattered screen for free, the laptop is worth around $1200 new, but this guy had a broken screen and no charger. After getting a replacement charger and booting the computer I learned that it had an i7 processor and 16 gigs of ram and a high resolution display ![]() . I decided to find a replacement screen on ebay for $300 and try to fix the laptop myself. Given that this was when the laptop just launcheed I had no reference or teardowns and no one seemed to have taken apart the display assembly but here’s my attempt to replace the screen.
. I decided to find a replacement screen on ebay for $300 and try to fix the laptop myself. Given that this was when the laptop just launcheed I had no reference or teardowns and no one seemed to have taken apart the display assembly but here’s my attempt to replace the screen.
Removing the Old Panel
I found out that the screen I purchased was JUST the led assembly. So I tried to use a heat gun to melt the adhesive spereating the LED from the display housing itself and here’s what I ended up with:
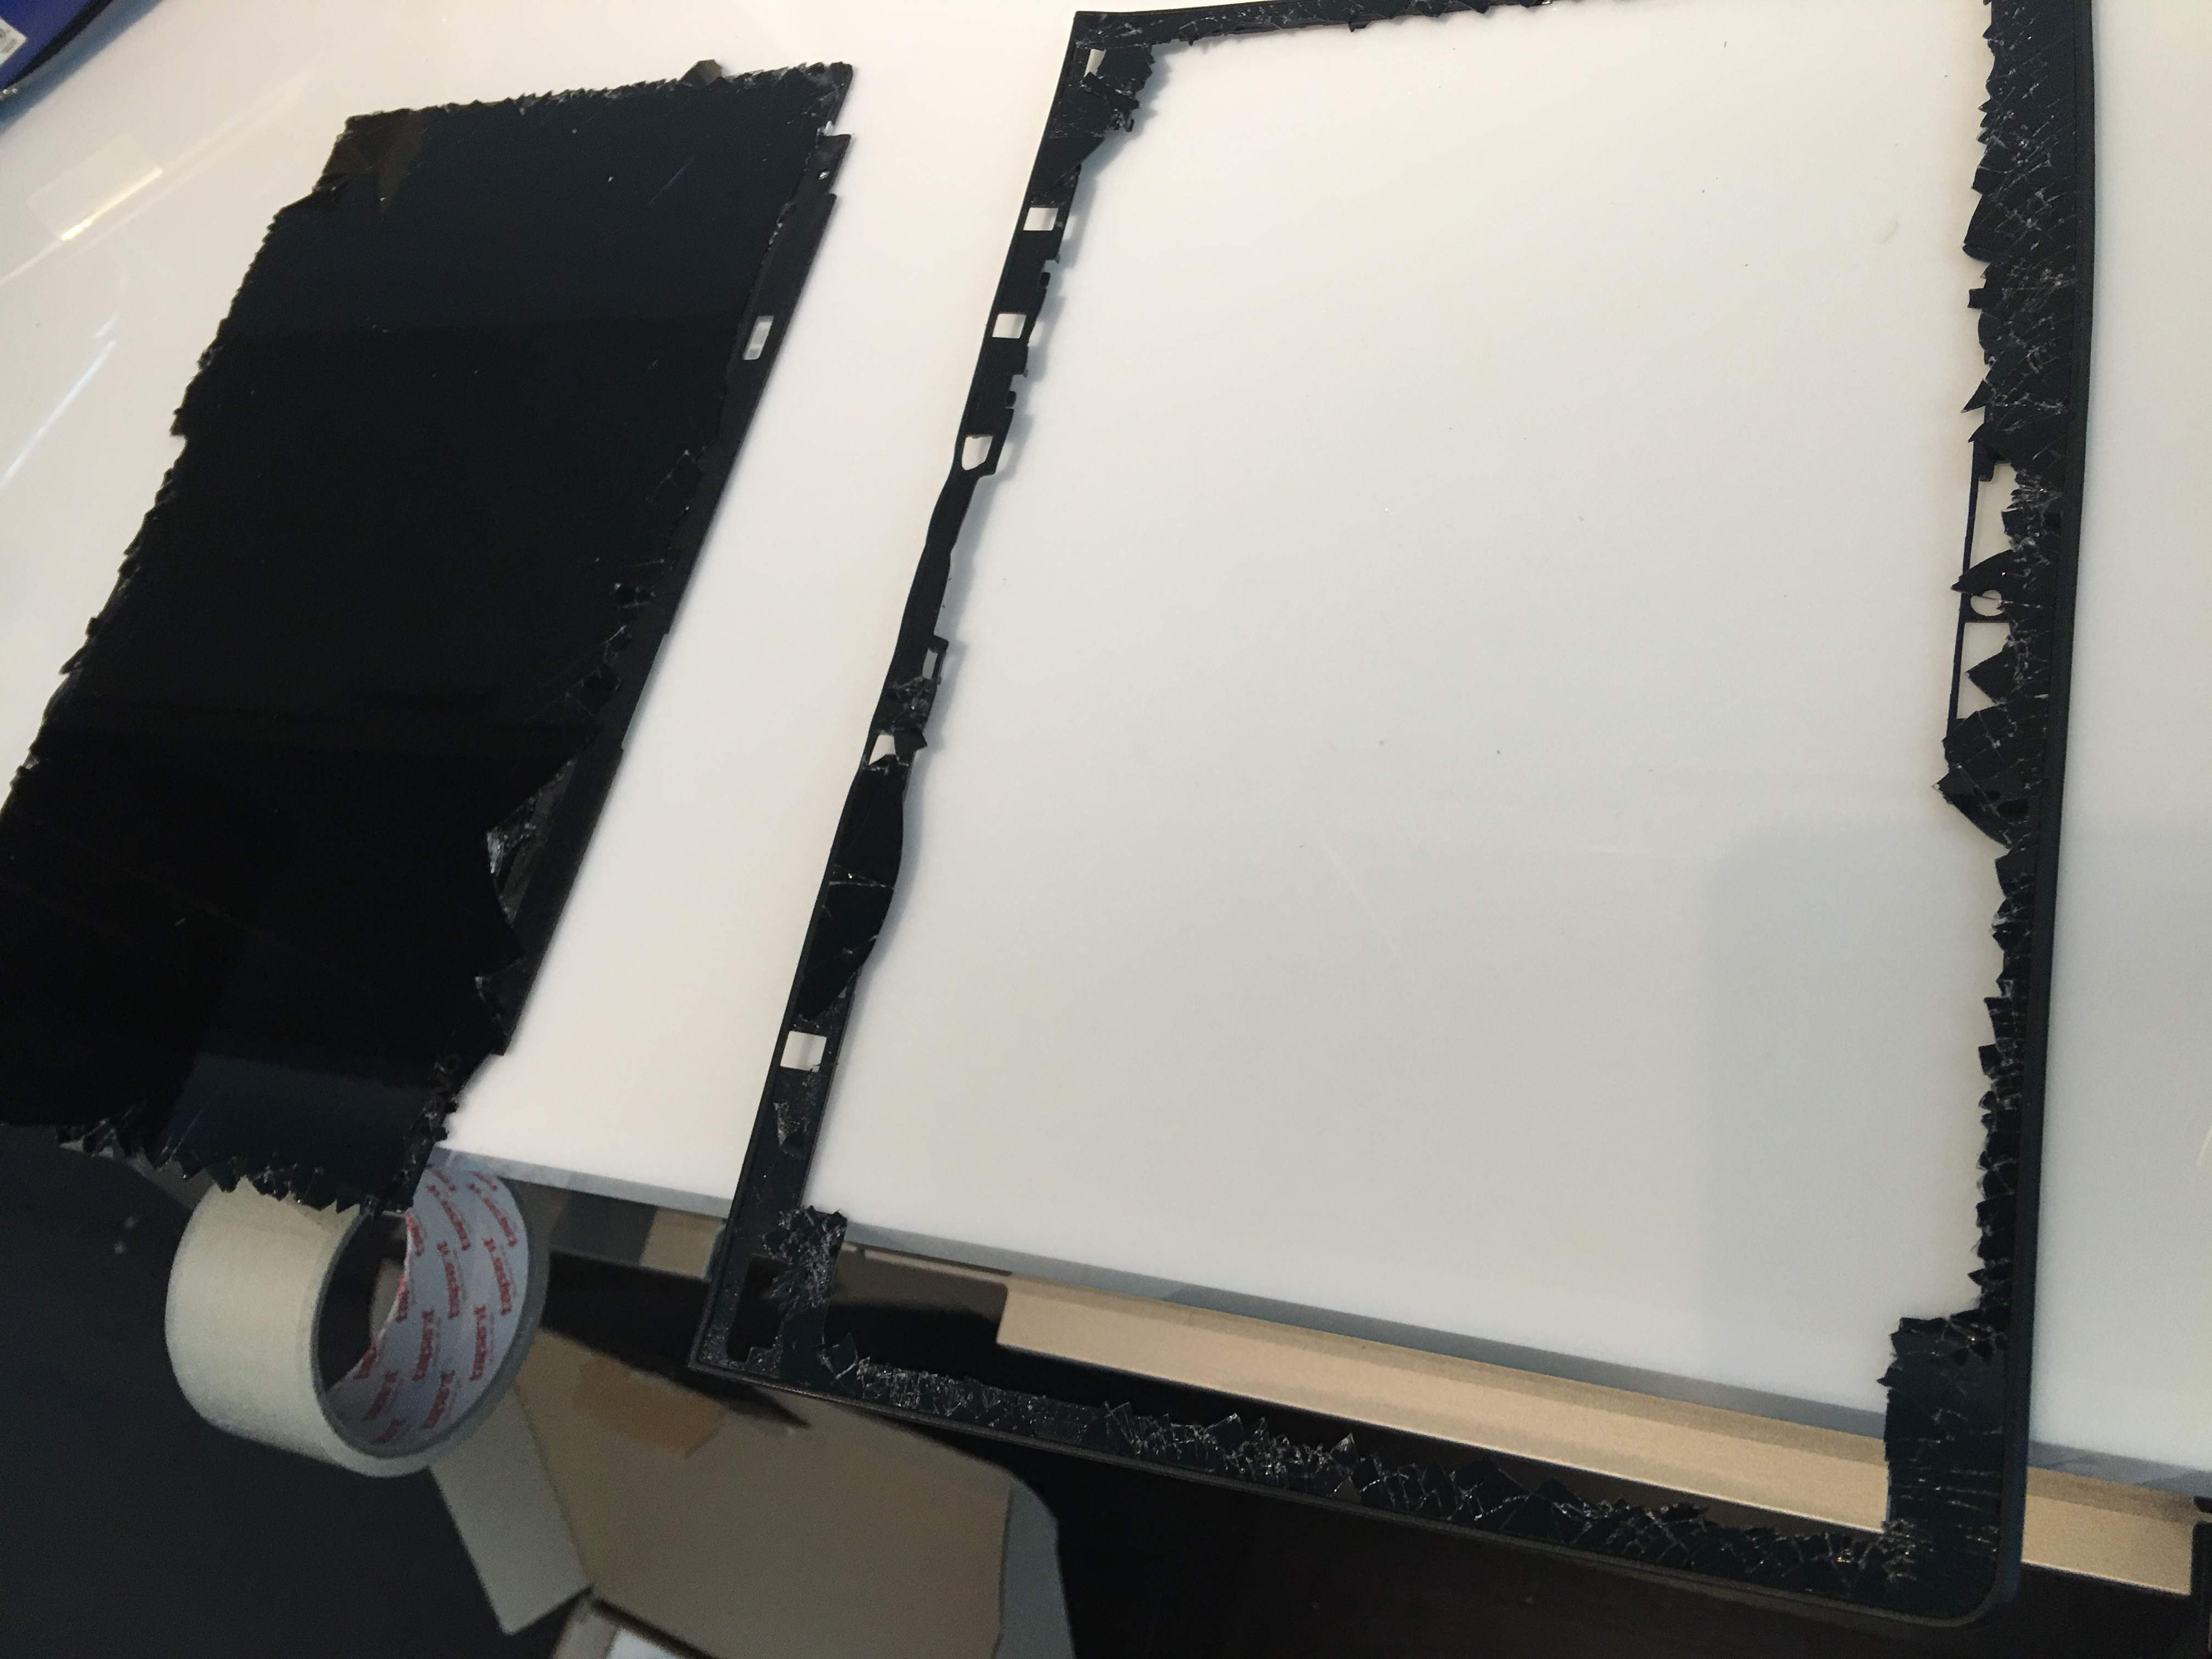
Display Housing Removed from the Panel
Now what?
Yes the entire display assembly is shattered and there’s no way of reattaching the new panel to the housing.. but all the housing does is hold a few sensors, the webcam, and some antennas in place while also adhering the display itself to a back plate that attaches to the laptop itself. I decided that thick double sided foam tape would be more than enough to replace the side display housing and attach the screen to the back plate.
In addition I just used the double sided tape to attach the sensors I removed directly to the replacement display panel. Here’s what it looks like:
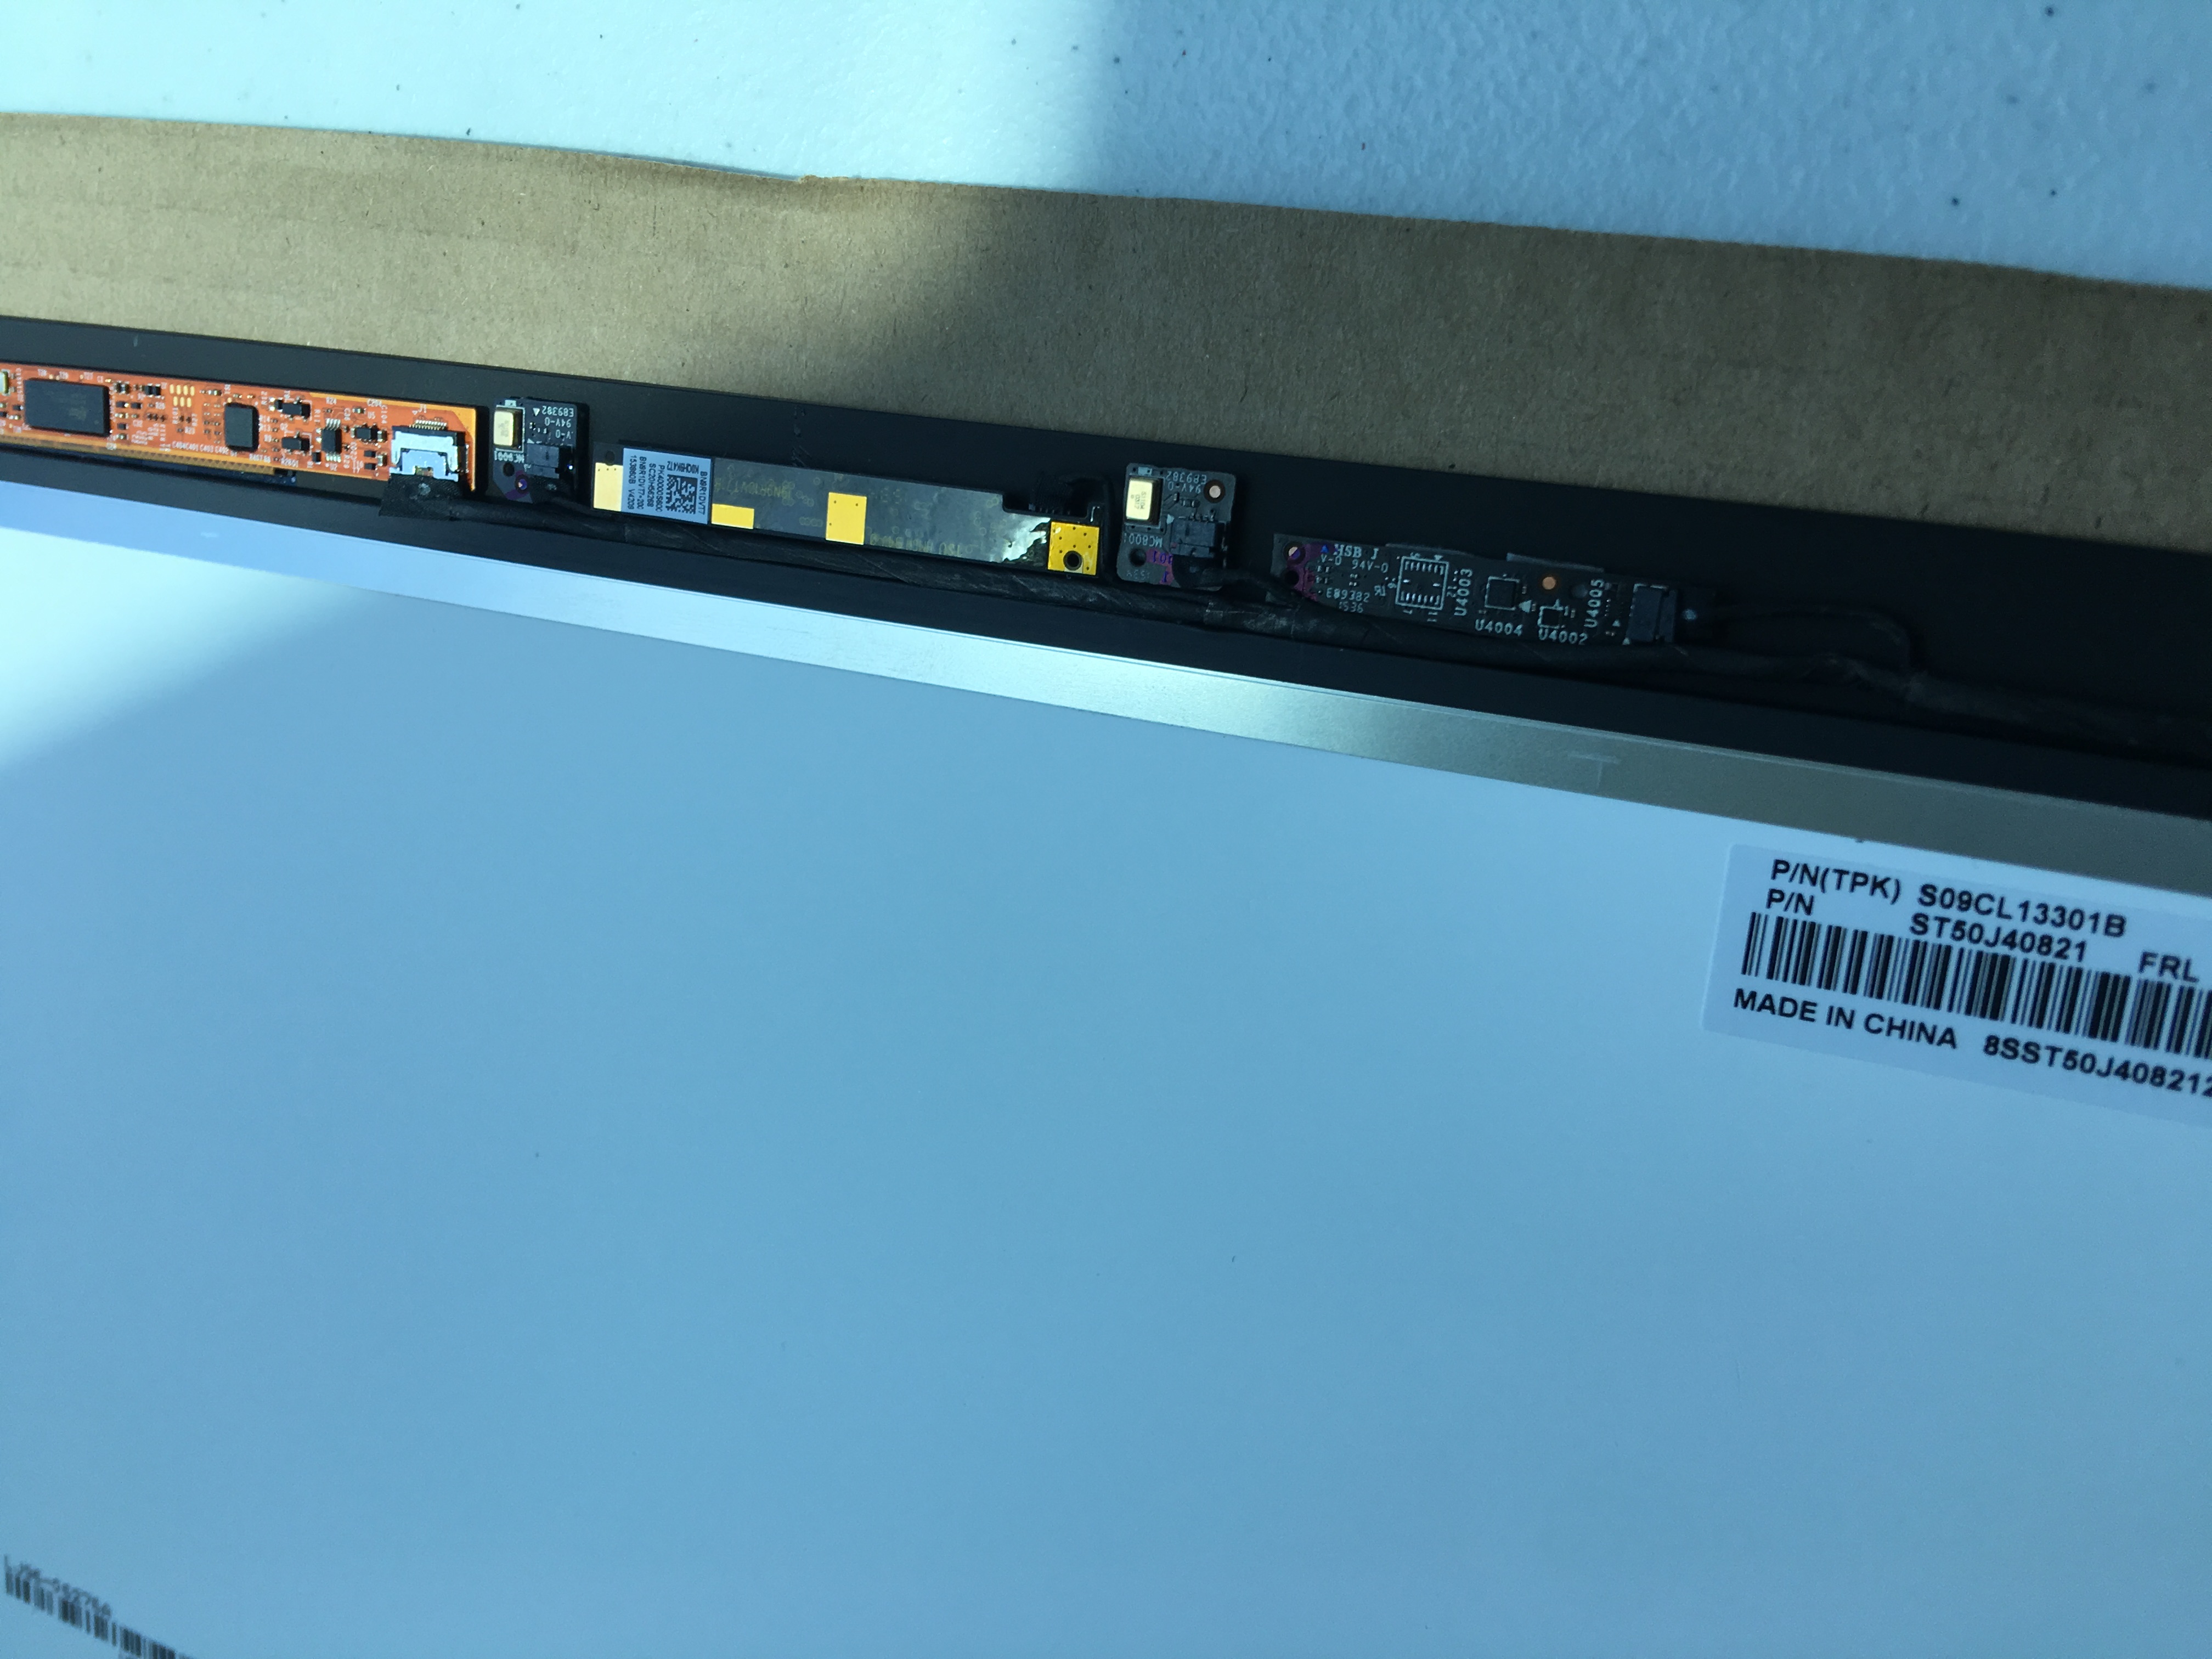
Adding the Webcam/Sensors/Antennas
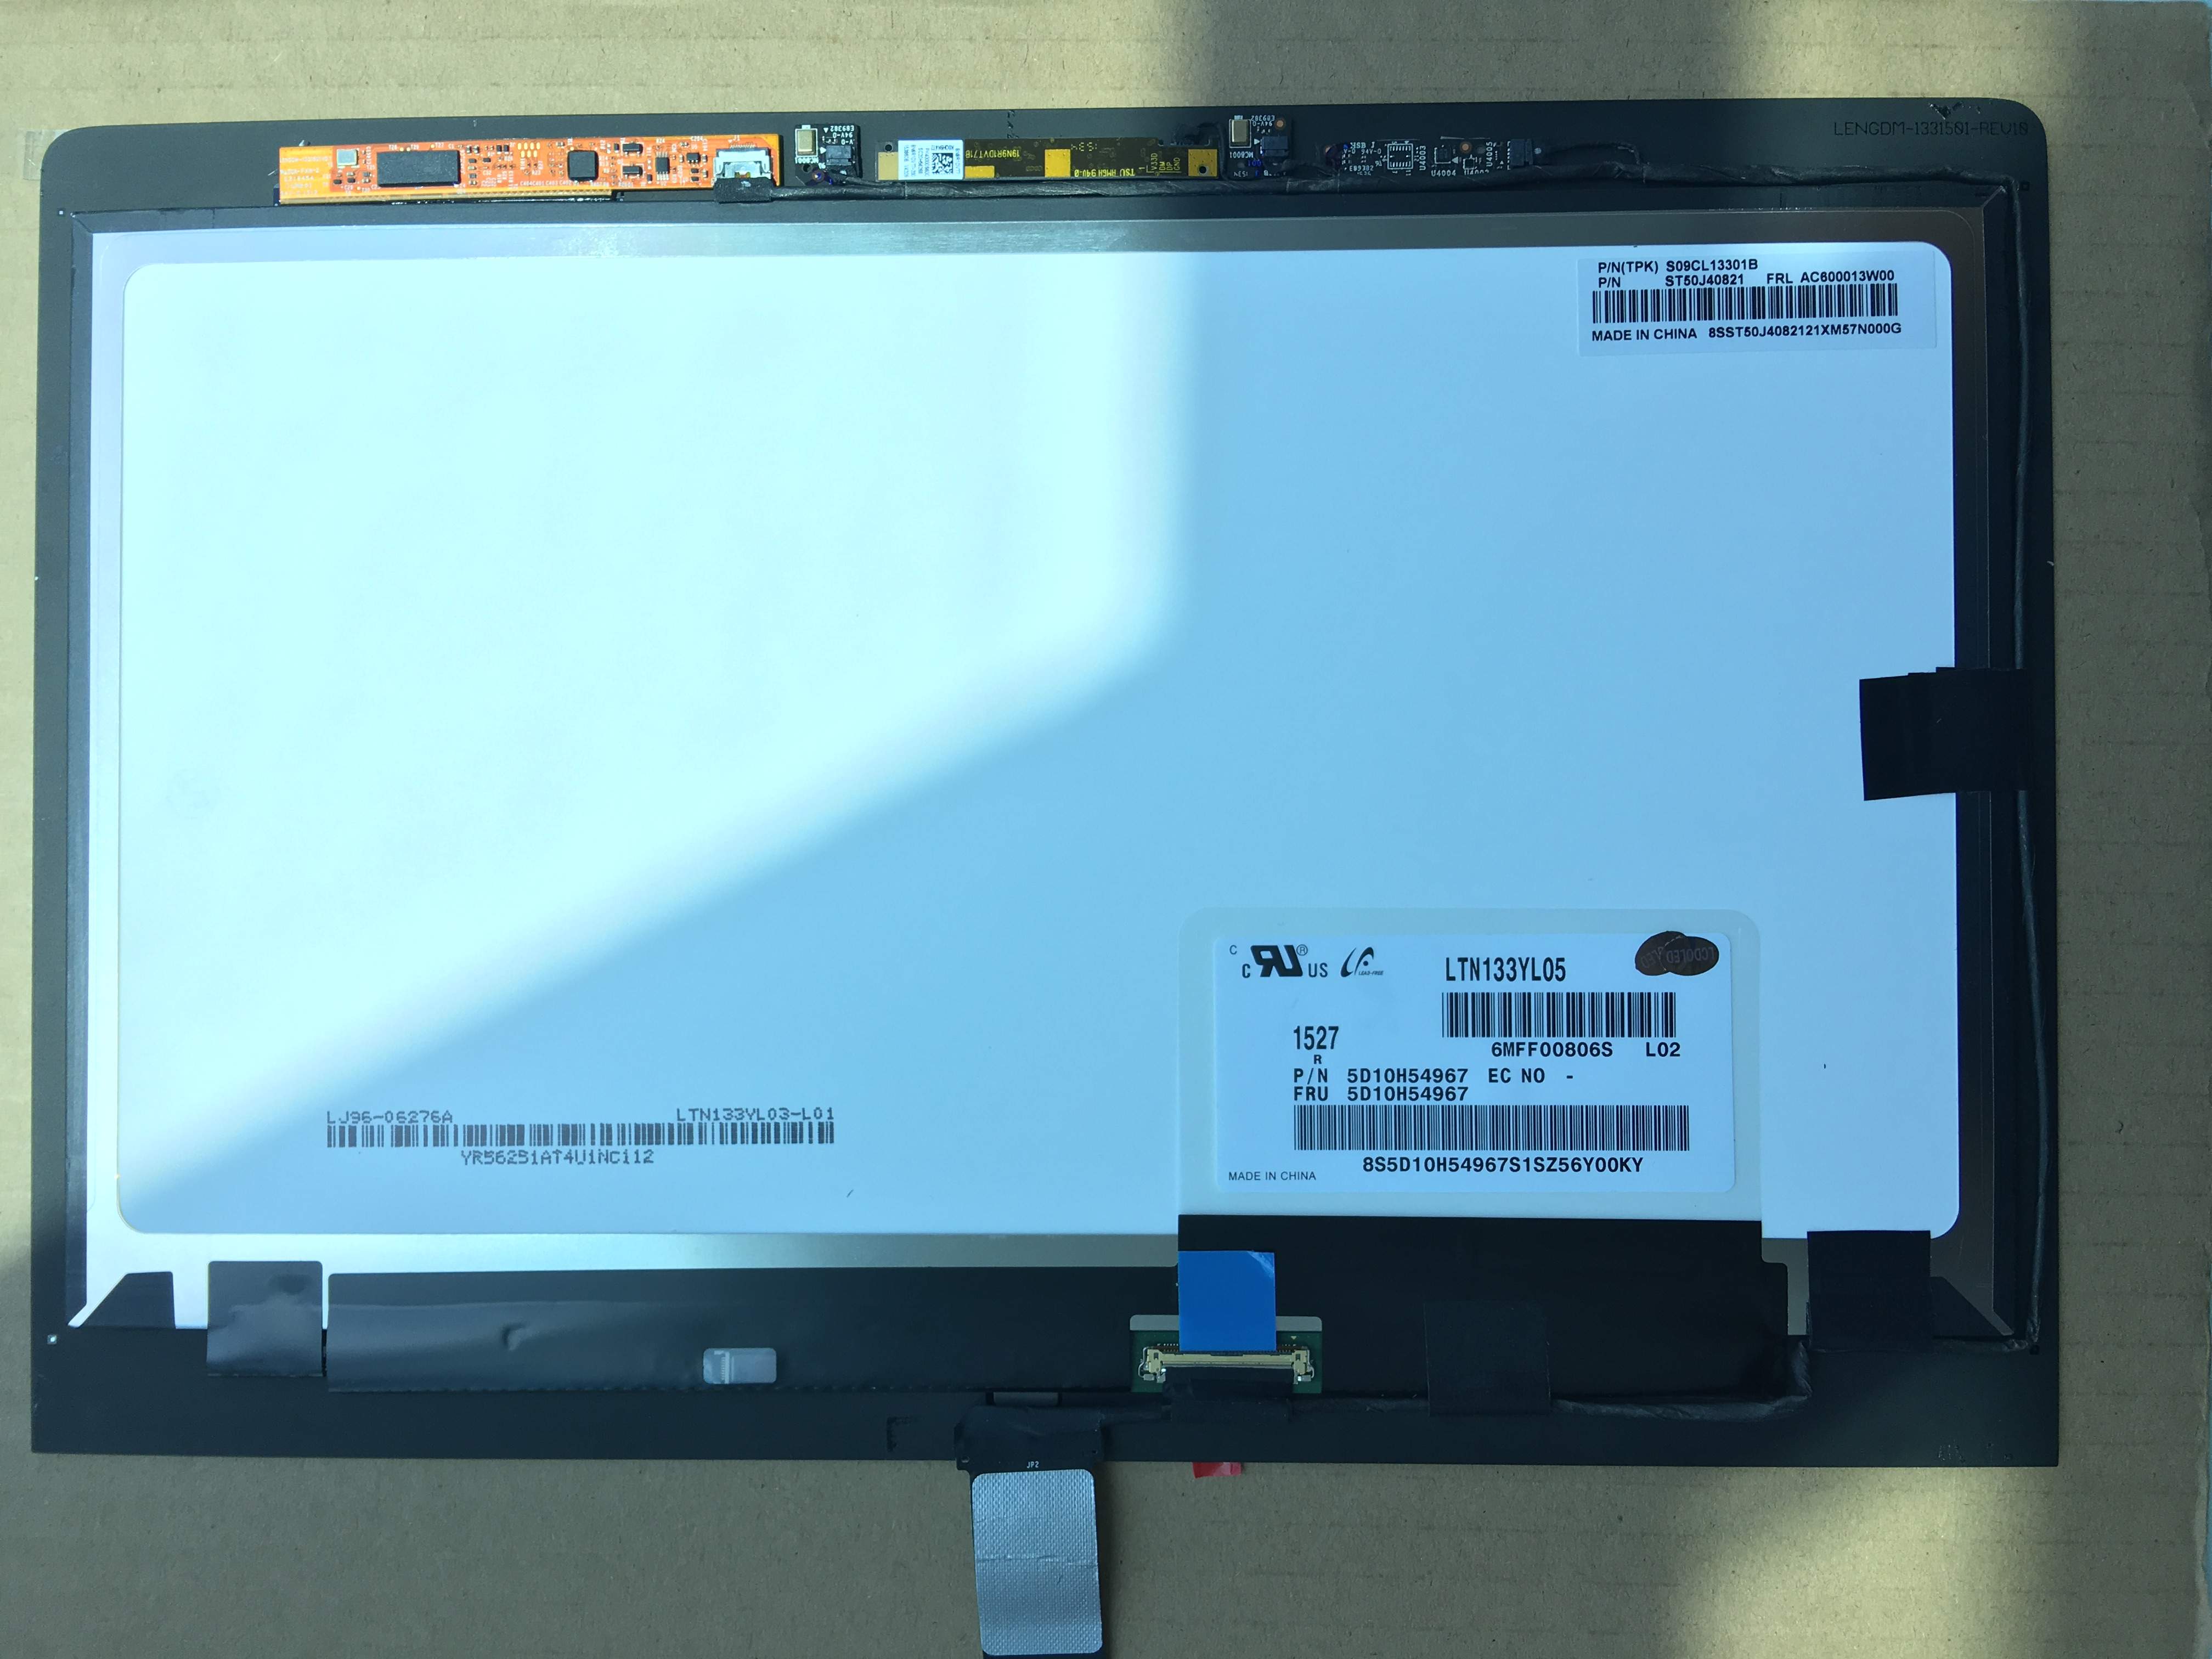
The Entire Display
Not too bad…
Filling the Space of the Display Assembly
In order to fill the missing space and attach the display to the back plate (which is attached to the laptop hinge) I used strong 3m double sided foam tape. I stacked the tape in order to make sure that the housing was evenly attached and sort of eyeballed the amount. Here’s the taped up display: (notice the gray tape alone the edges)
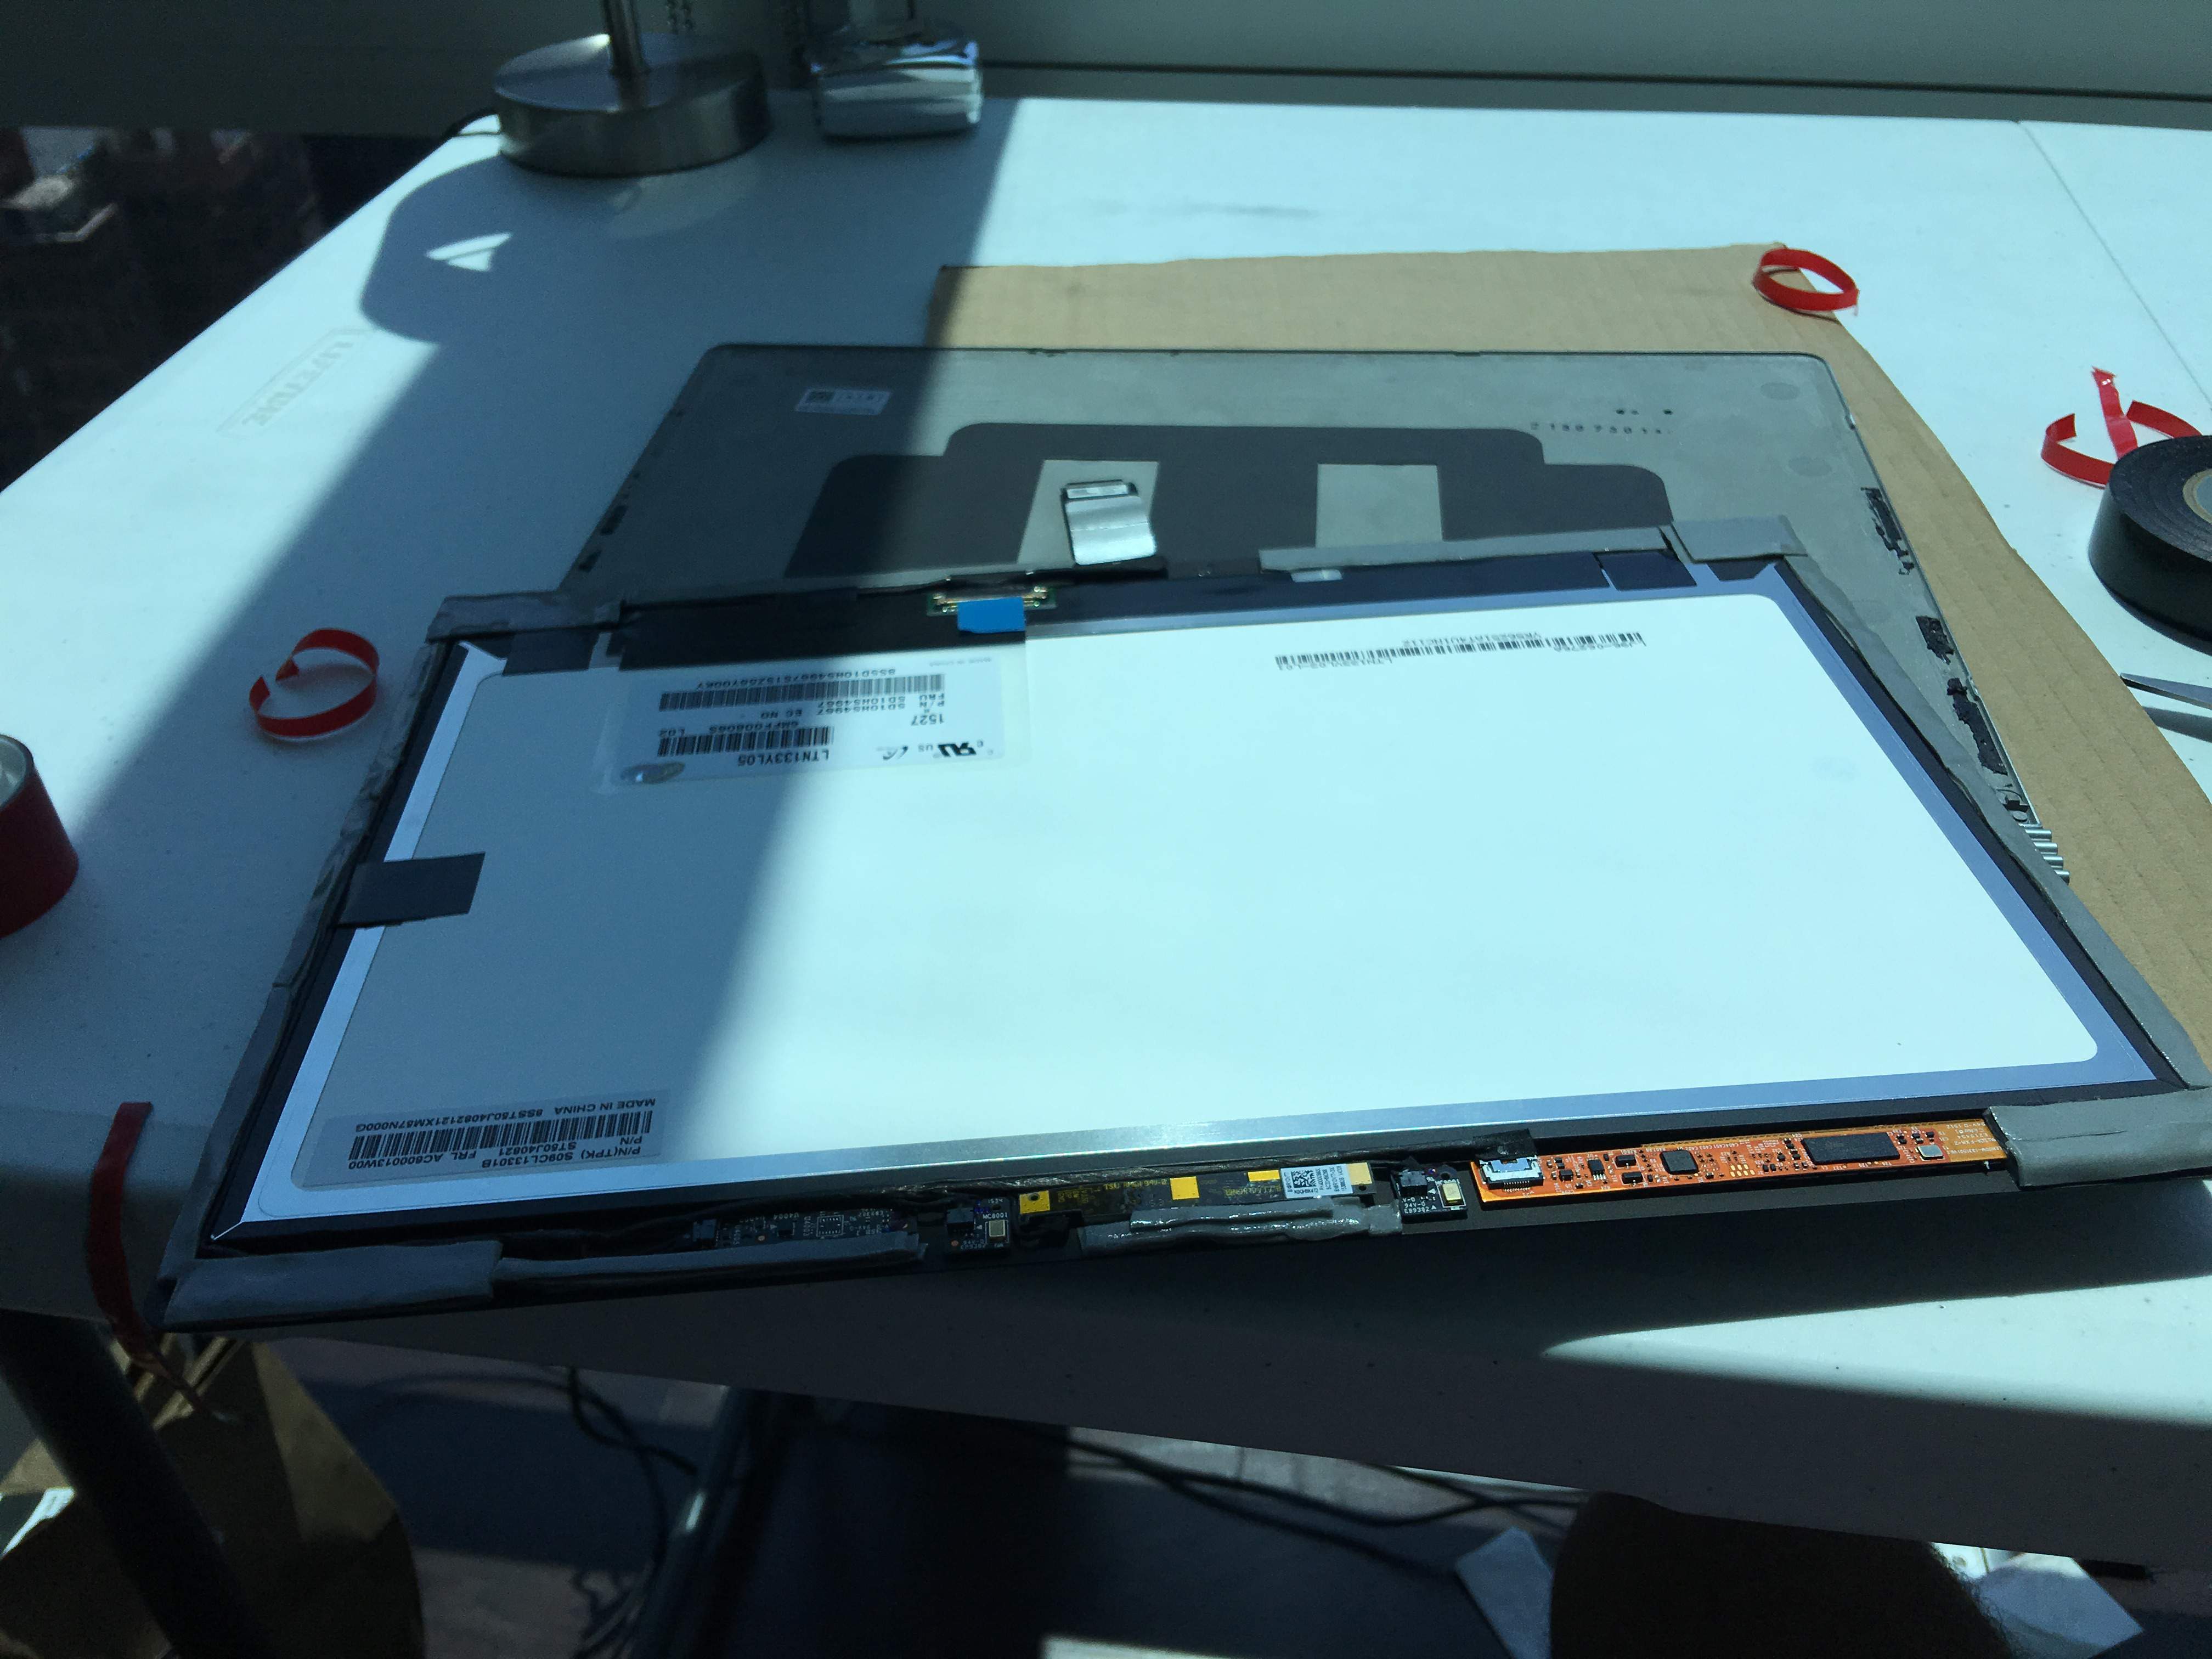
Gray 3m Tape Along the Display Edges, Back Plate Underneath
Attaching Everything
As I attached the display to the housing I quickly realized that I had made a huge mistake attempting to stack the 3m tape. Not realizing that the back panel is slightly curved accoutning for the display itself, I used absolutely double the amount of tape I needed to fill this gap. And as a result here’s what the side of the laptop looks like:
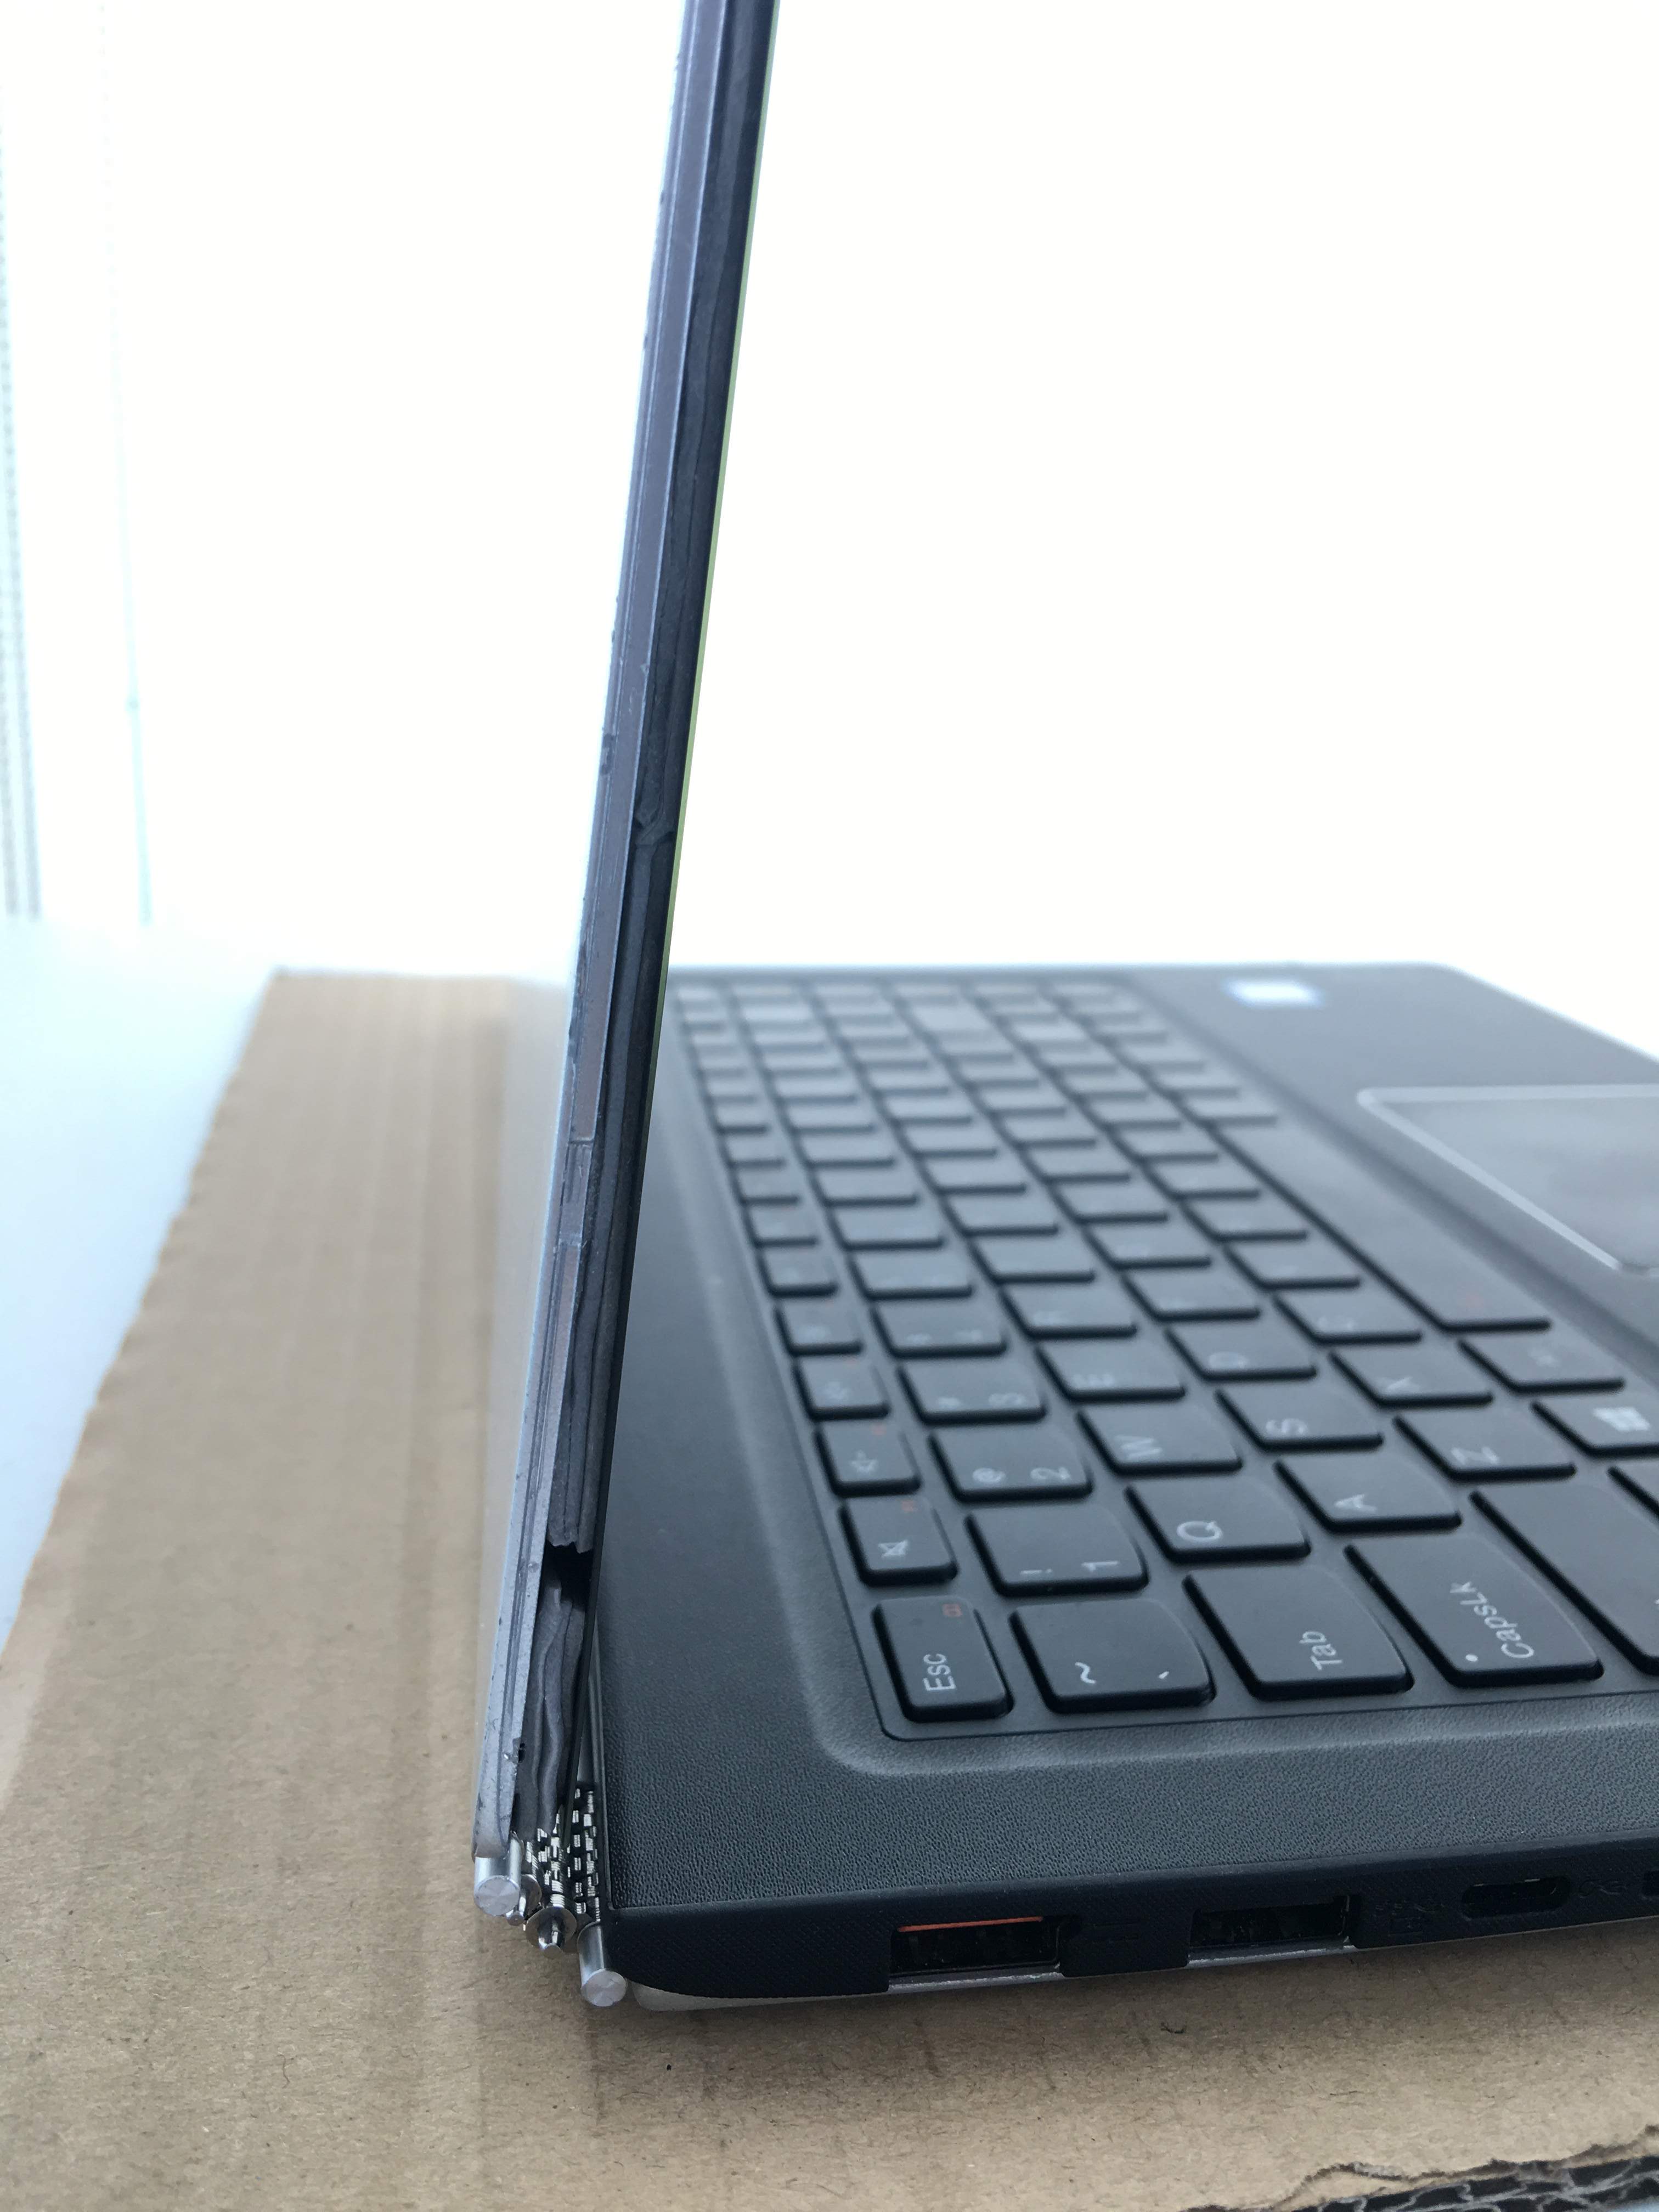
Foam Tape Bezels
It definitely still works...
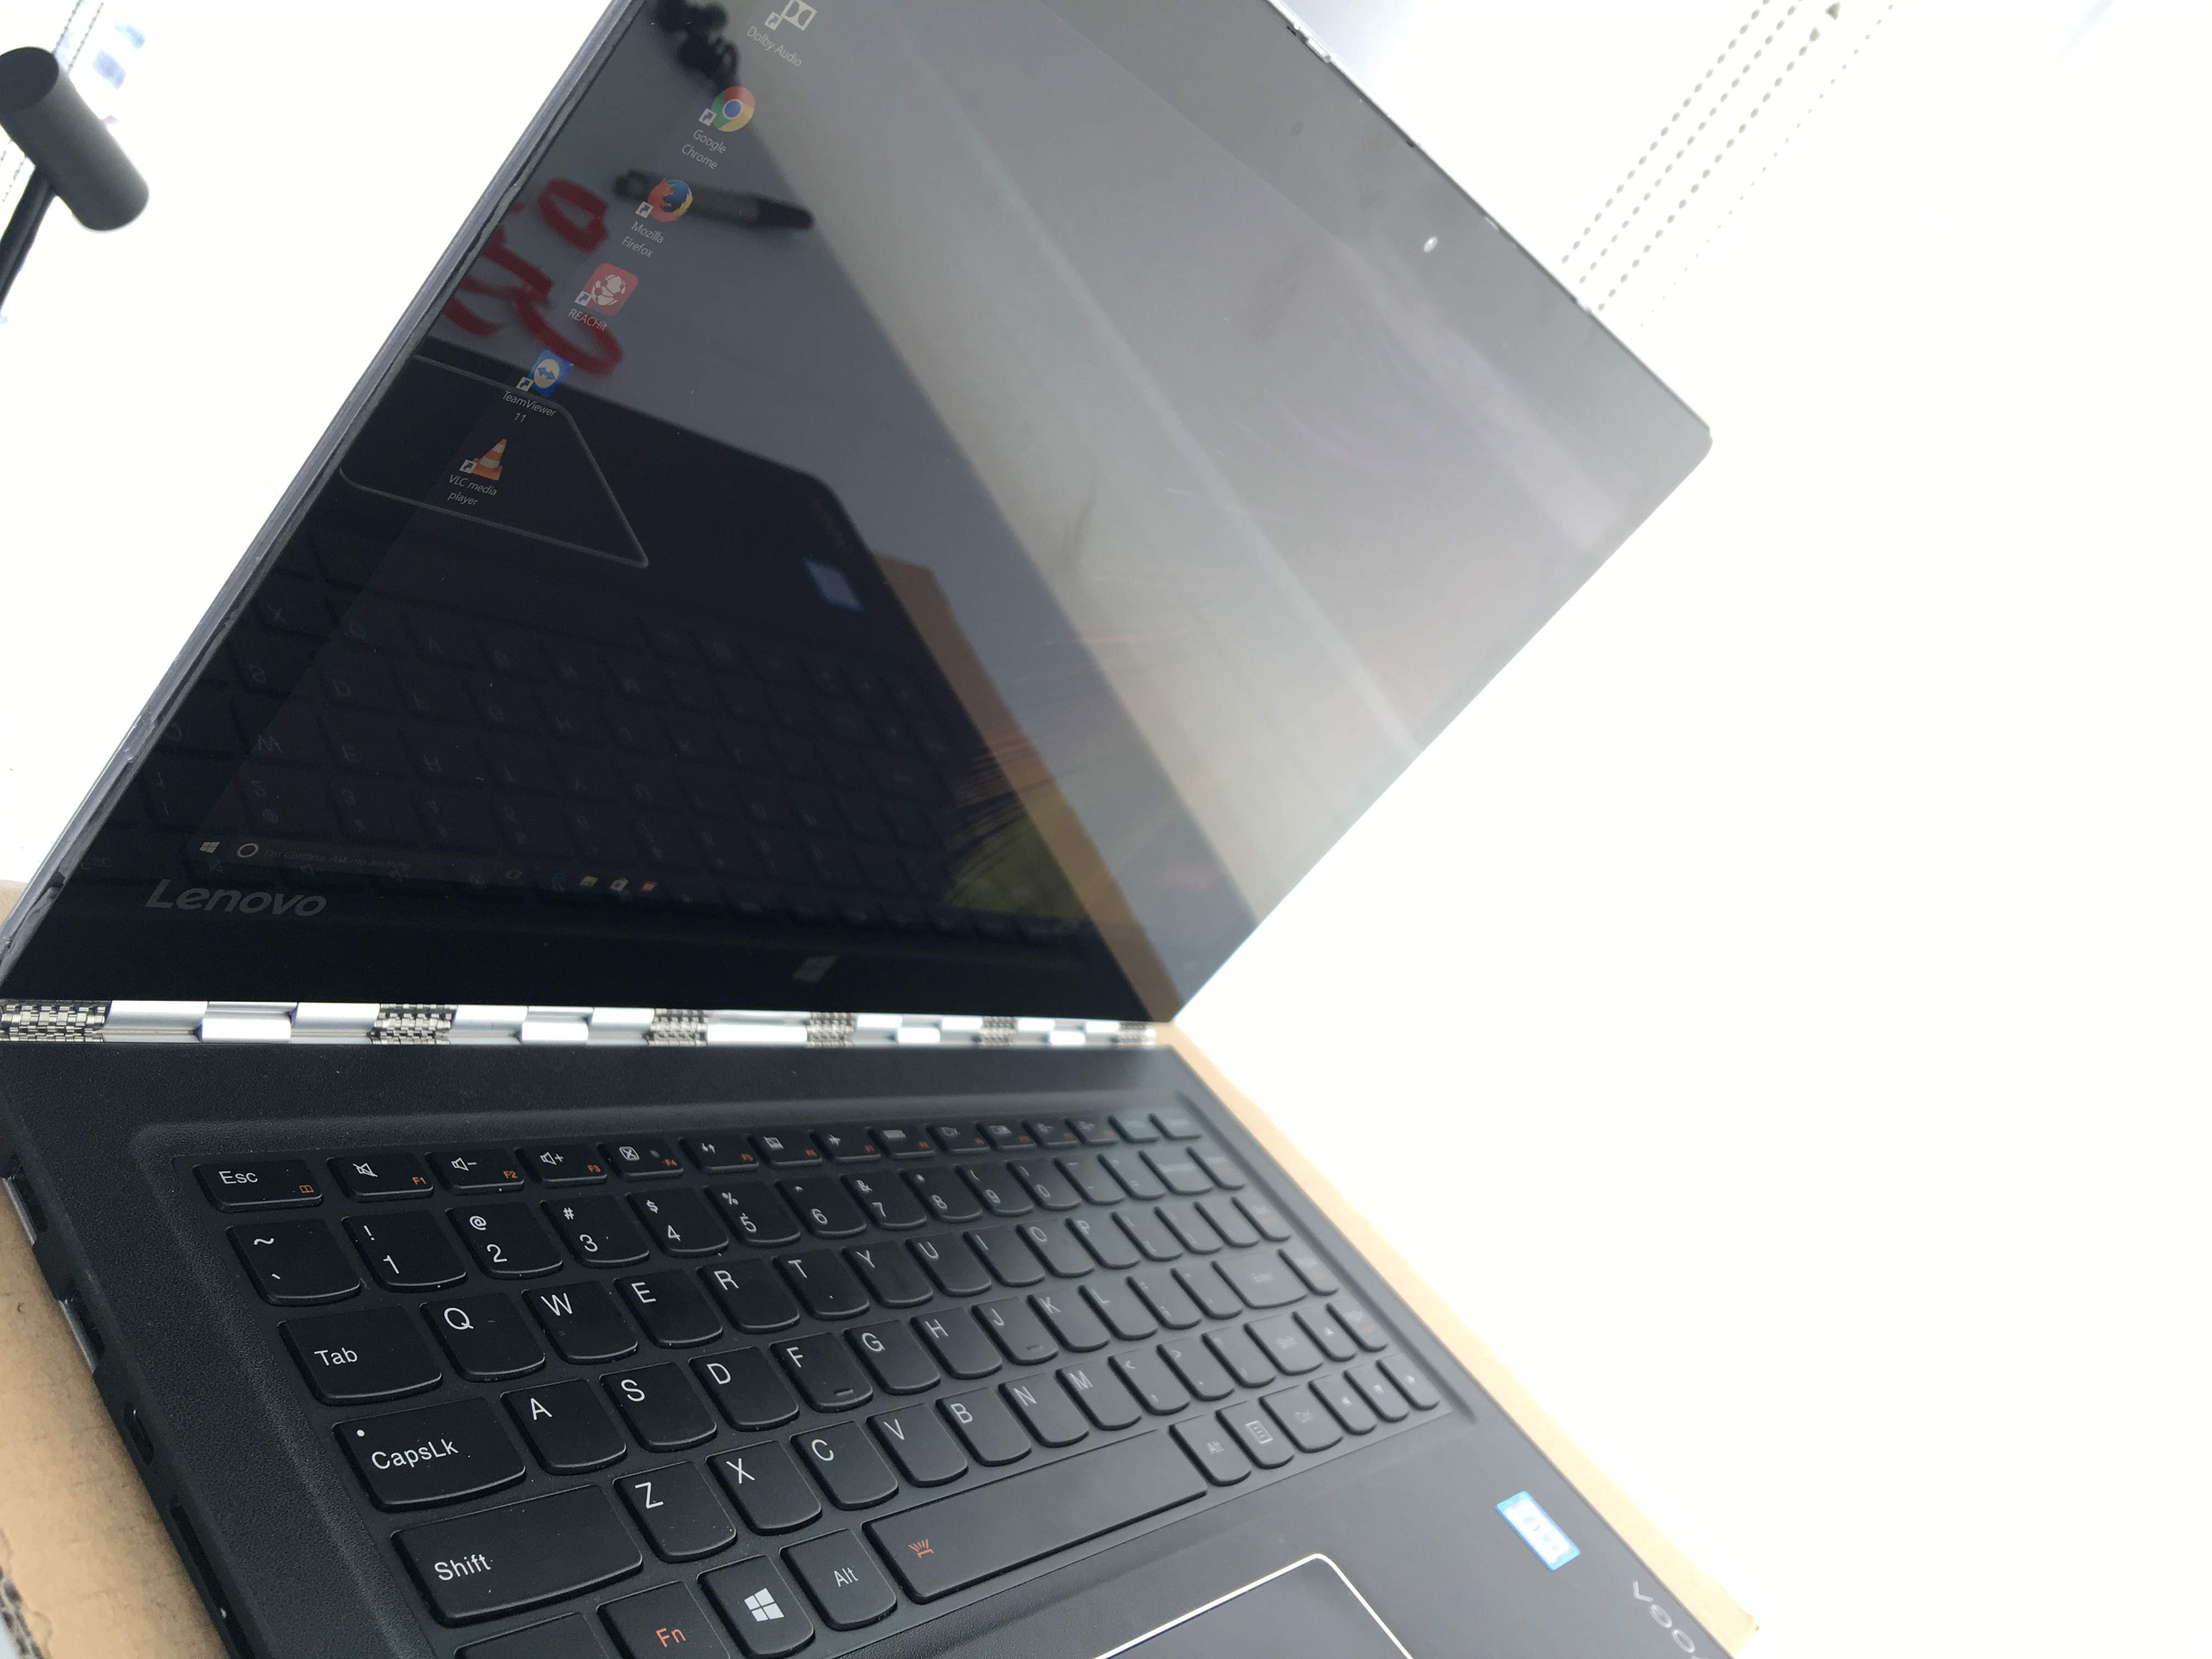
Windows 10 Testing
Aftermath
I decided to dual boot linux on this laptop and used it as a primary computer for a while. I love the form factor but defintiely didn’t need another computer. I decided to sell it and included the fact that the display bezel was missing from the price. The broken laptop would’ve sold for around $200-$300 according to sold listings on Ebay. After fixing the screen I was able to get $700 so no complaints there.