Modding an AIO Water Cooler for the Titan XP (Pascal)
- 6 minsI recently got my hands on a new Pascal Titan X, and while the performance of the card is phenomenal it has terrible idle and load temps. In this post I’ll describe my steps in modding a hybrid water cooling kit that’s fit for the GTX 1080 to work with the new Titan X. Scroll down to skip to the tutorial
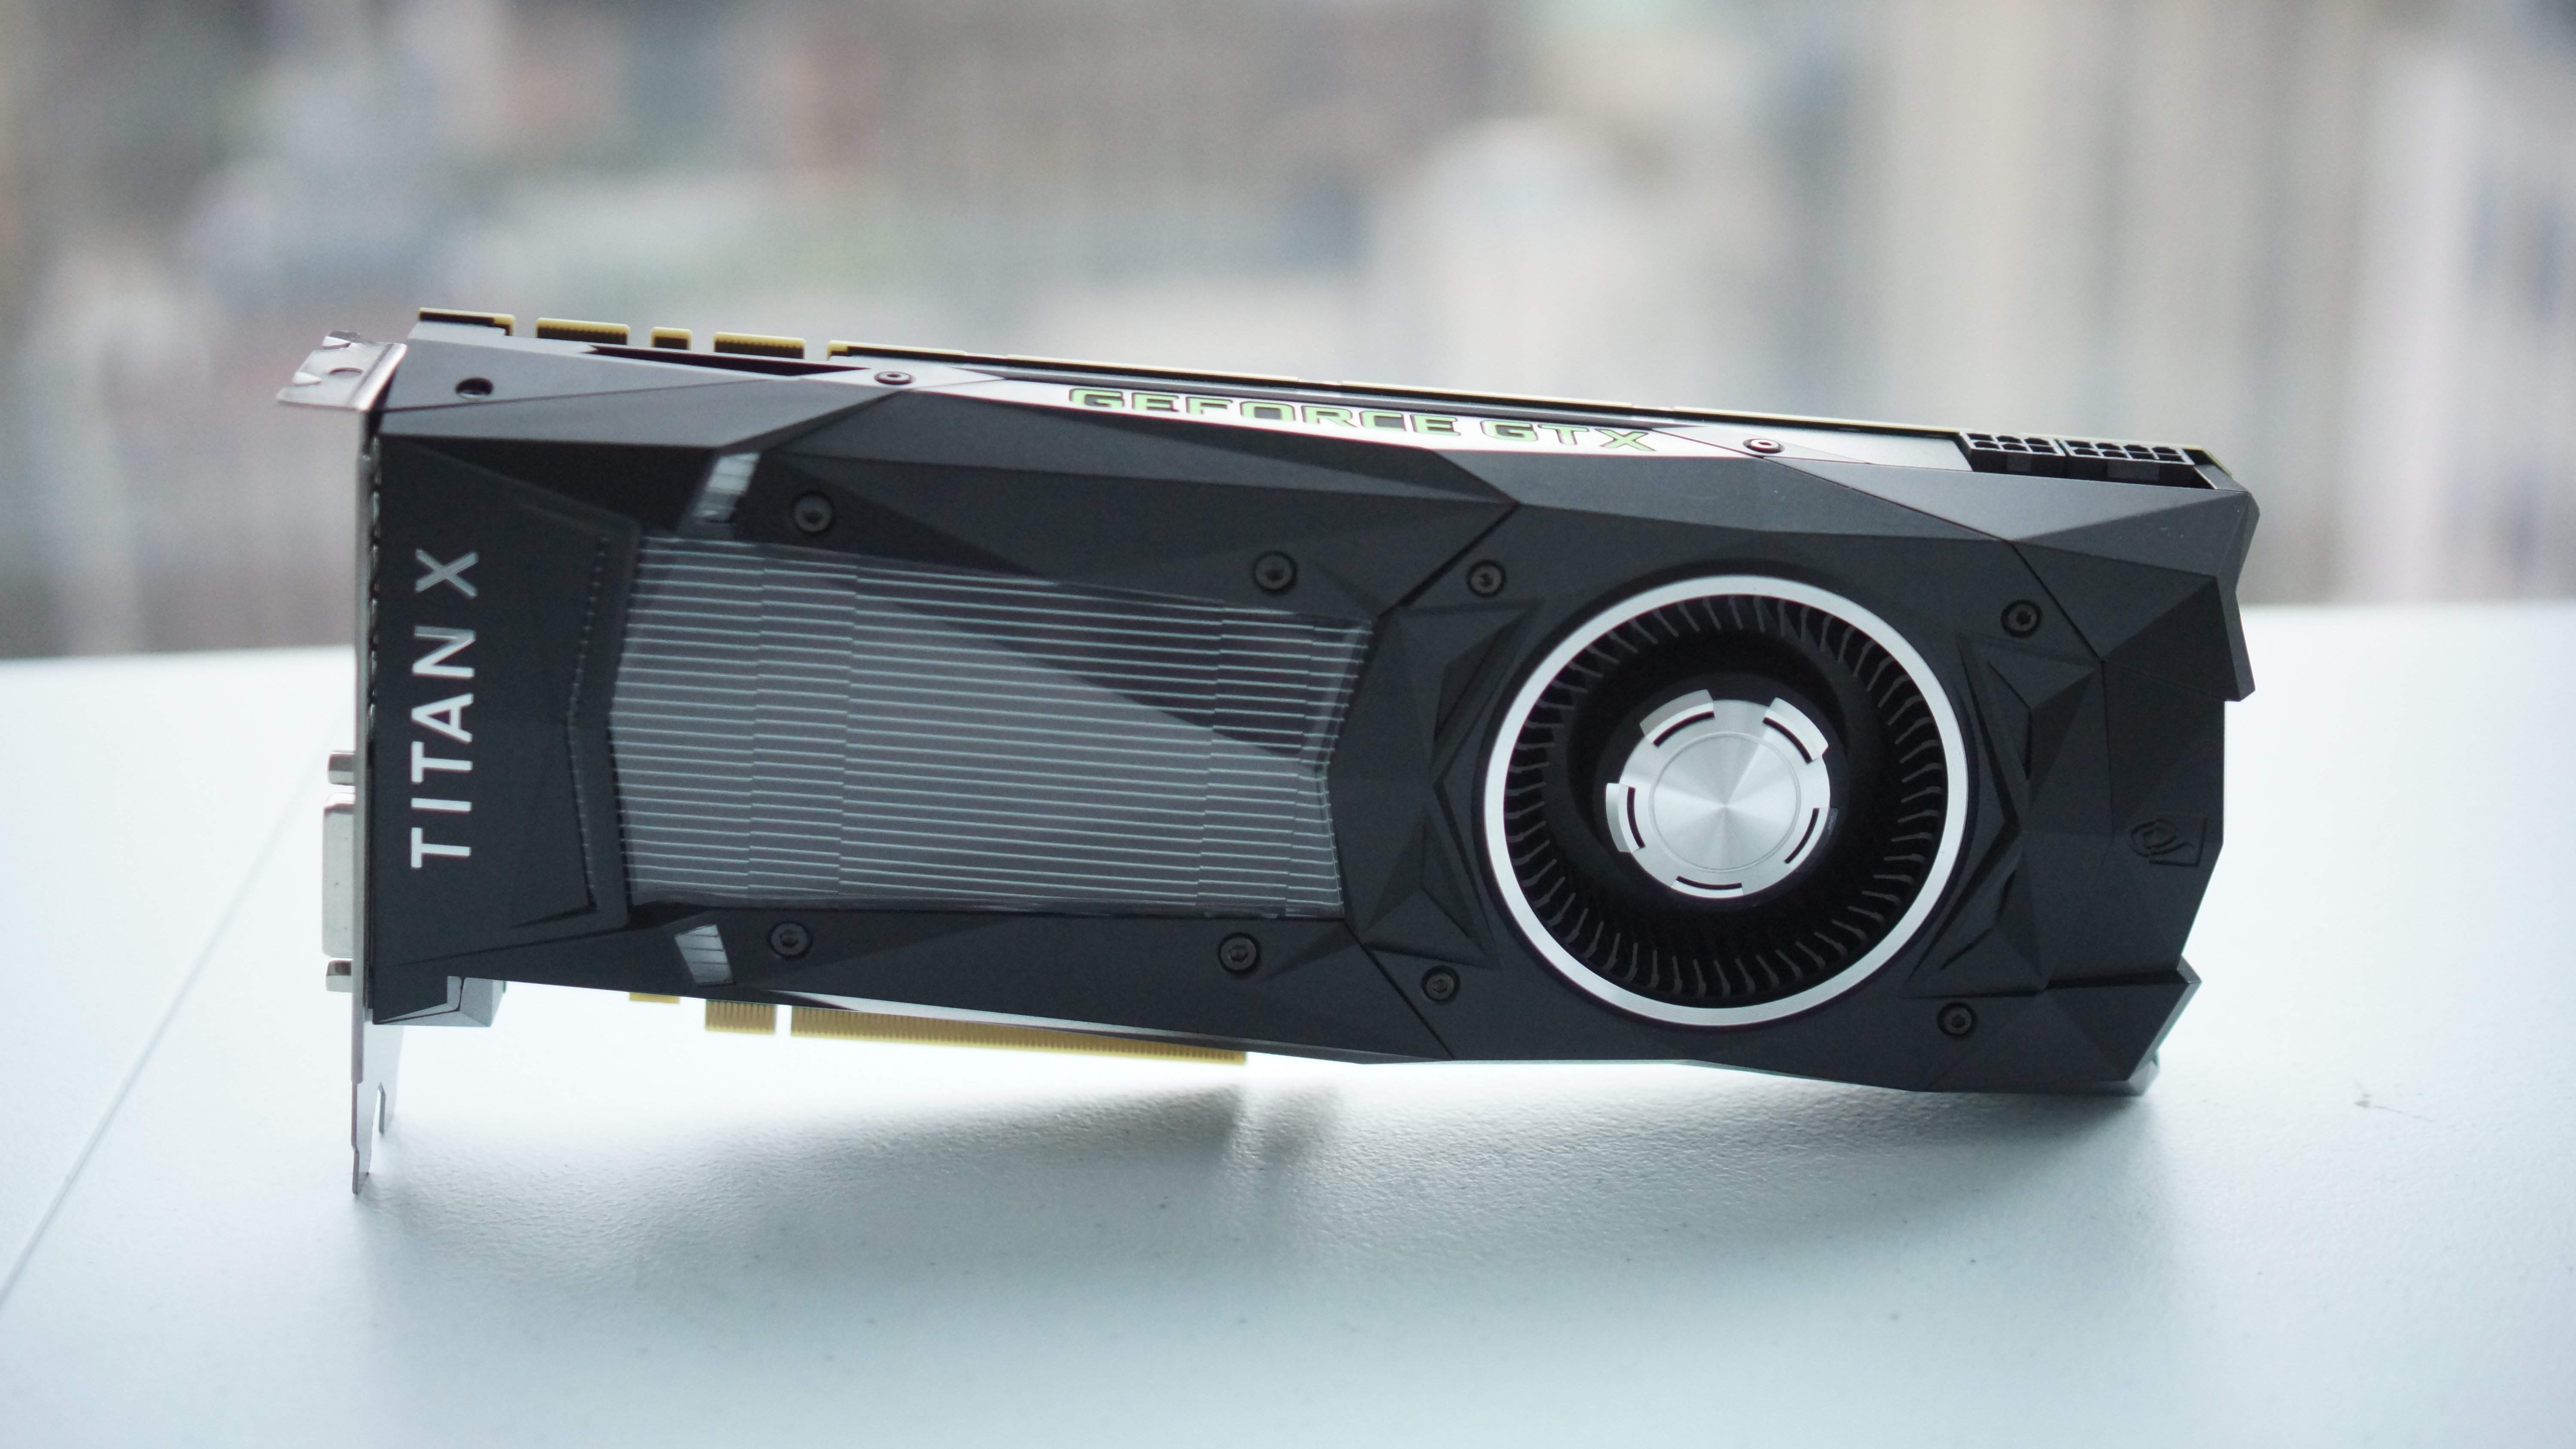
Titan XP
Why water cool?
Nvidia’s default blower-style coolers are relatively inefficient, and unfortunately AIB’s (Add-in Board Partners) are not allowed to release custom cooling solutions or modify the reference PCB Nvidia creates for the Titan series.
As a result the only solution to better performance and temperatures is water cooling. There is a large community of PC enthusiasts that build custom water cooling loops for their systems. Unfortunately custom loops are expensive and cumbersome. In addition they tend to make upgrading quite difficult. The next solution to water cooling a graphics card is a “hybrid-kit”. Basically an all in one water cooler that attaches to the GPU PCB and creates a water cooling loop.
EVGA (an AIB that releases custom hybrid kits) does not have a water cooling kit for the new Titan X. The only option is to modify a water cooling kit made for the Titan X’s younger sibling the GTX 1080.
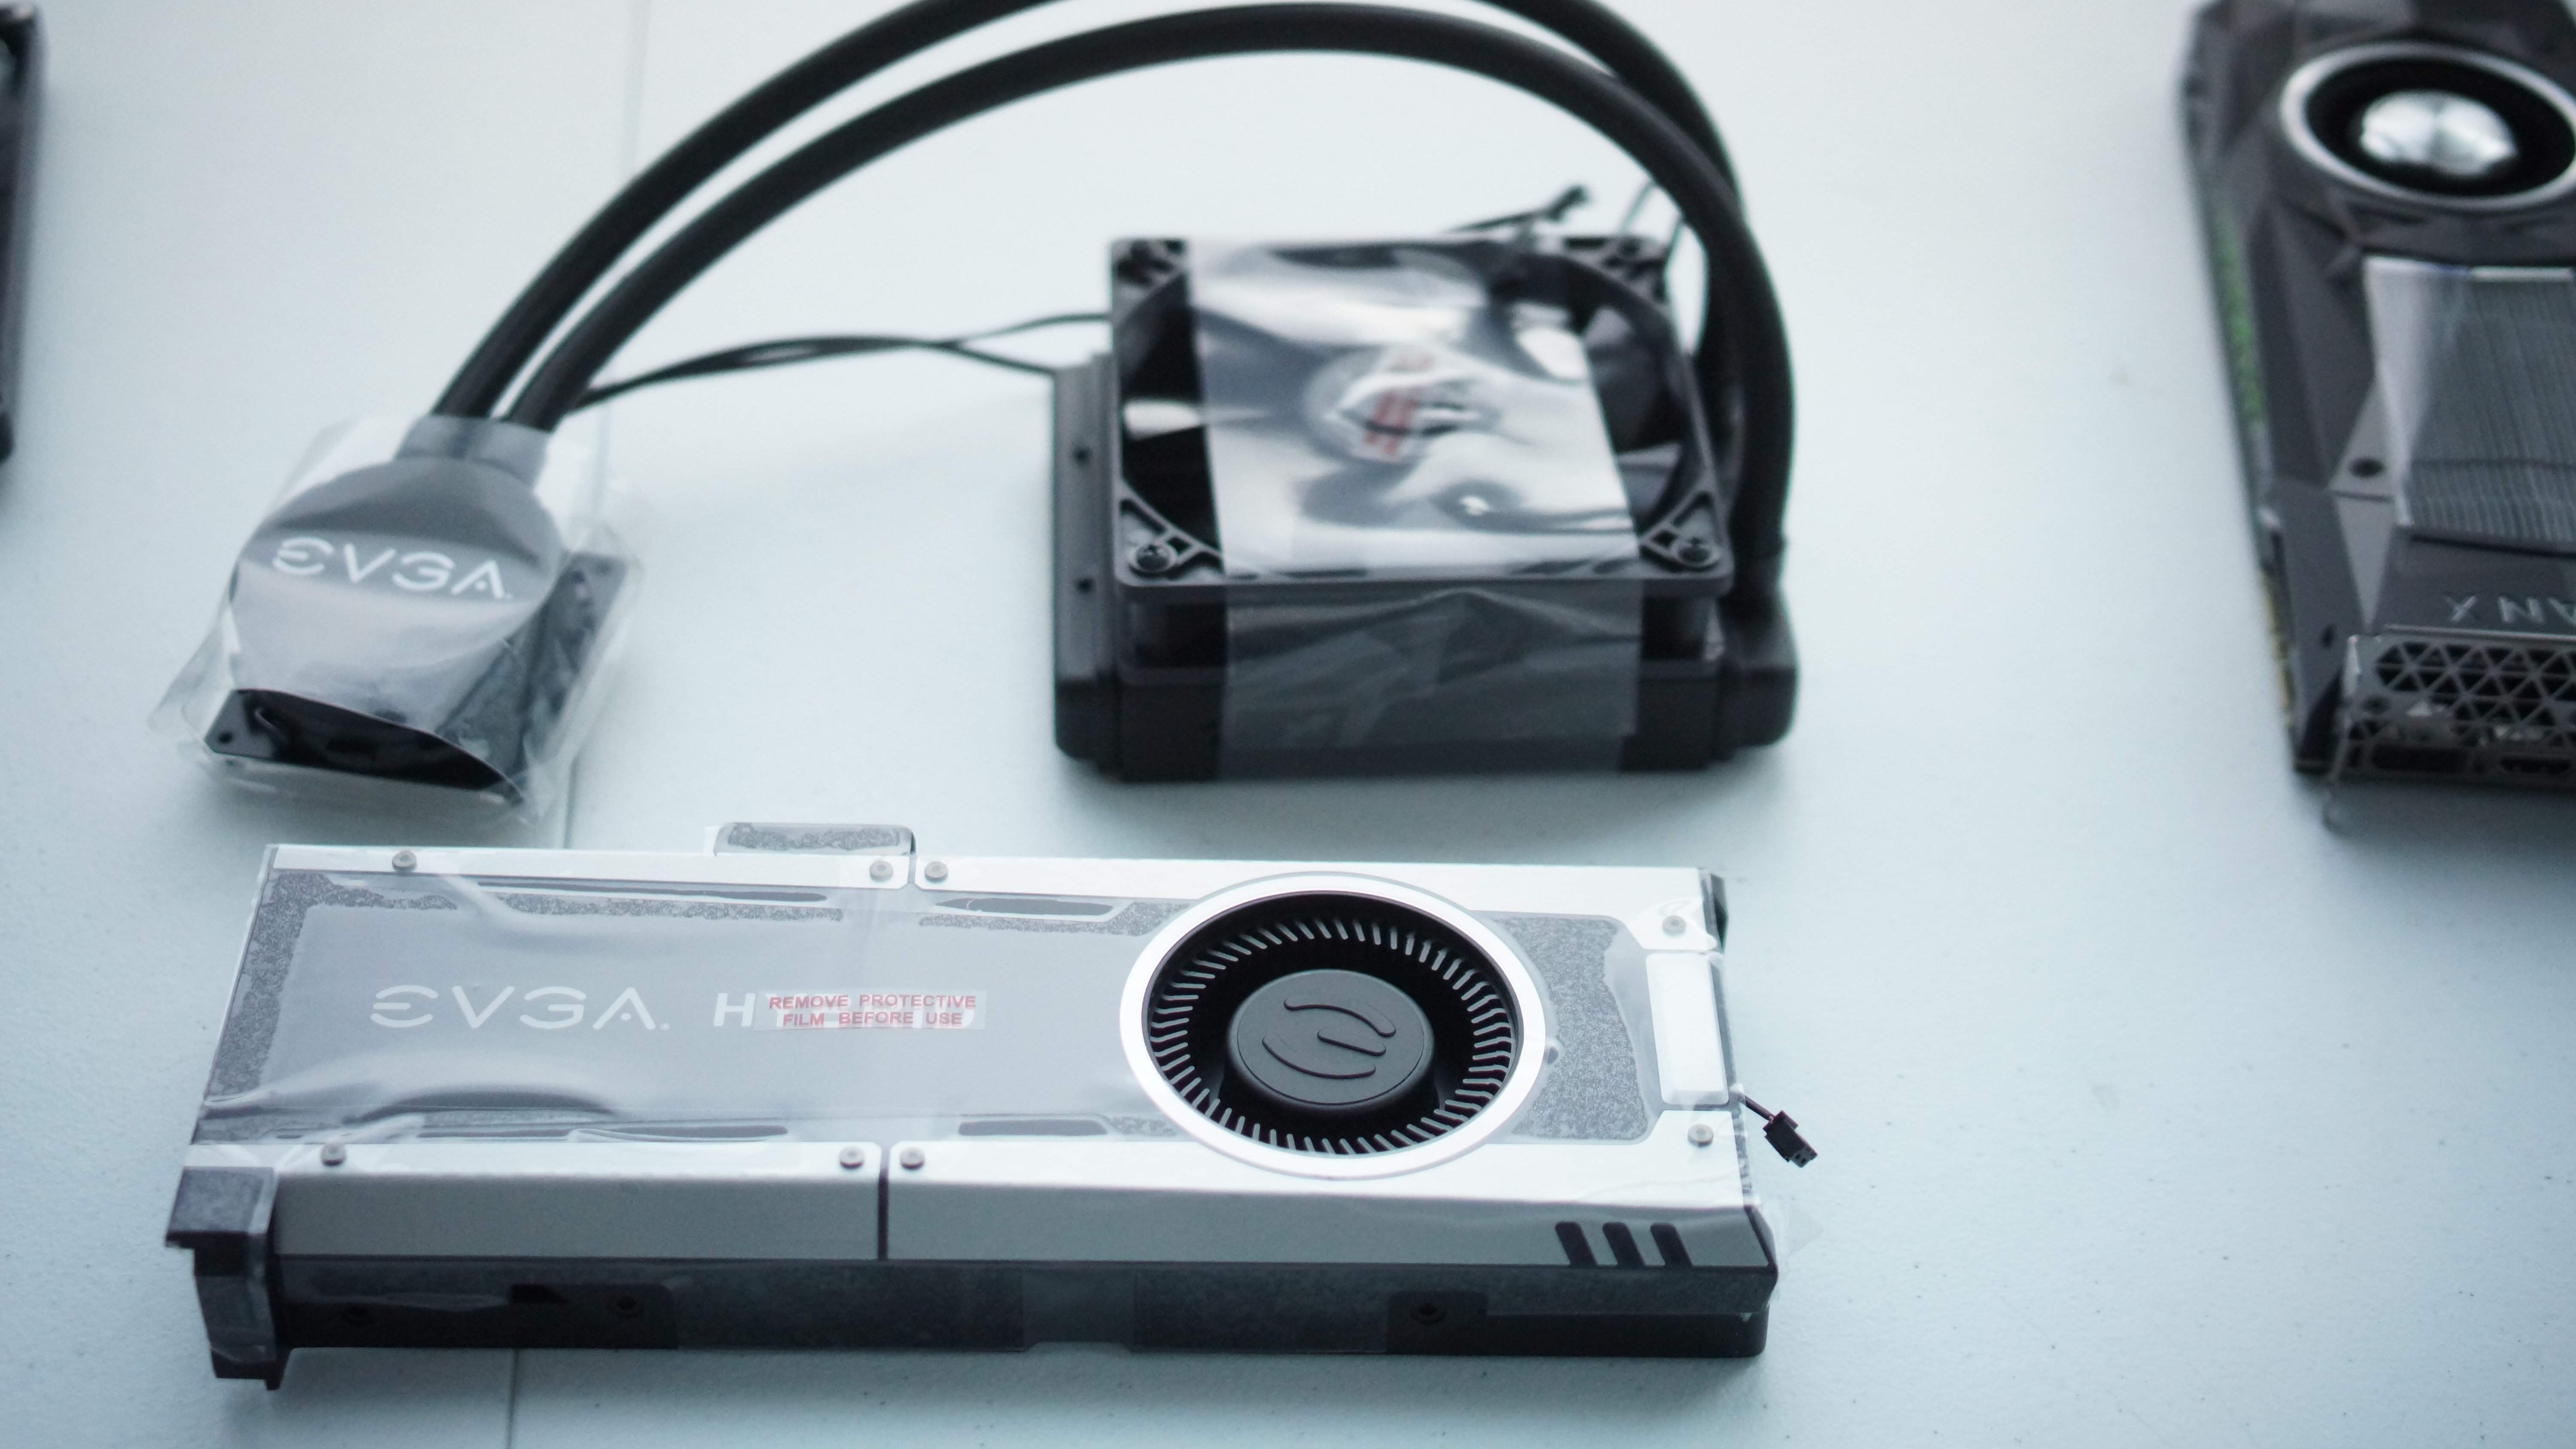
EVGA 1080 Hybrid Kit
How to Mod the EVGA 1080 Hybrid Kit for the Titan X
Installing the kit with or without mods first requires complete removal of the original cooler from the graphics card.
Warning: this will void your warranty with nvidia, but if you put the original cooler back on there’s no way for them to know you’ve removed it. I’m not saying I recommend doing so but I’m also saying there are no tamper-proof screws…
Note before continuing:
- Keep careful track of all the screws, you'll need them in the future
- Try to find a dremel tool, if you don't have one it's a perfect opportunity to pick one up, I'll specify the attachment bits used in each step
- If you're afraid or unsure of removing the GPU cooler from the PCB I recommend watching this video detailing the teardown of the Titan X
- You must ground yourself somehow while doing this. Click here to learn why it's necessary
- This link has instructions from EVGA on installing the cooler on a 1080. Save them you'll need this later on.
Step 1: Remove the IO Plate
Start by removing the 5 screws on the IO plate, the two screws for the DVI port, and the two screws on the back plate holding the IO plate in place.
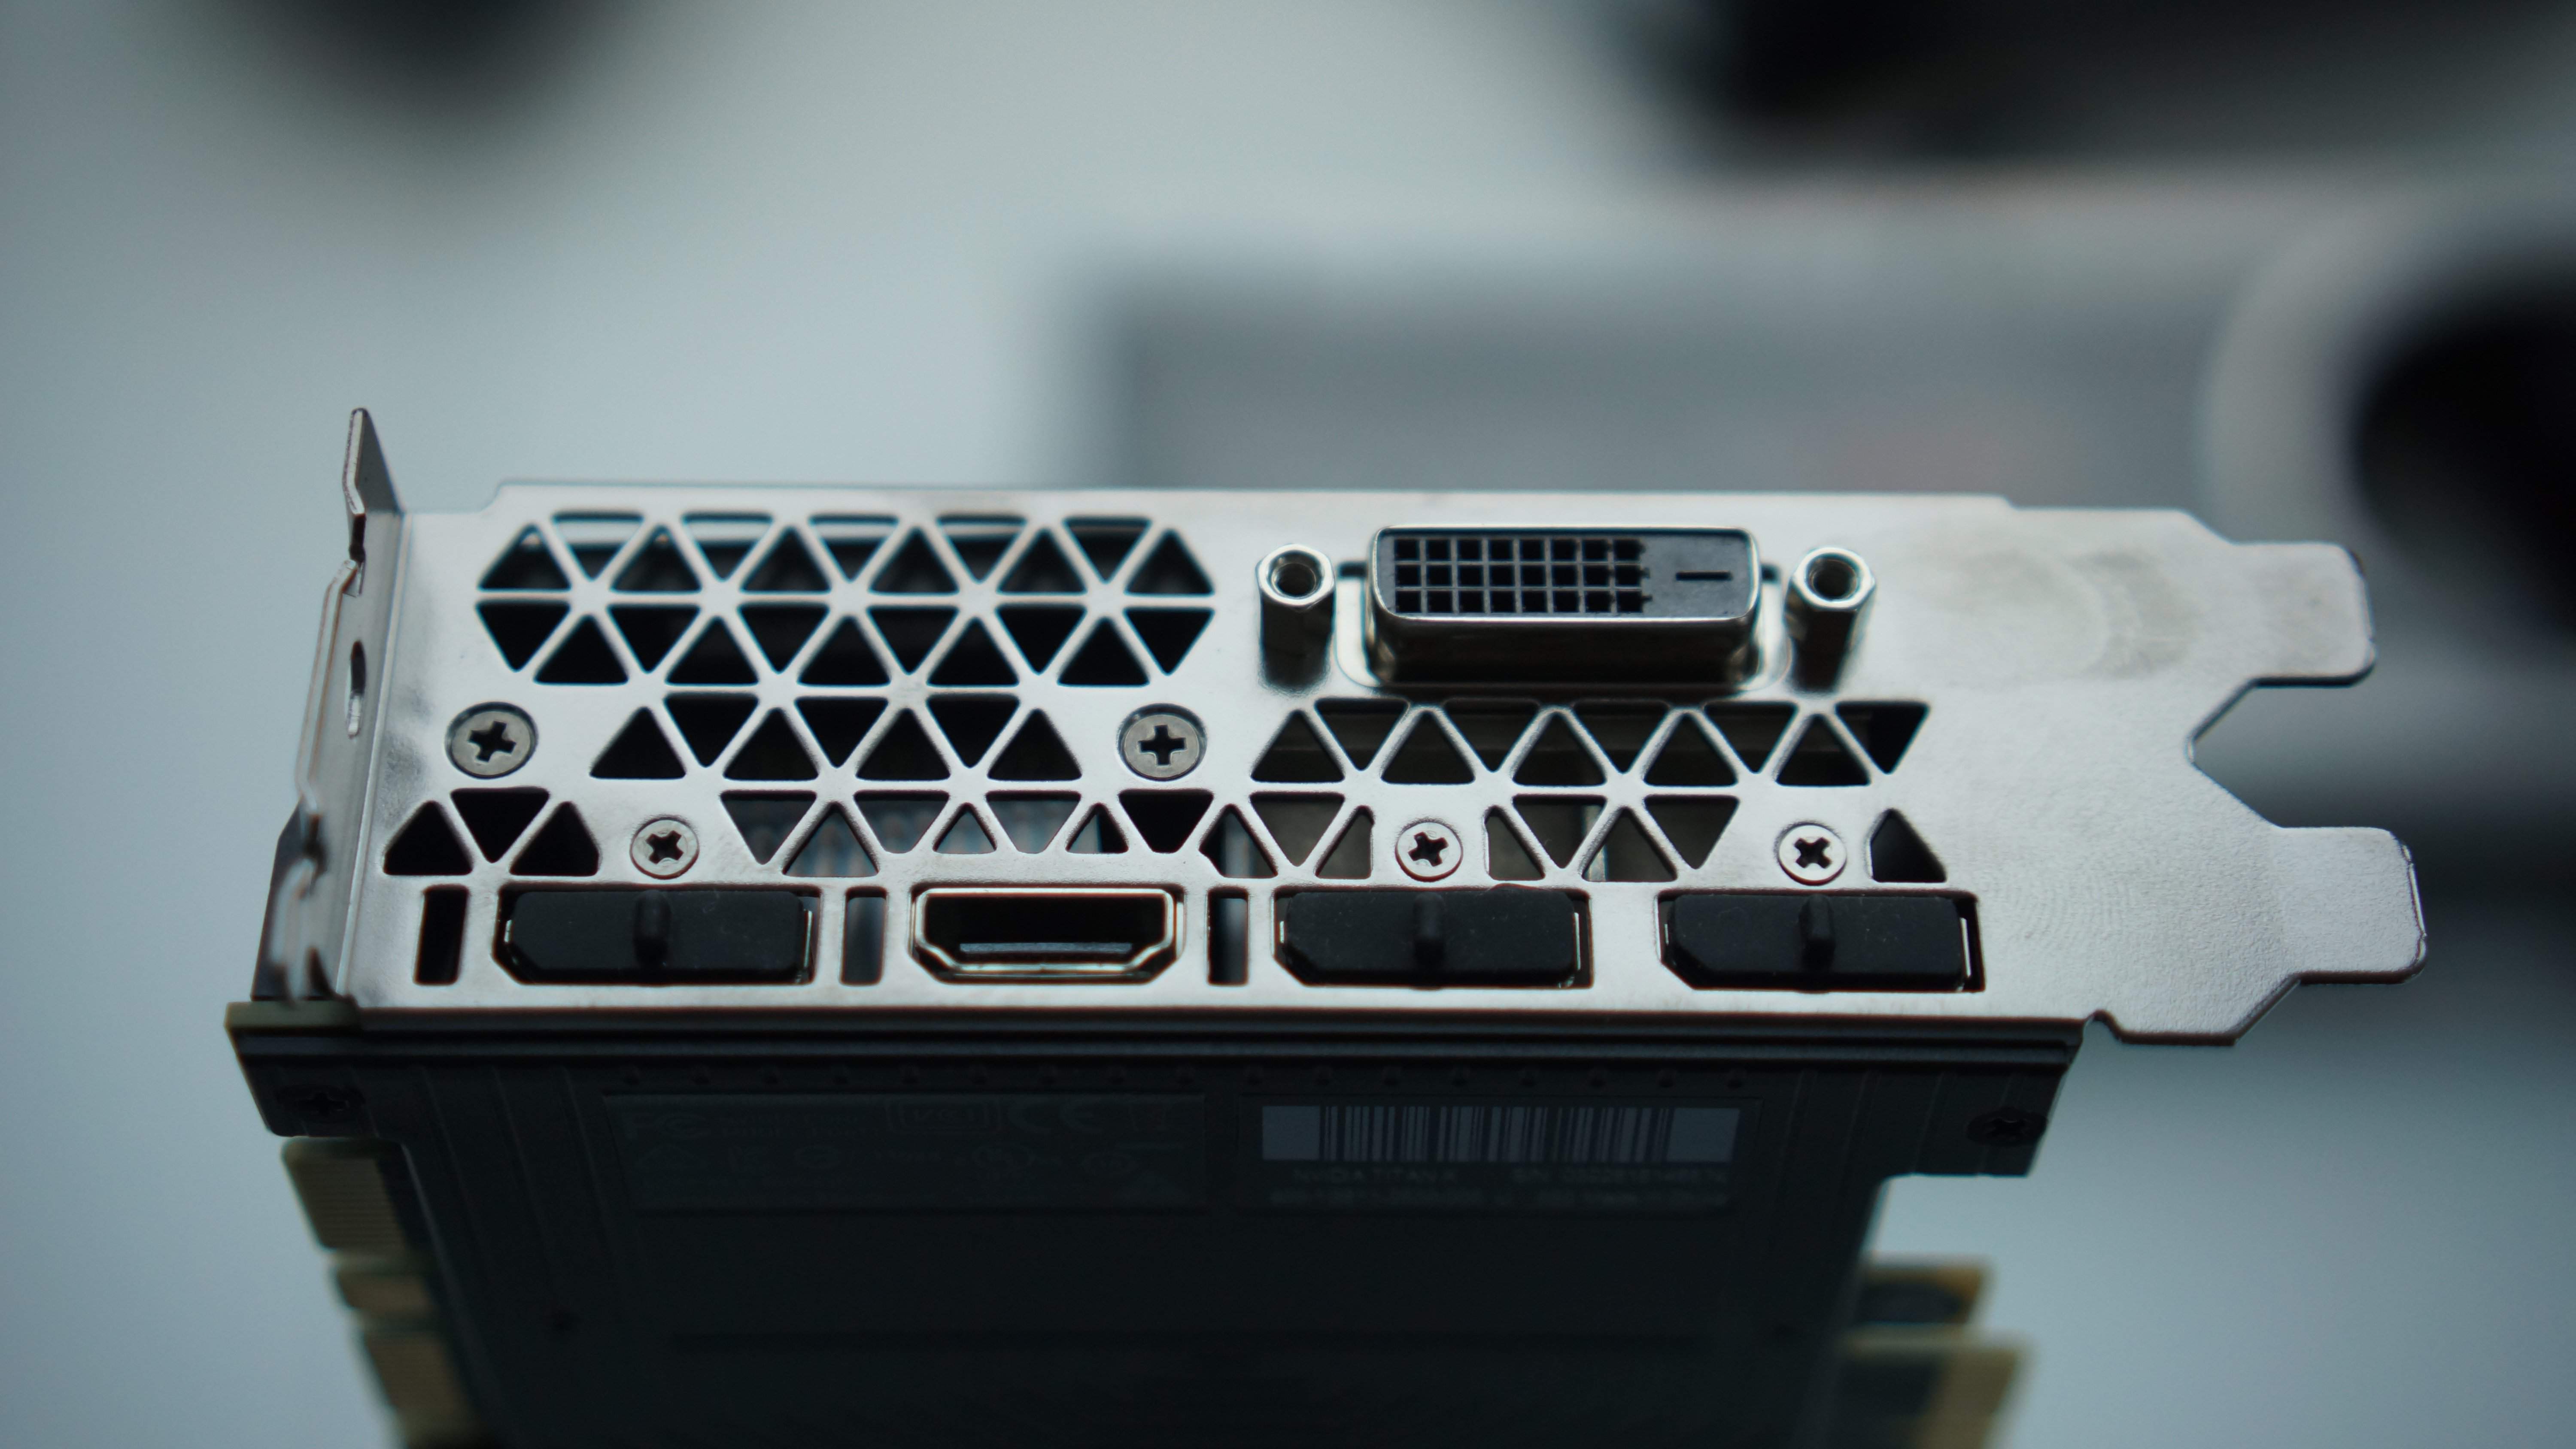
Remove this IO Plate
Step 2: Unscrew the Cooler
Get yourself two allan/hex keys/bit, a tiny phillips 00, and a larger philips head. I didn’t take pictures of the cooler removal given that there’s no real trick here. Here’s the best order of operations for the removal:
- Remove the back plate by carefully unscrewing the TINY screws holding it in place (one part of the backplate slides out of the other)
- Use the smaller allan key to remove all the screws surrounding the cooler, the four larger screws next to the clear window are only there to hold the window to the plate itself (see photo of larger screws)
Backplate Removed
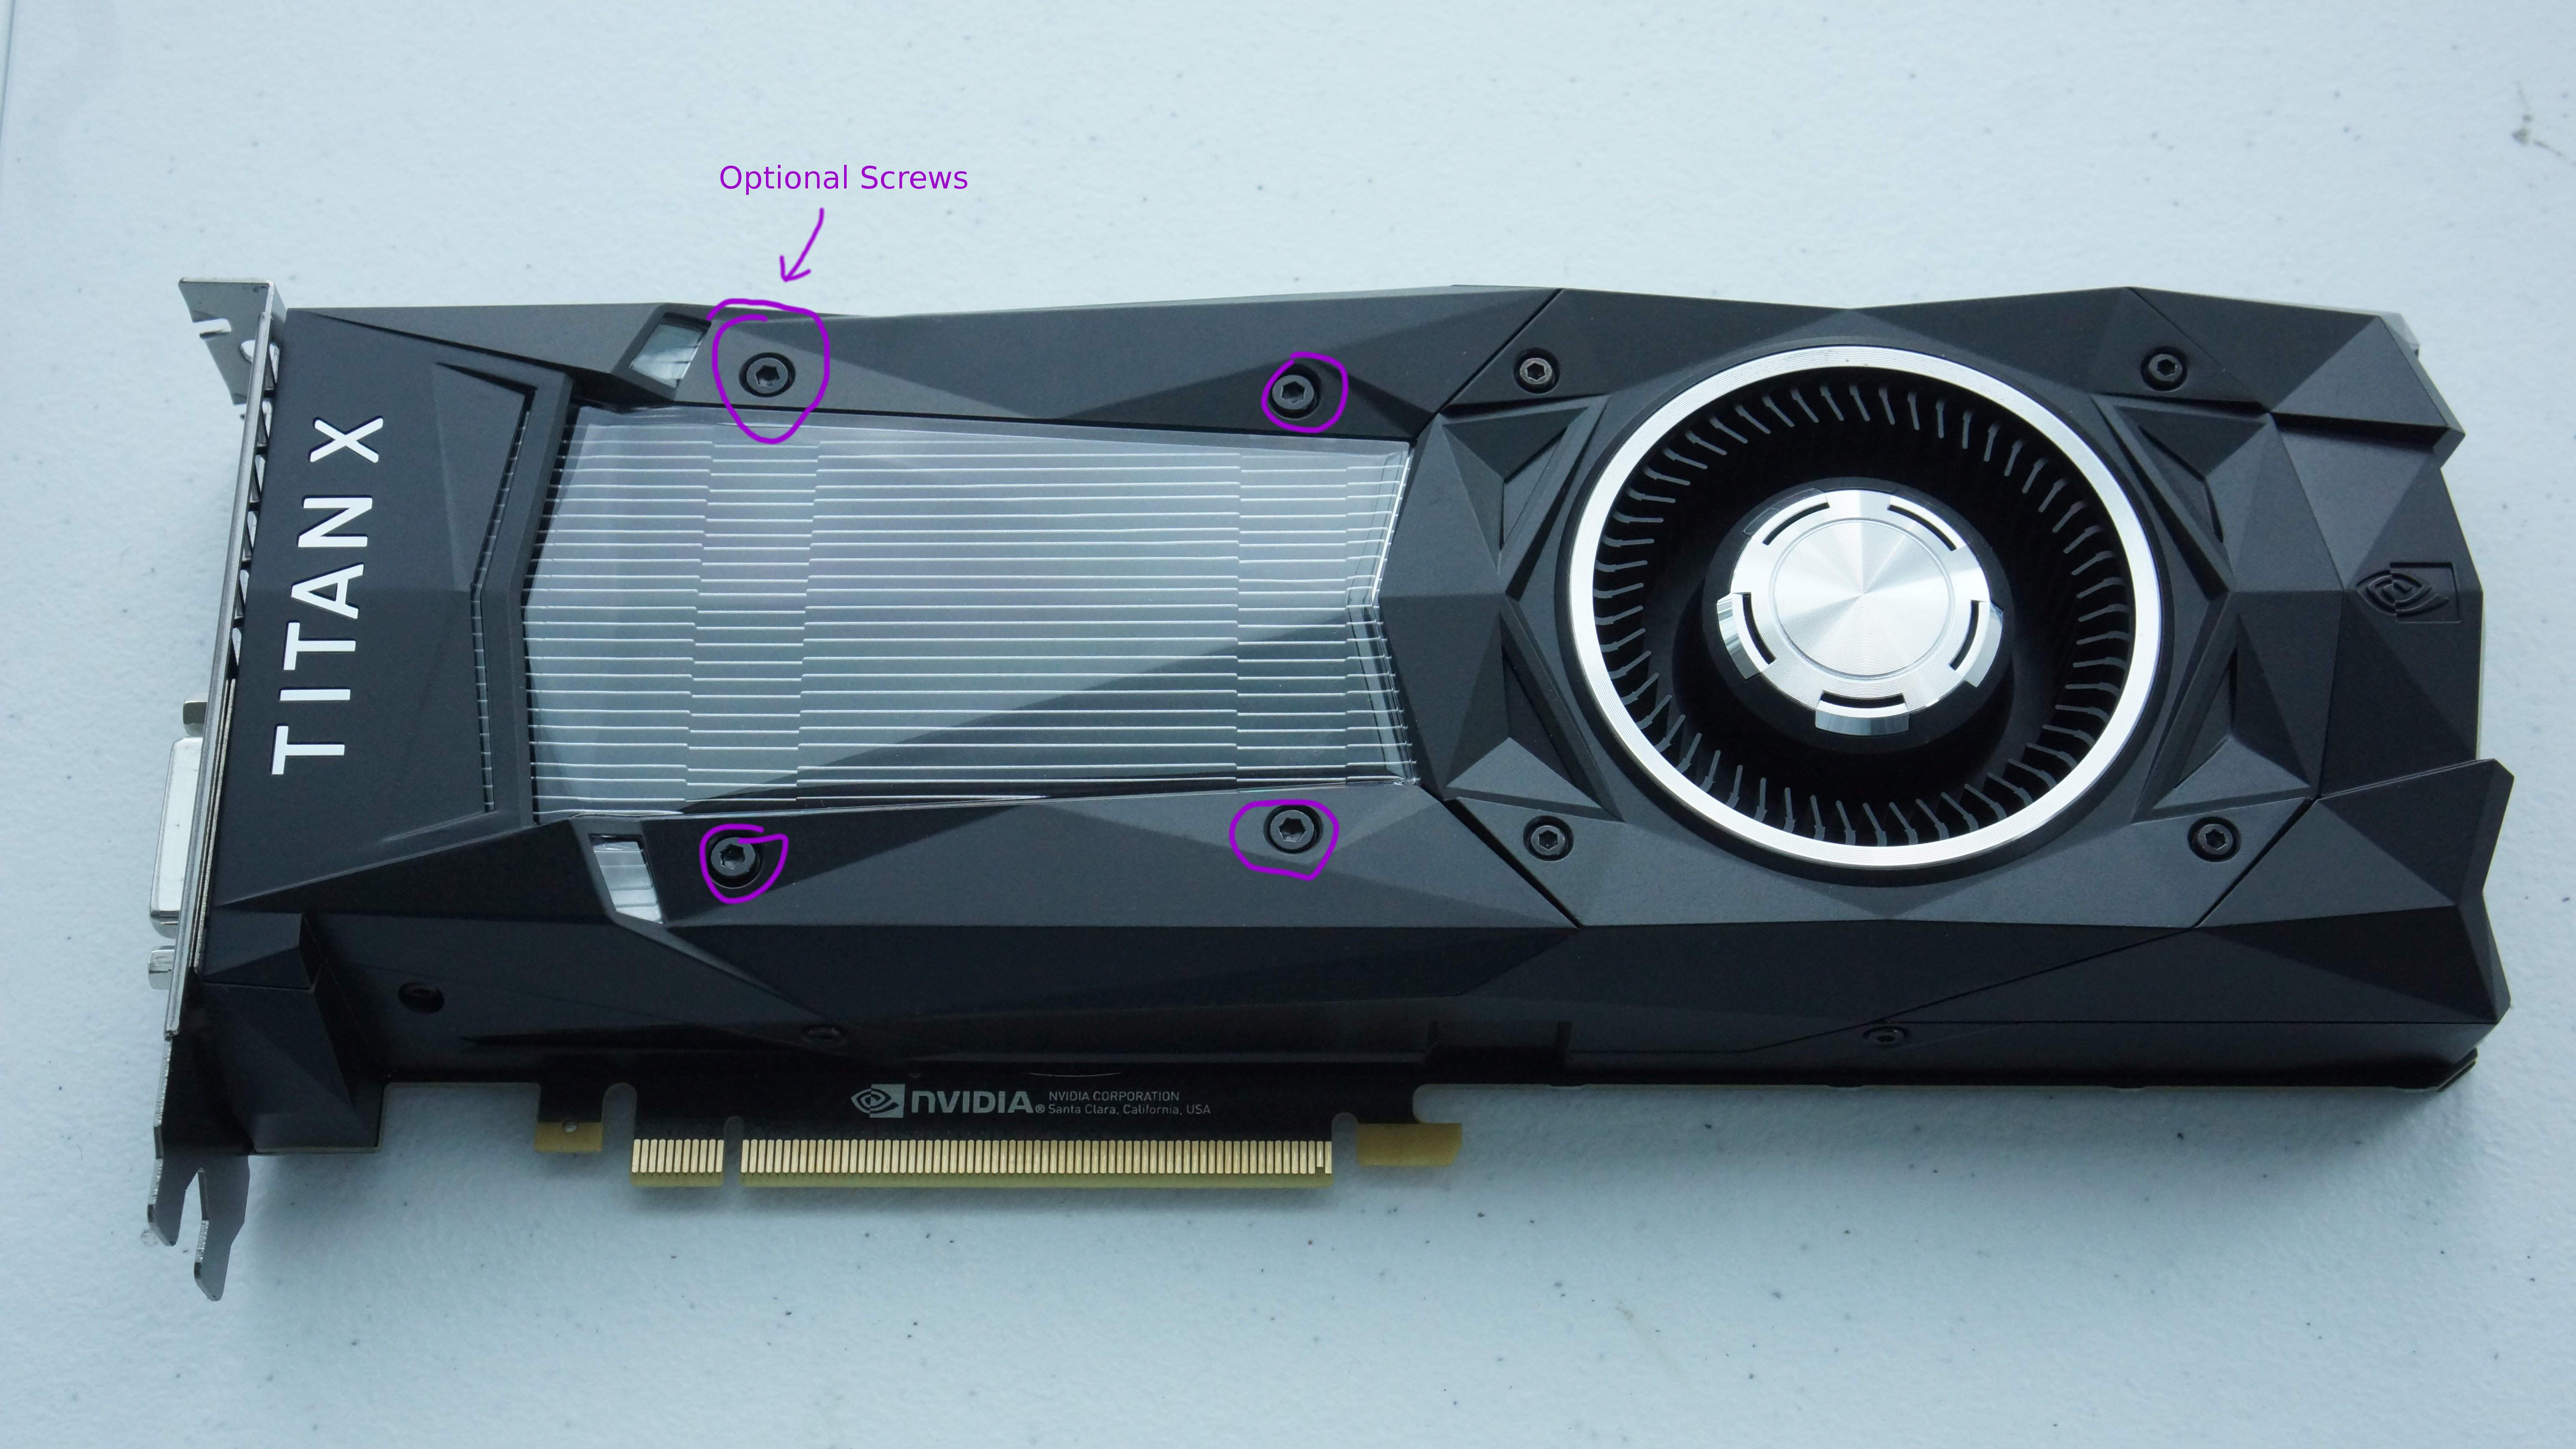
Remove all but the optional circled screws
Step 3: Remove the Cooler
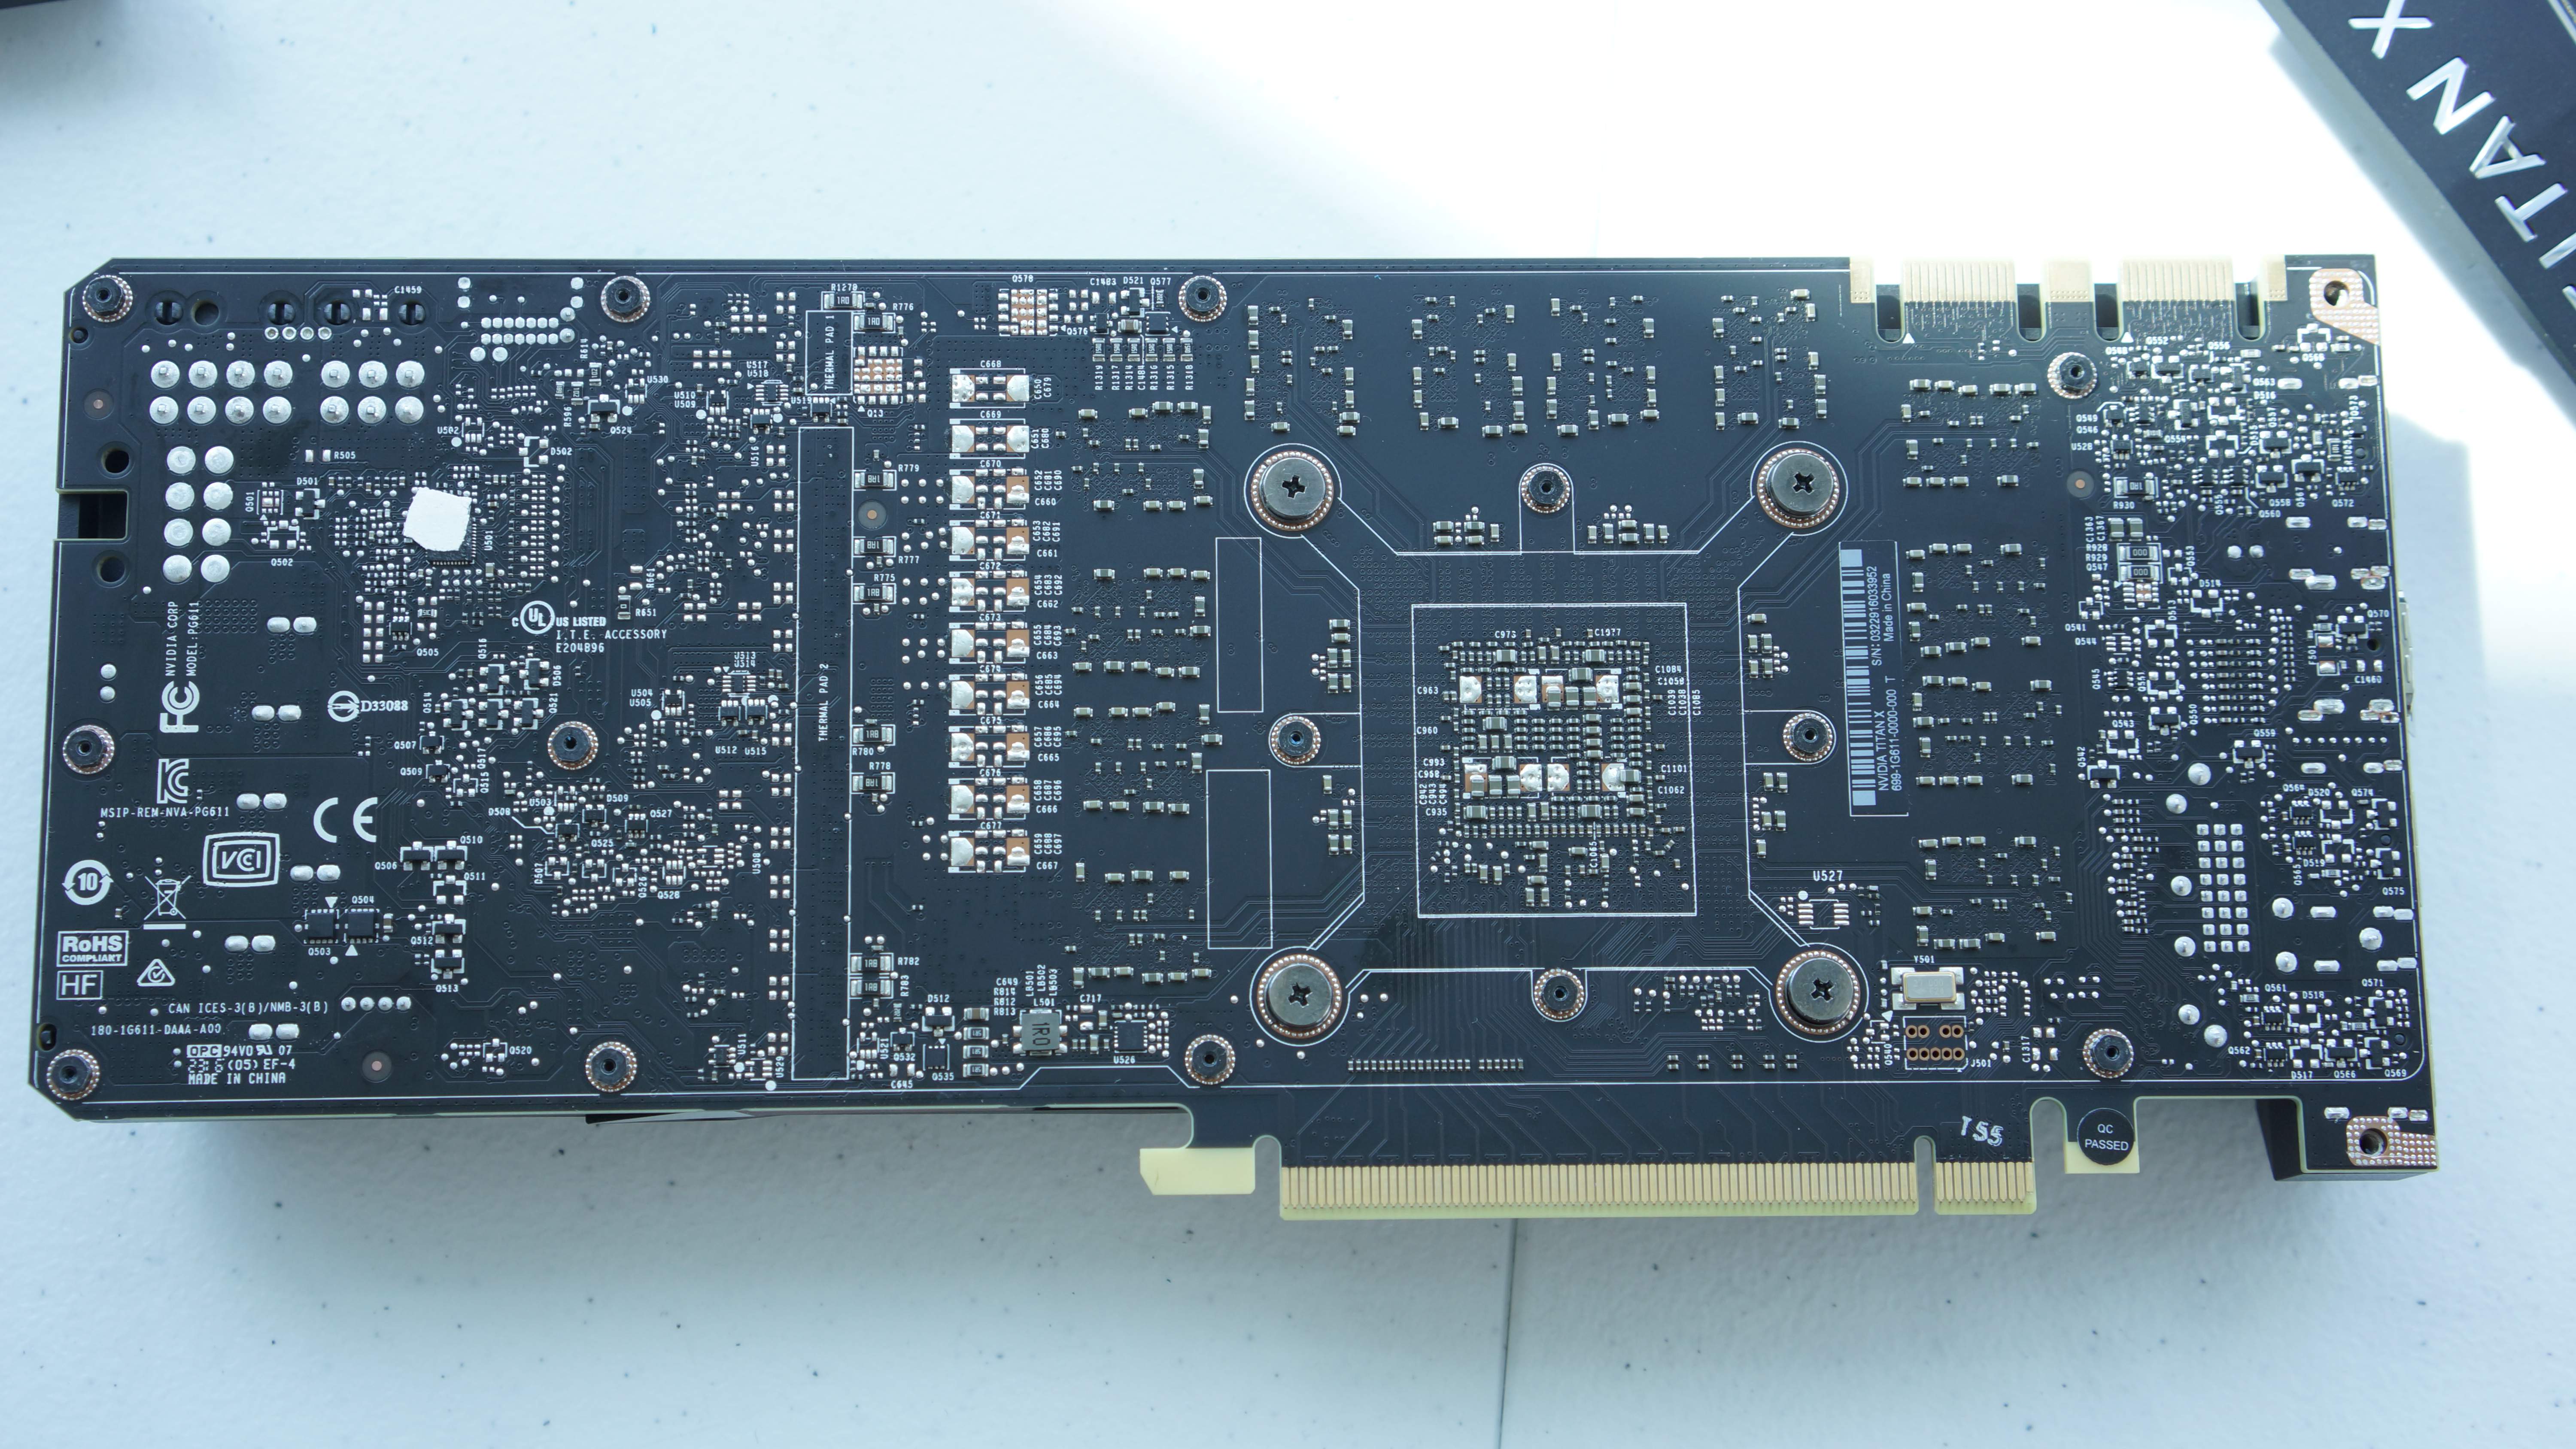
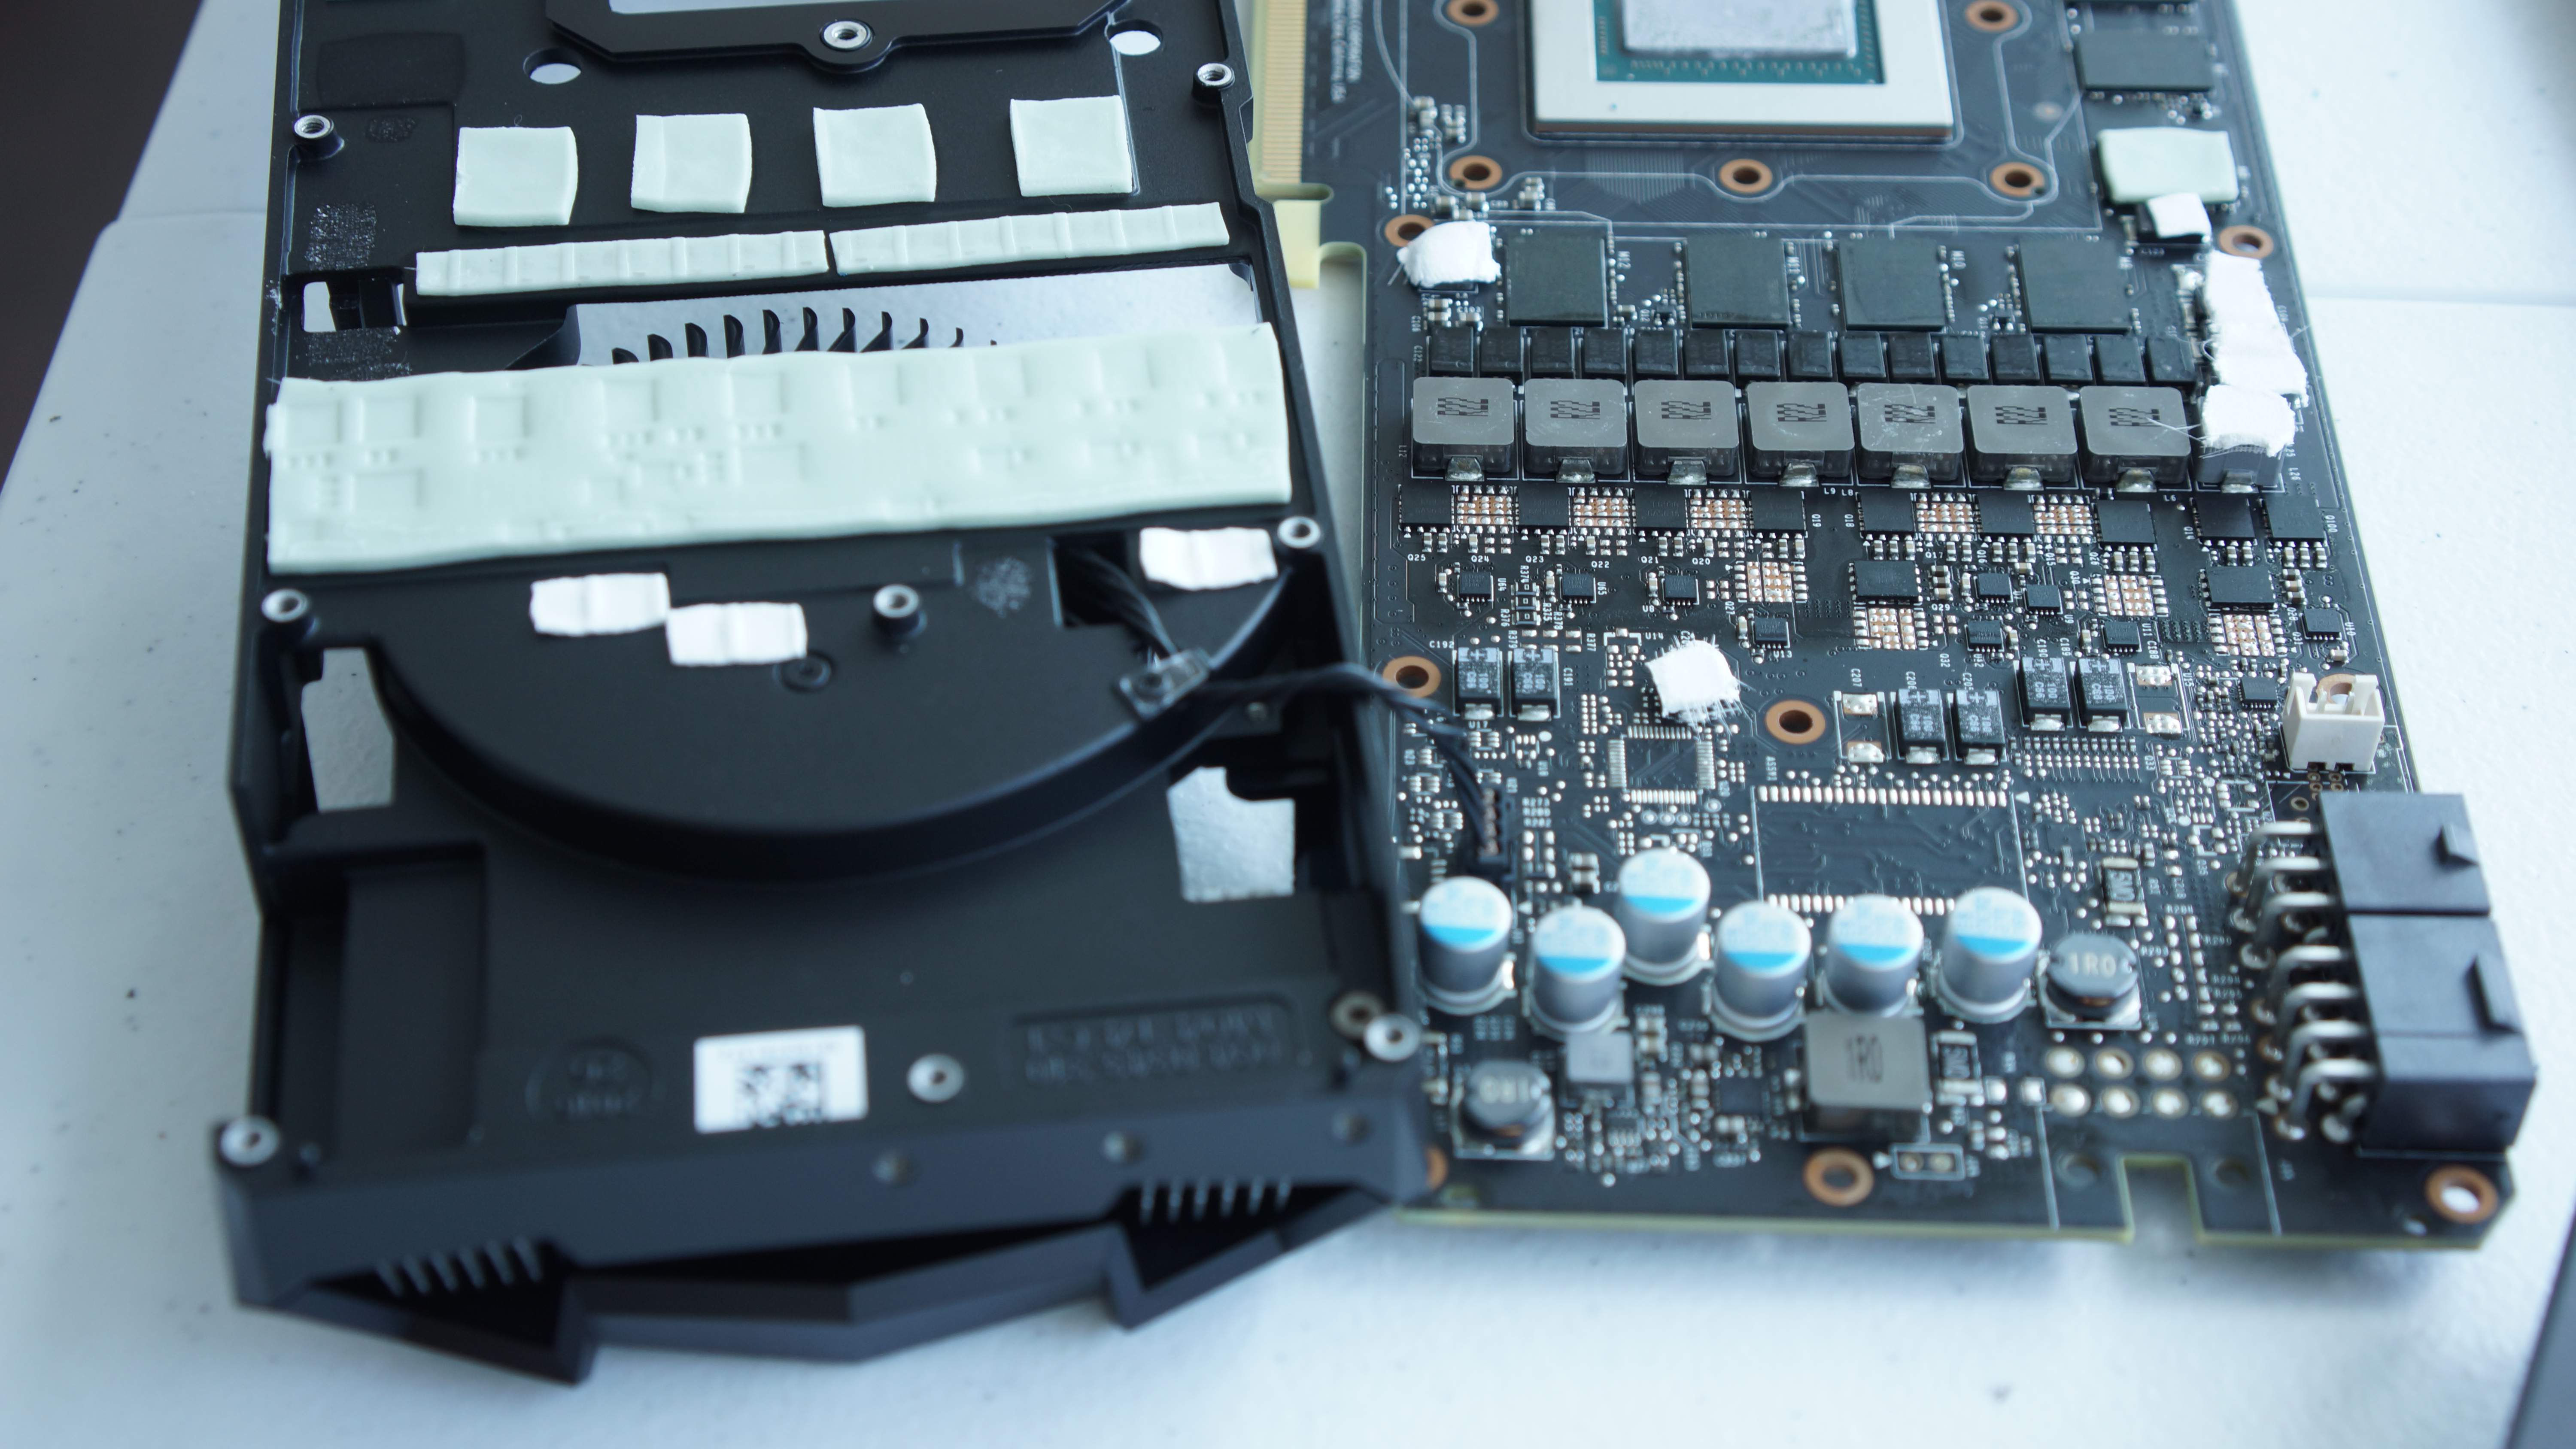
Again I didn’t think this step needed documentation. The best way to do it is remove the section with the window first, you will experience some resistance from the thermal compound on the heatsink but ignore it. Next remove the second cooler, be careful of the wire connecting the fan to the PCB and remove it carefully. Once the entire cooler is removed and you’ve wiped the GPU surface with a microfiber cloth dipped in some alcohol…
Watch out for these wires when removing the two parts of the cooler
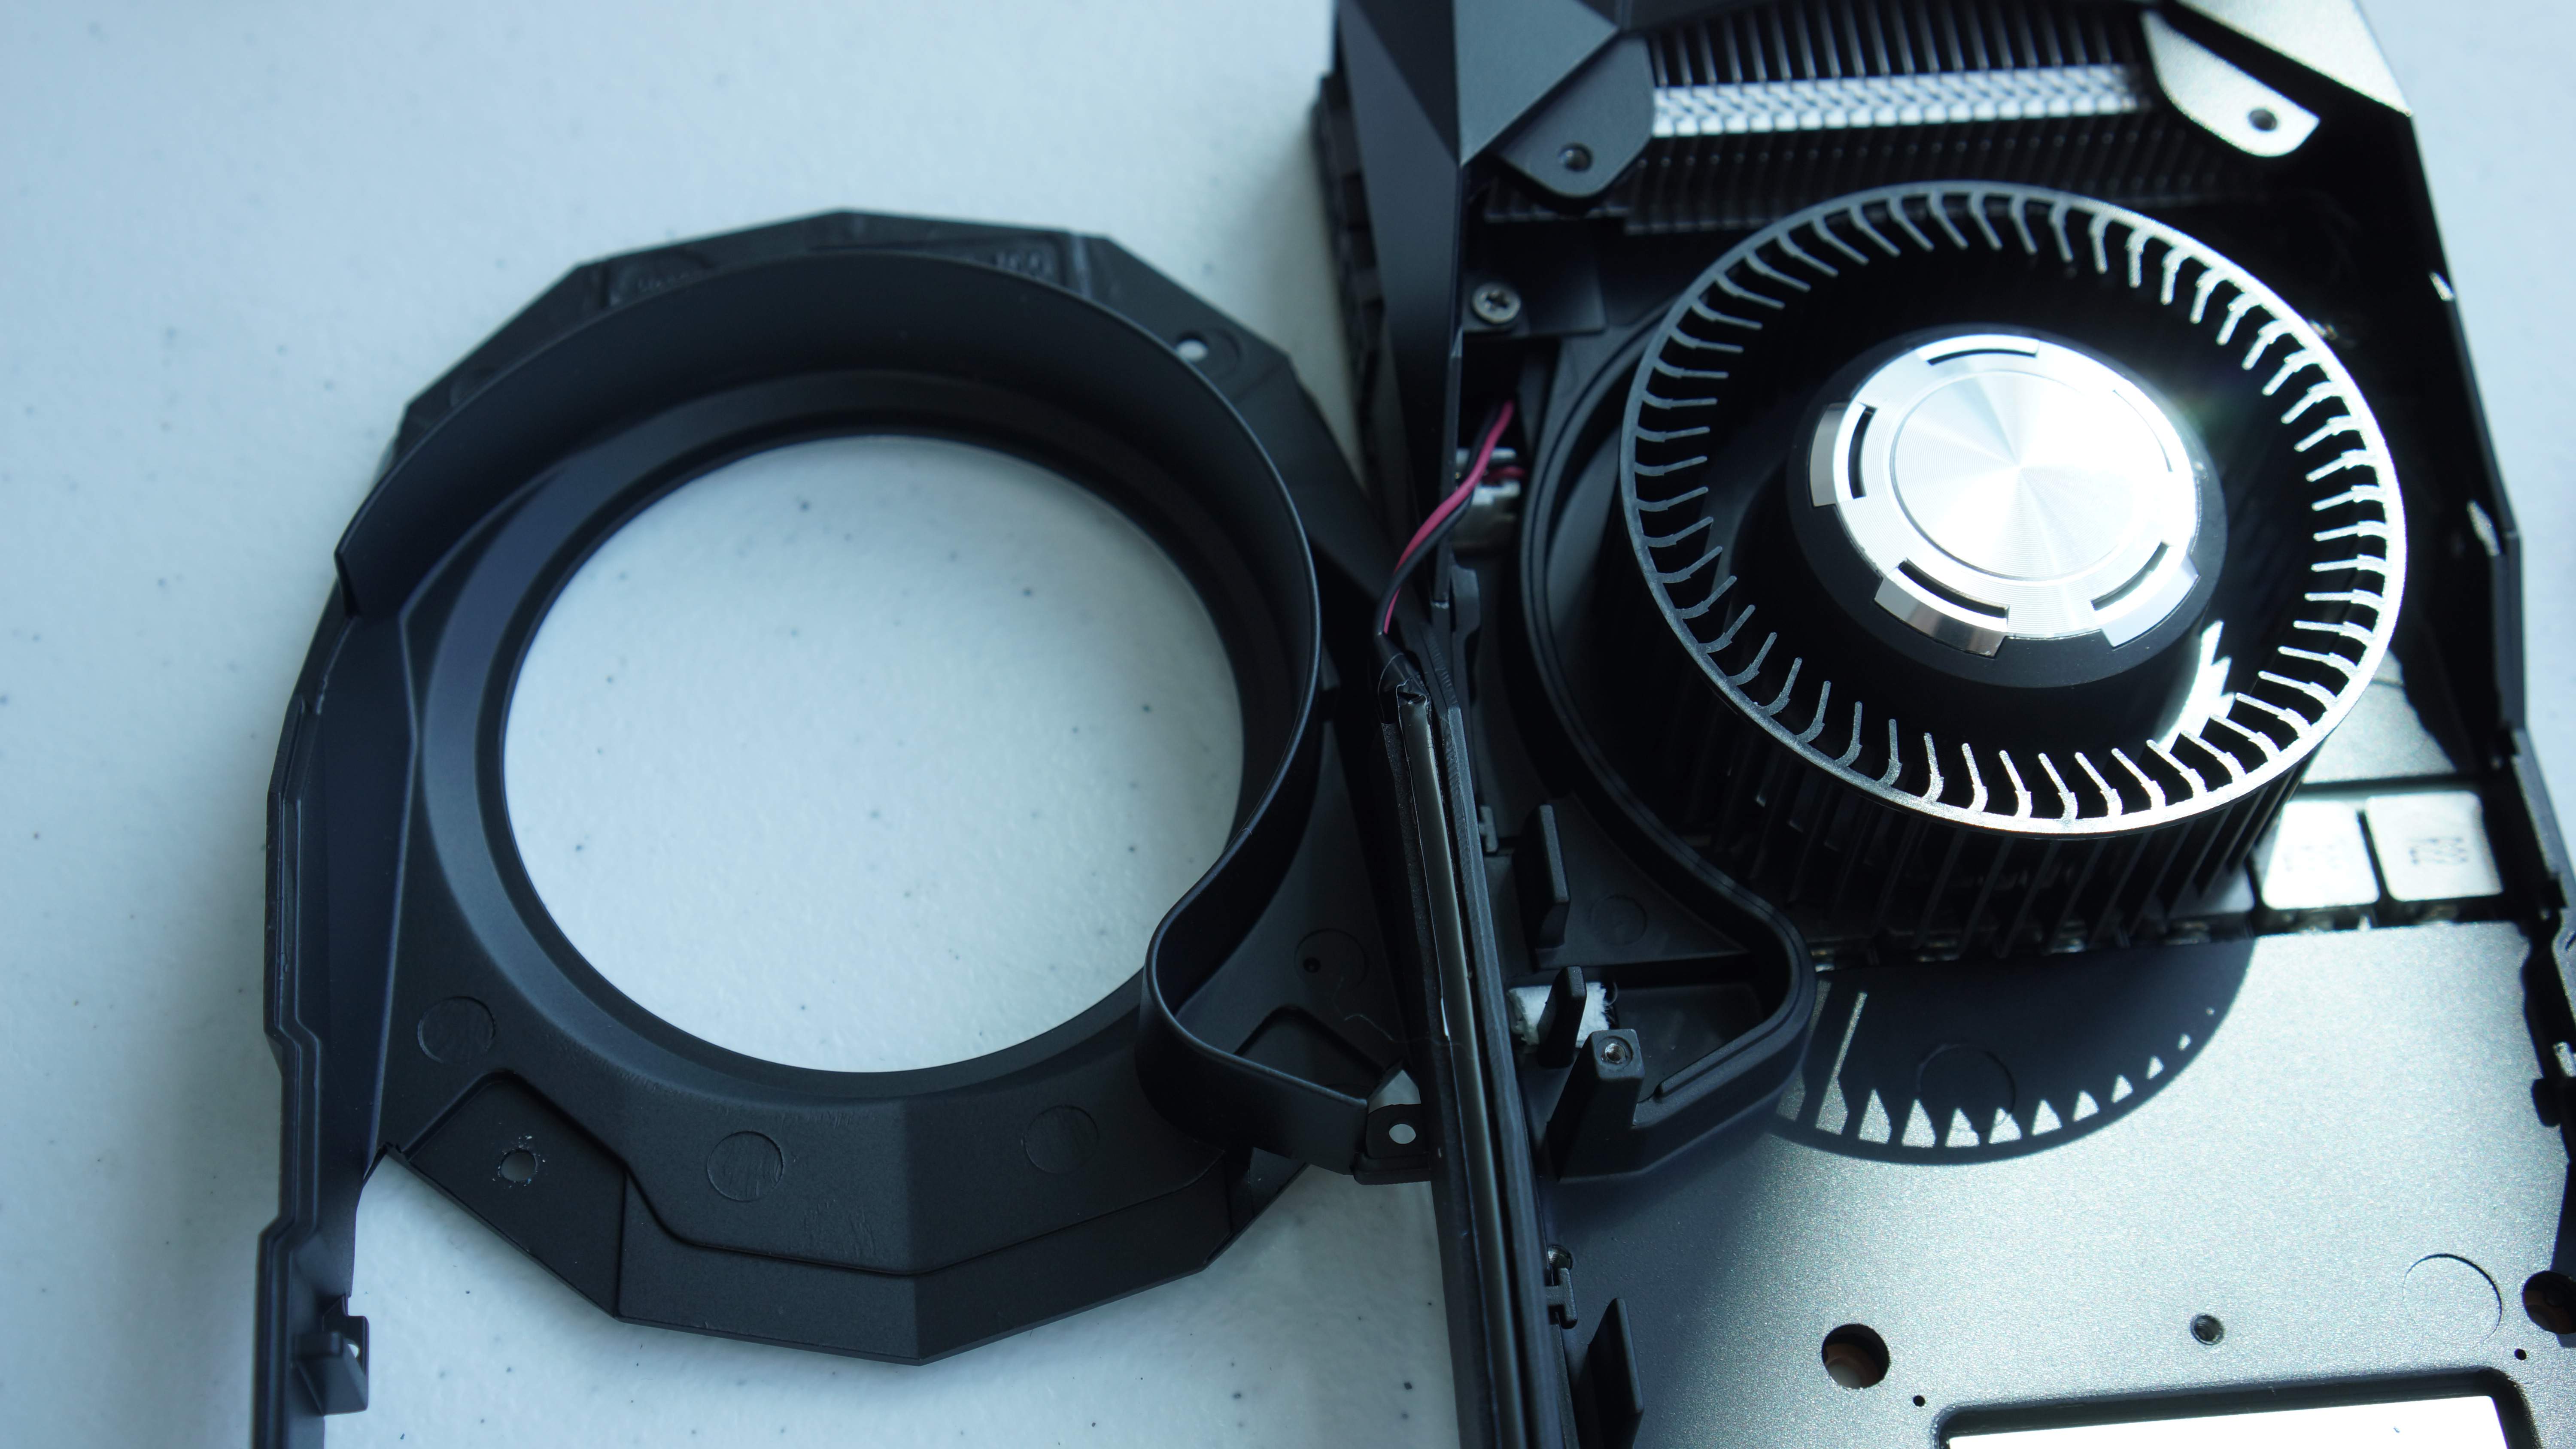
It should look something like this:
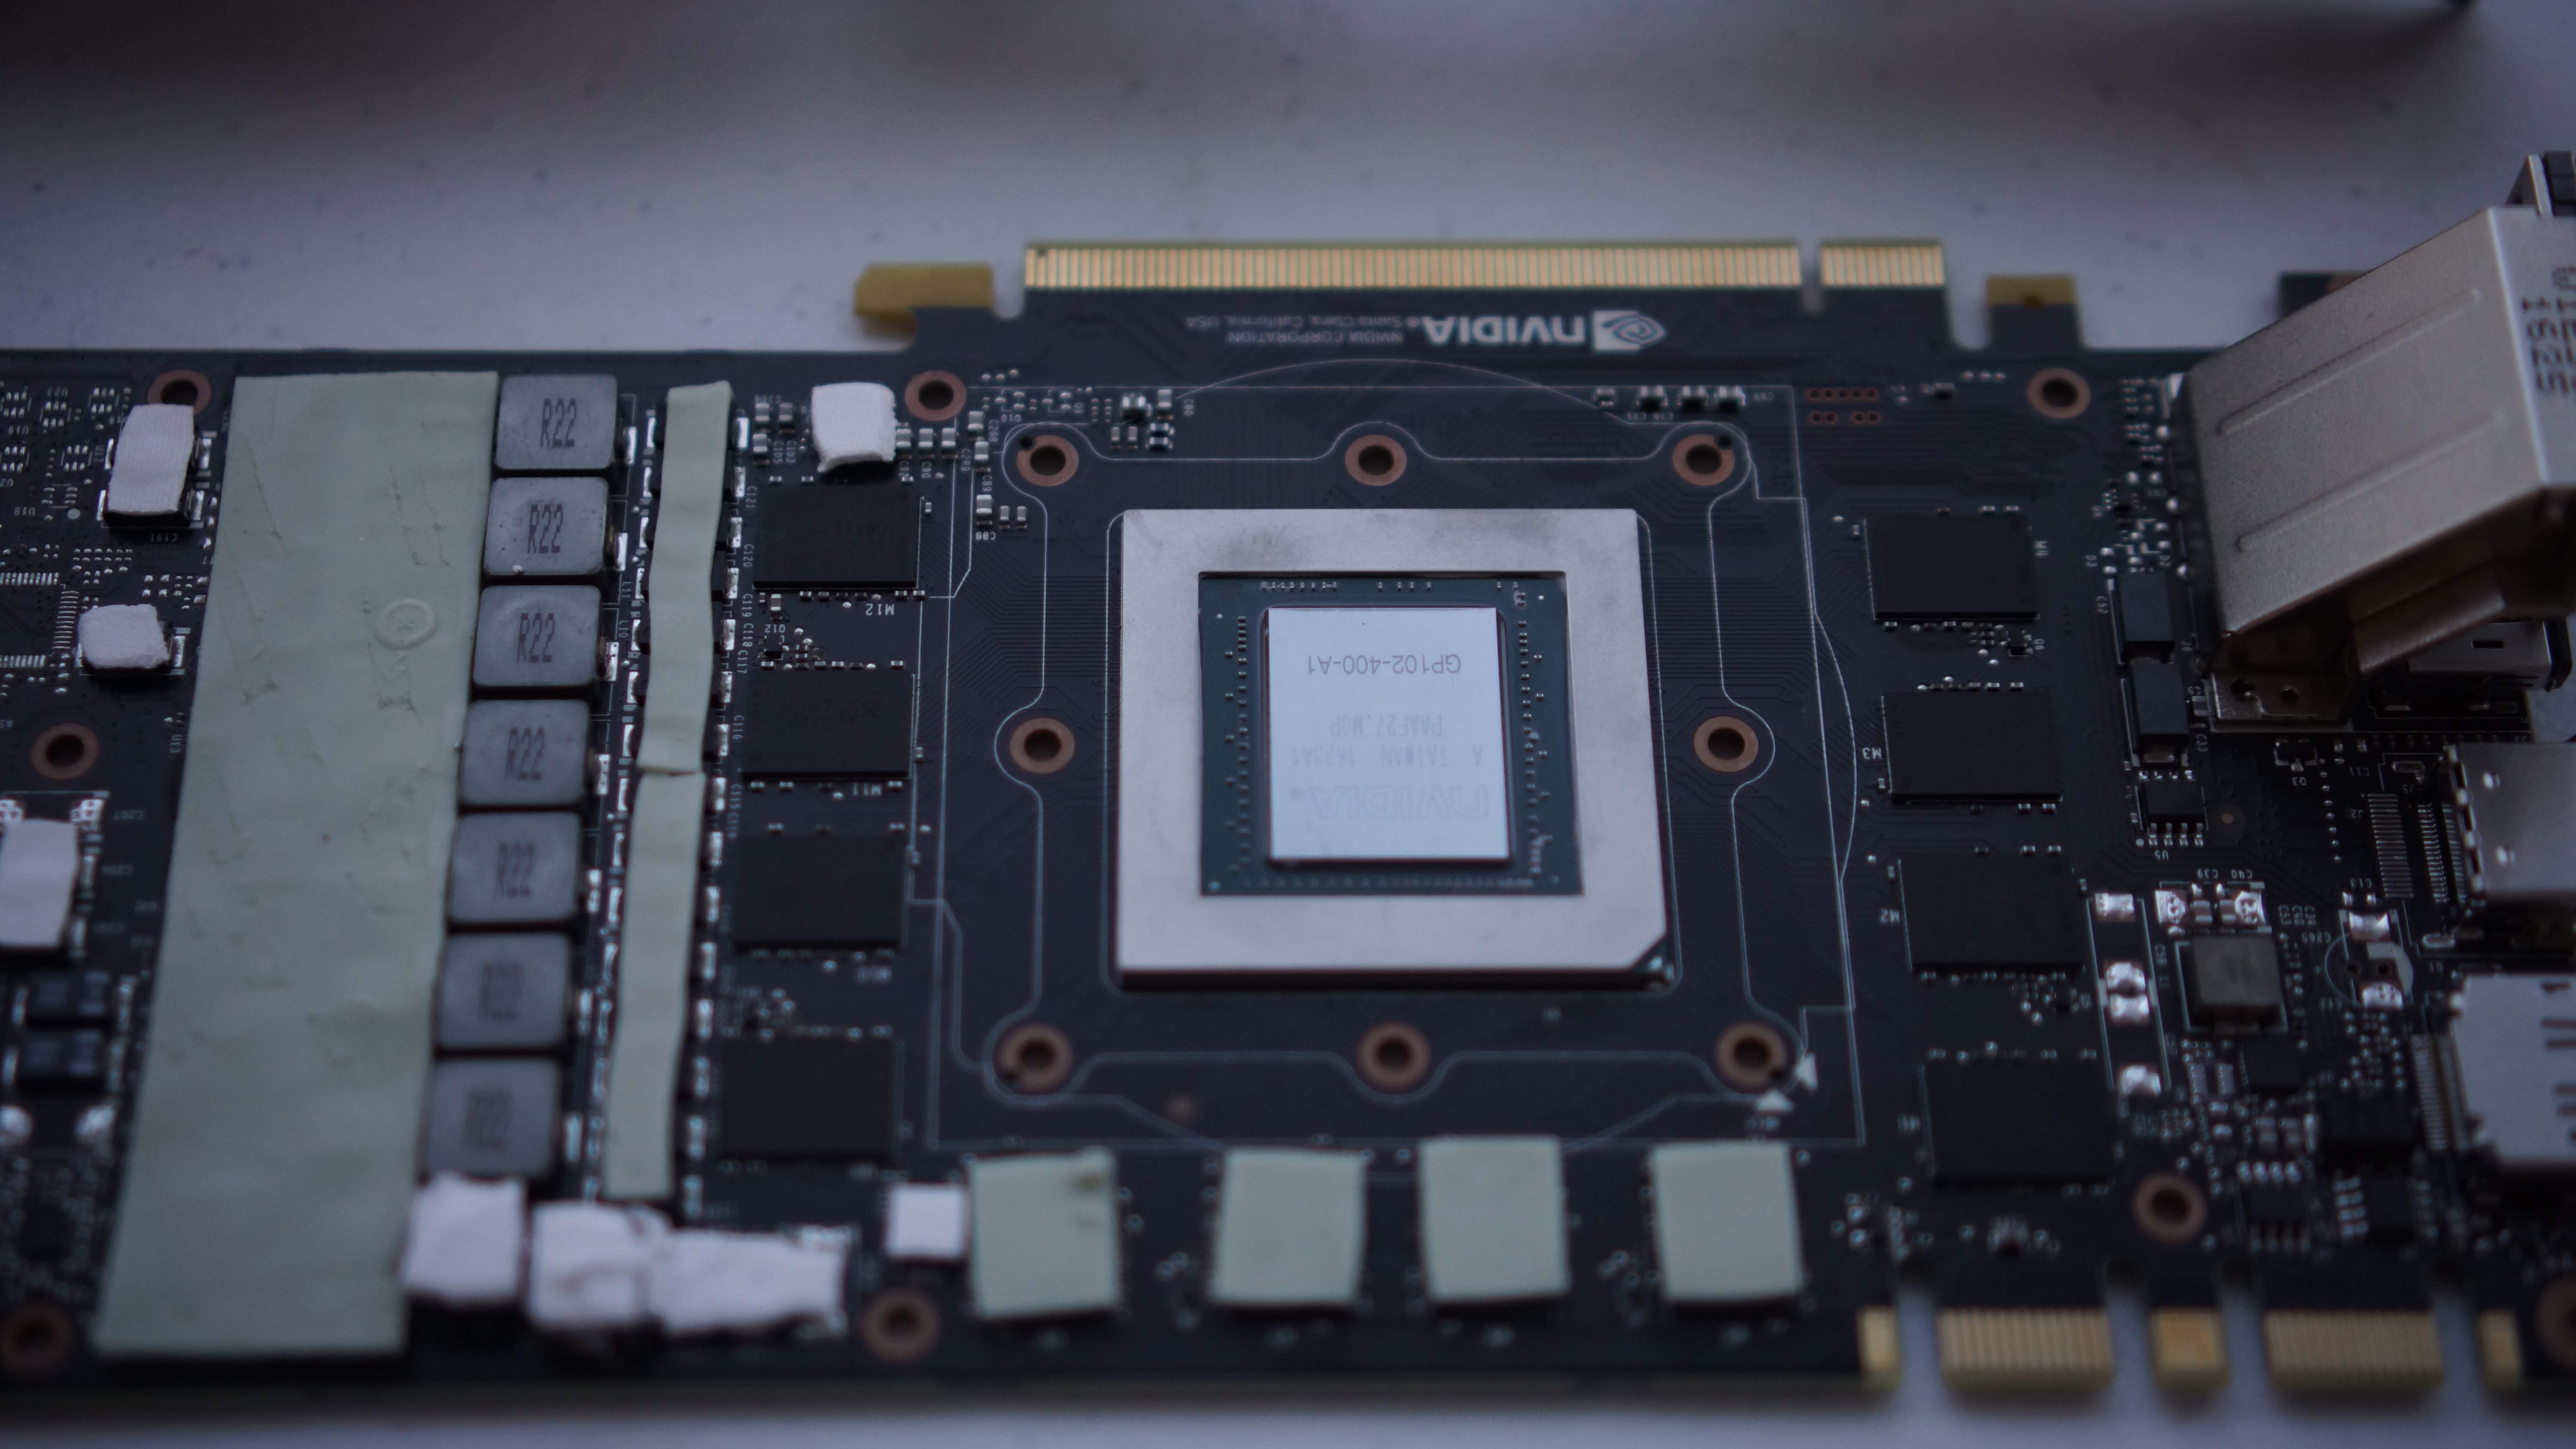
Nvidia GP102
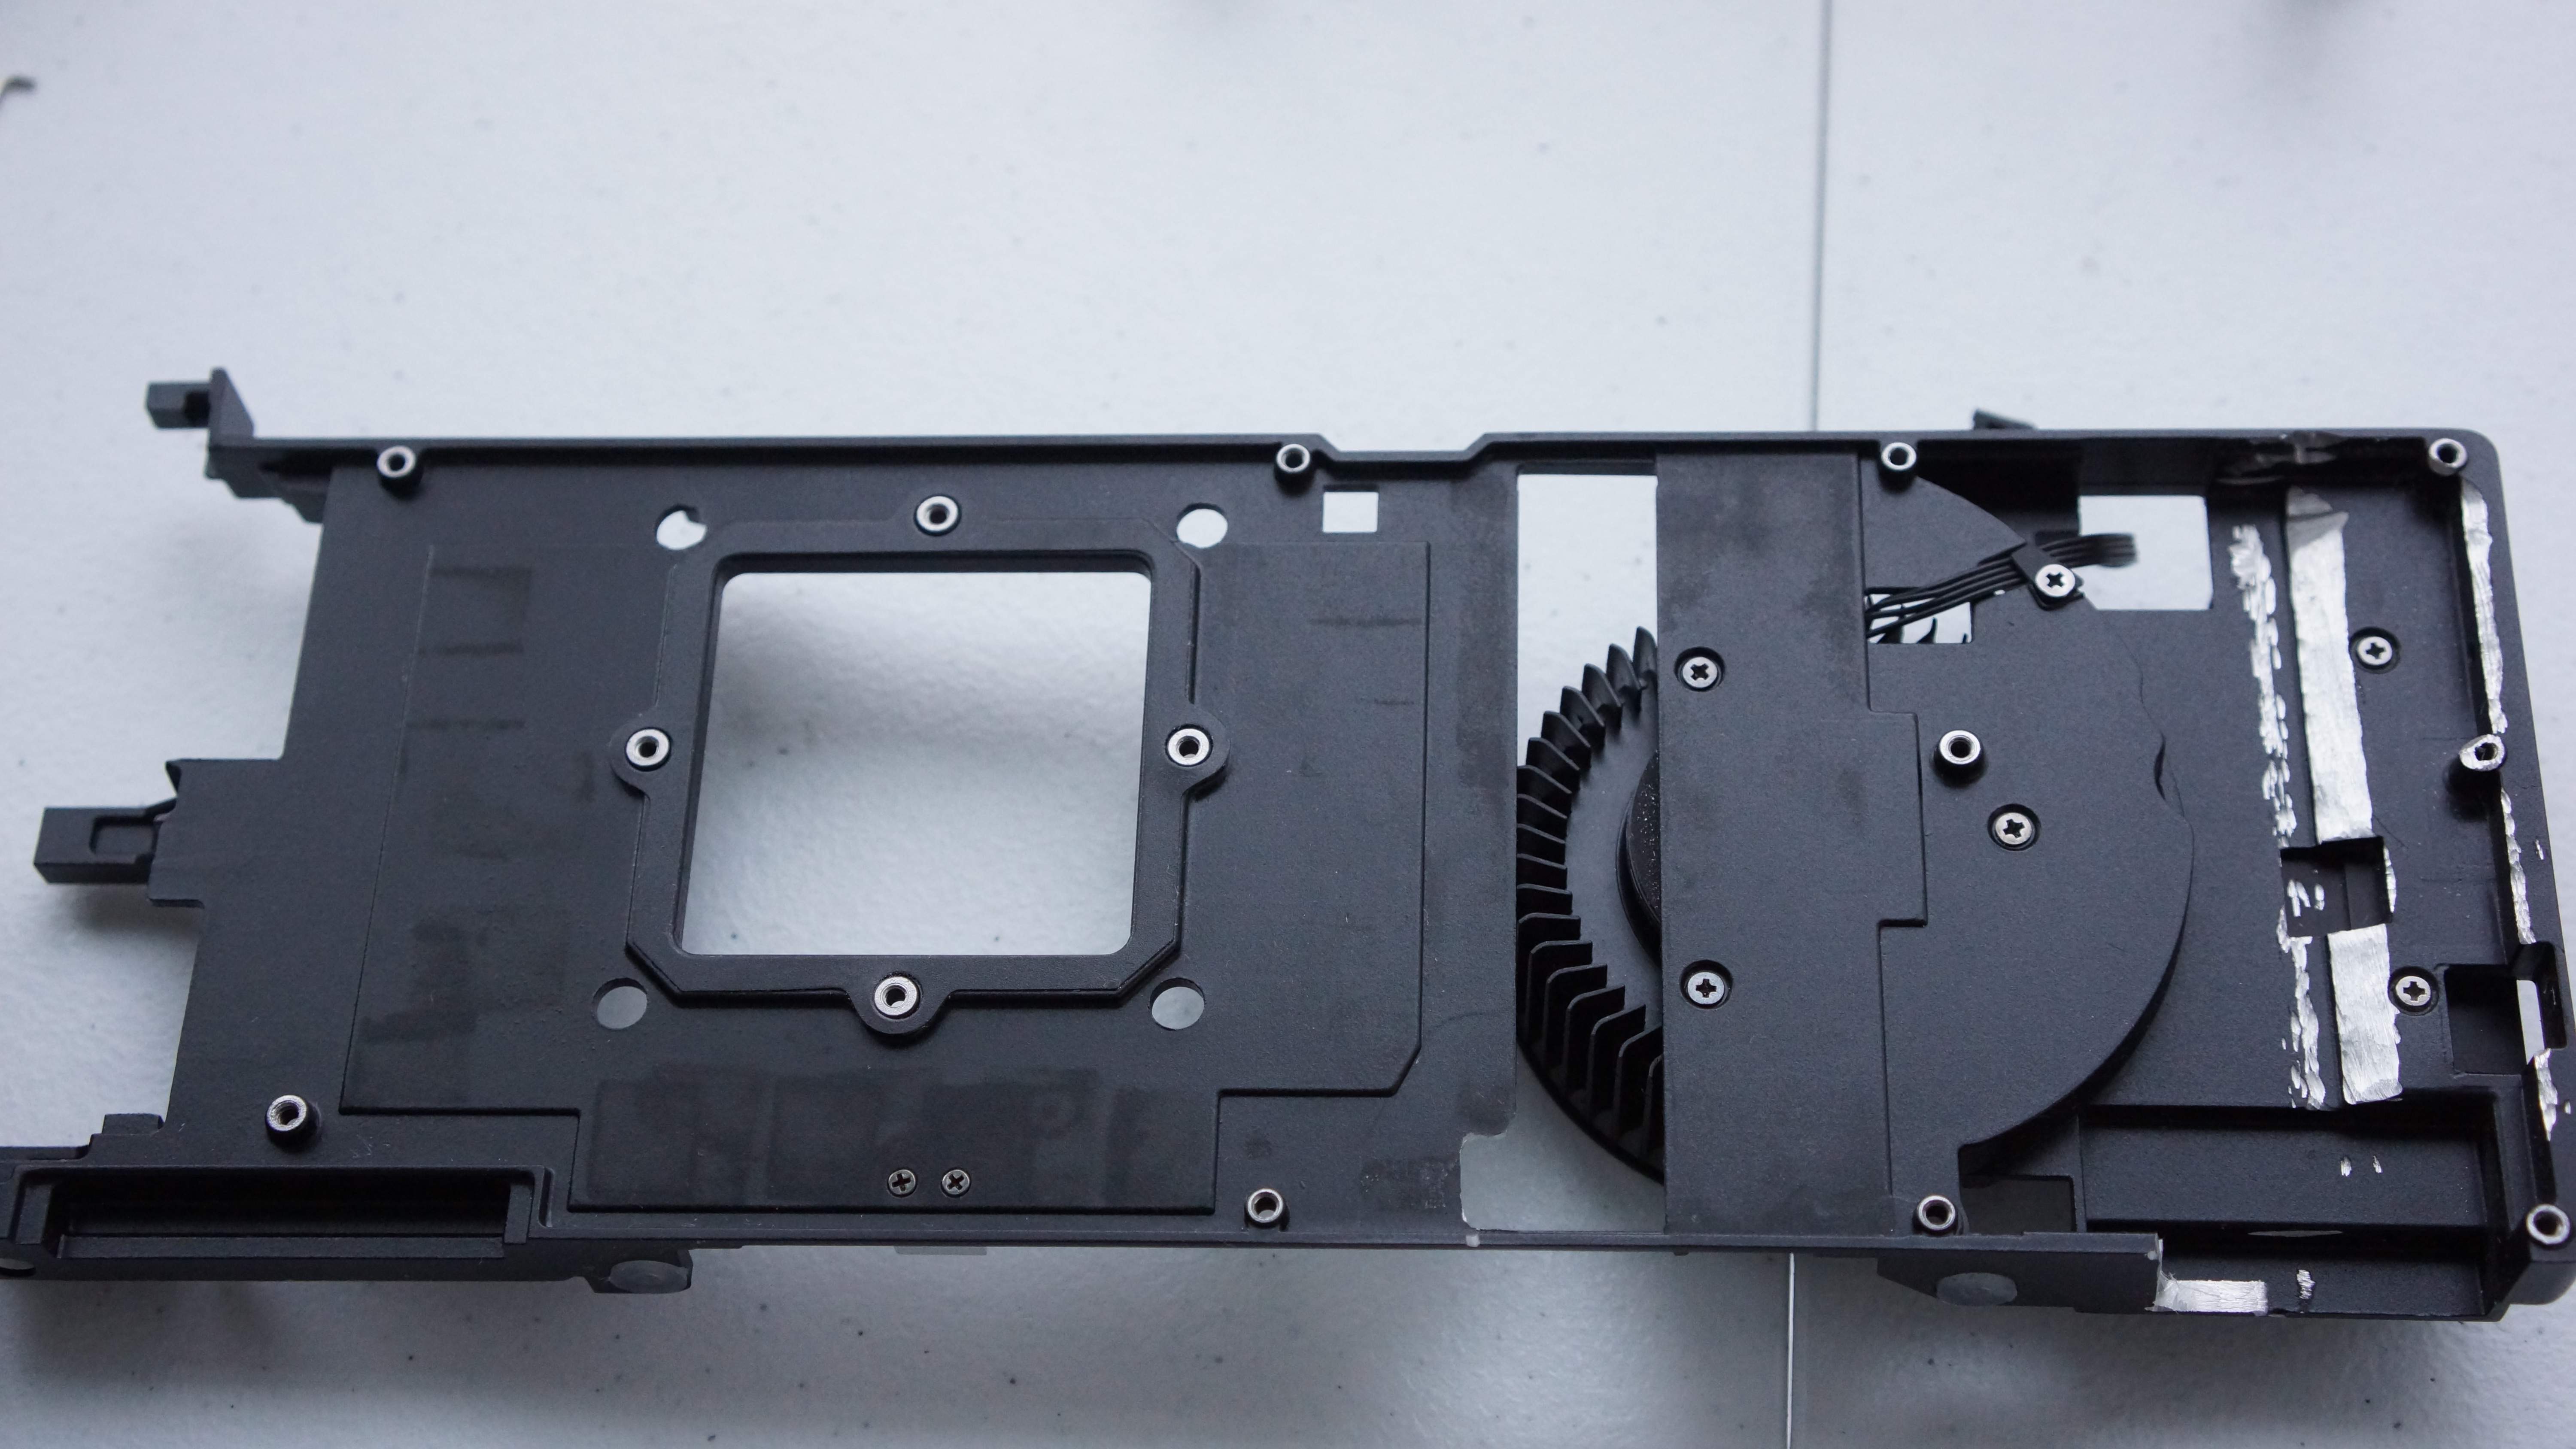
Step 4: Modifications to the EVGA Kit
The evga kit consists of 3 major parts: the AIO water cooler, a pcb plate, and a top cover. The AIO cooler fits onto the GPU perfectly as both the Titan X and the 1080 use the GP102 chip, the only issue is mounting the PCB plate with the fan onto the Titan X PCB. The plate needs to accommodate for the following features of the Titan X:
- Extra Capacitors
- S6-pin power connector
- Additional Phase Chip
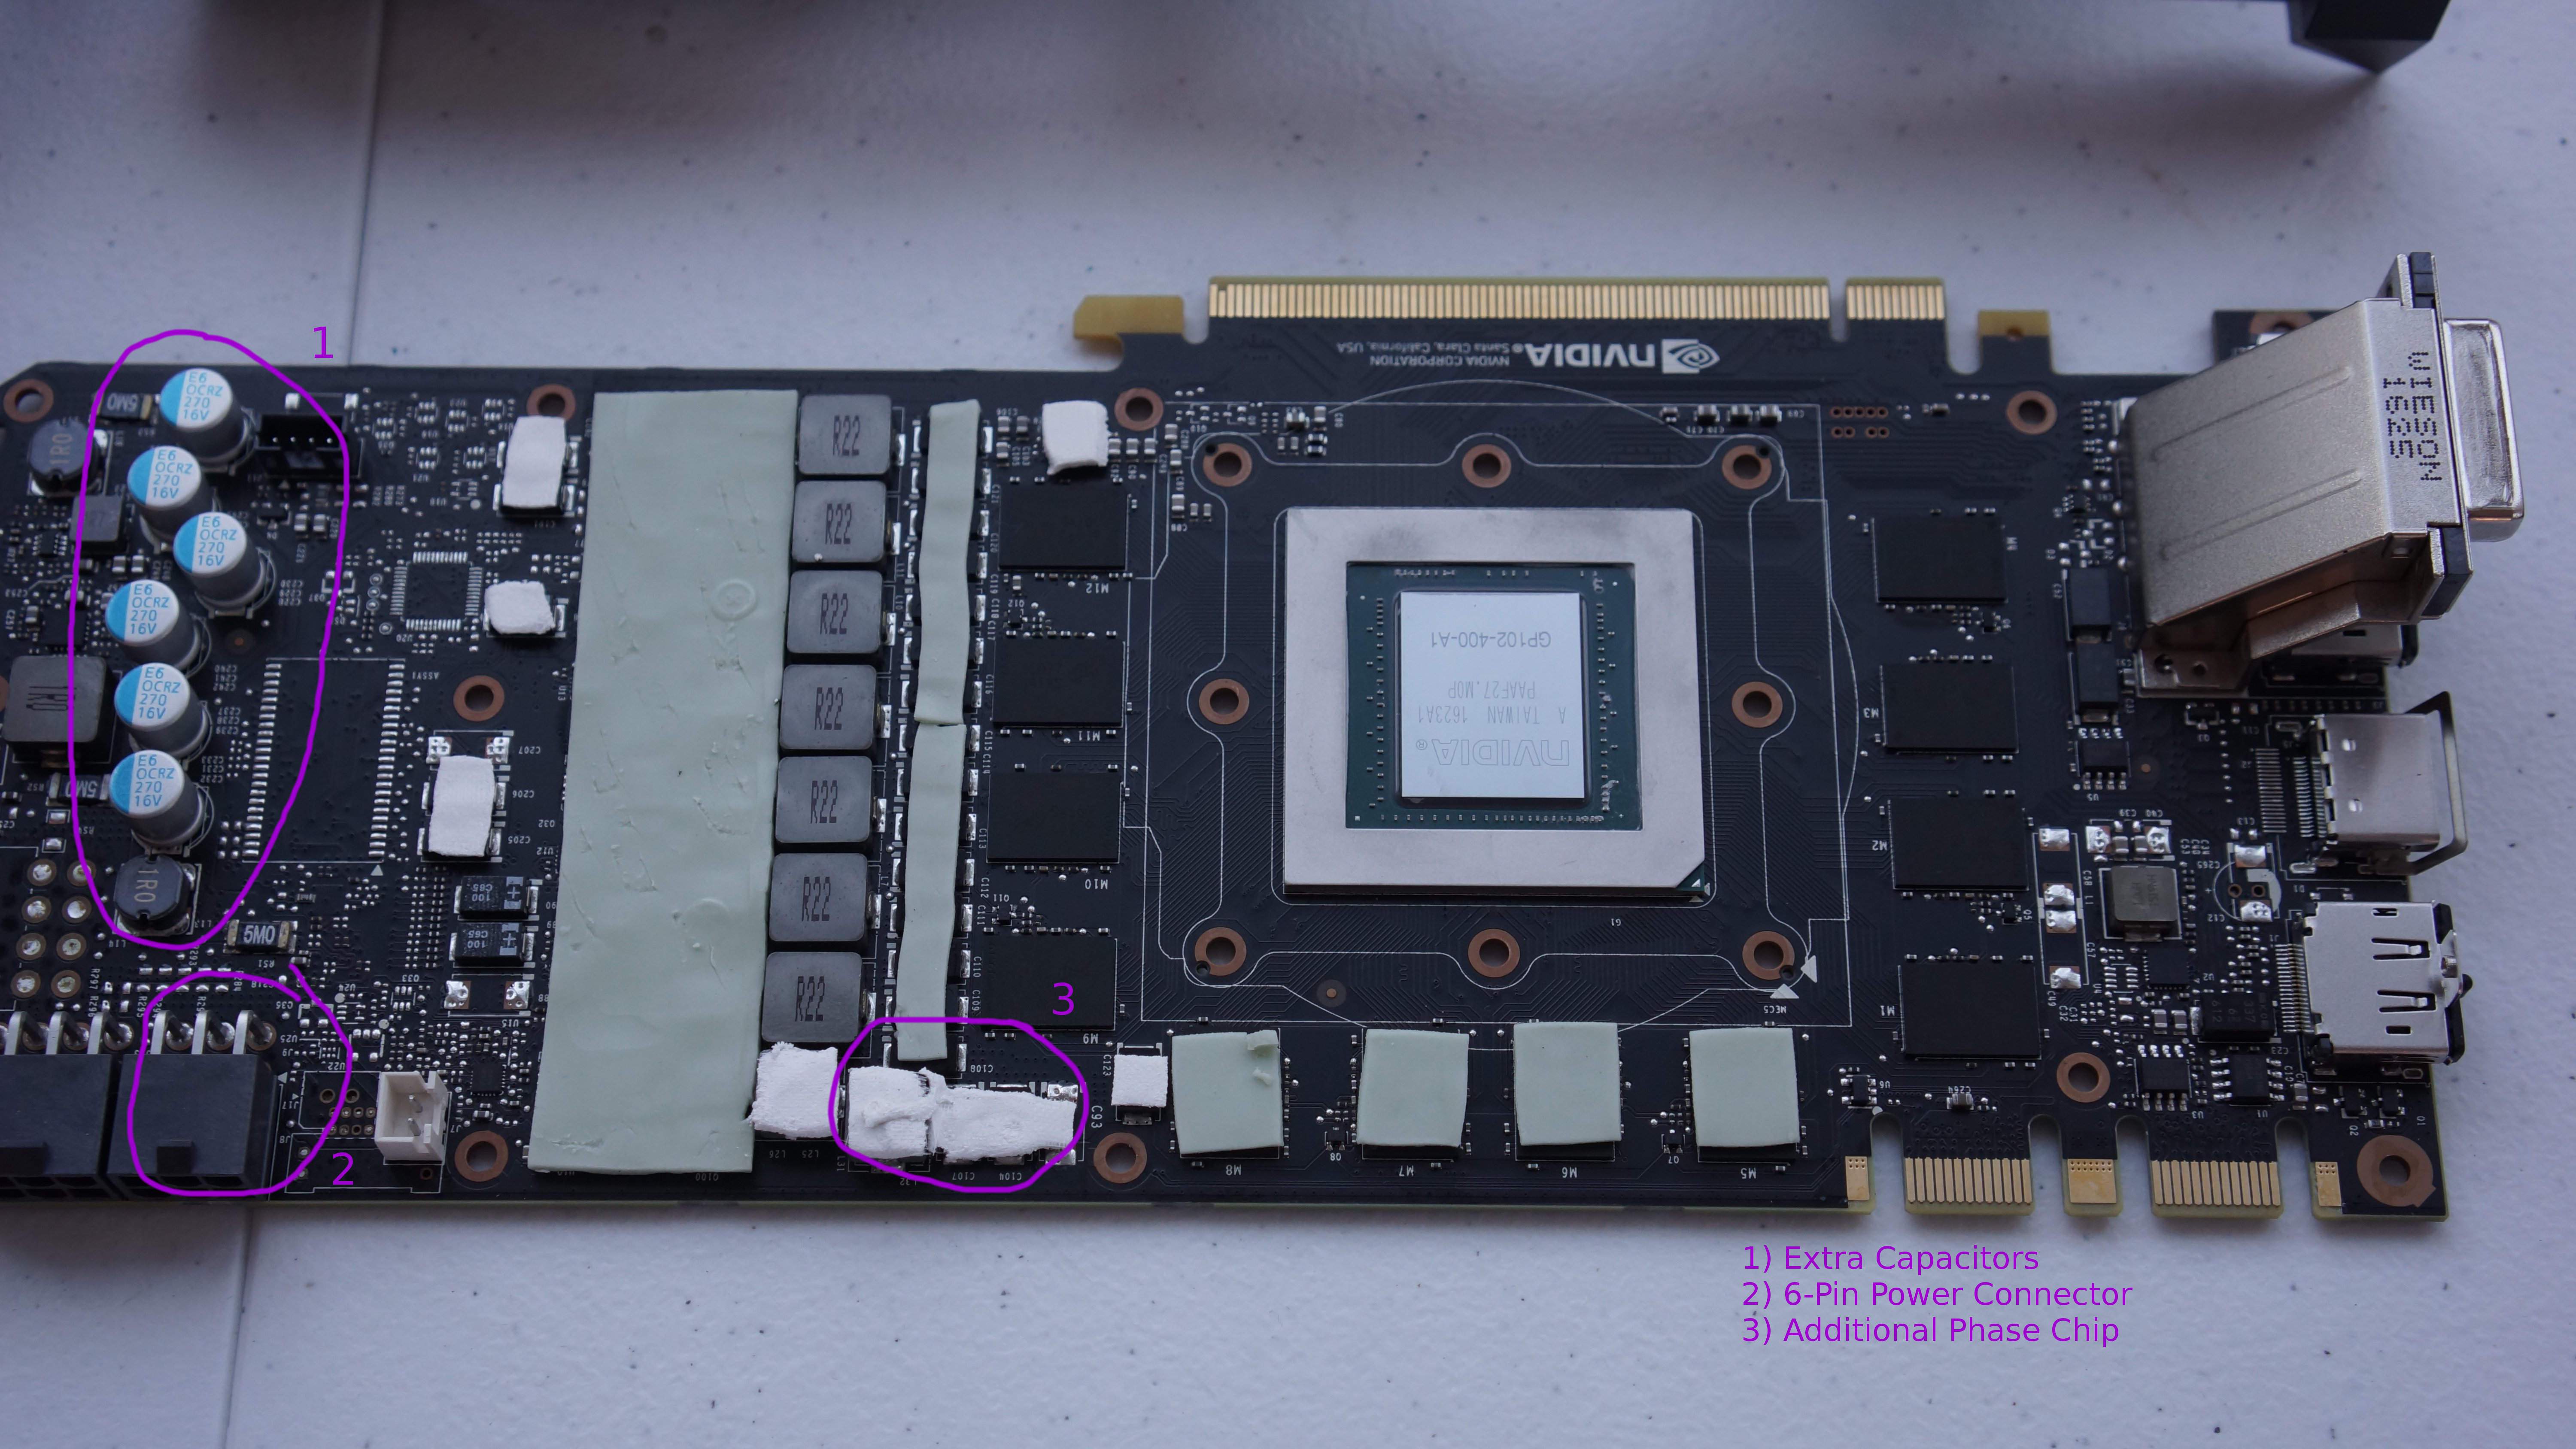
Additional Titan X Components
Step 5: Make Room for an Extra 6-Pin
I started with this as it seemed the simplest, I used a cutting tool and eyeballed the additional cuts needed for the plate. The removed section is highlighted below:
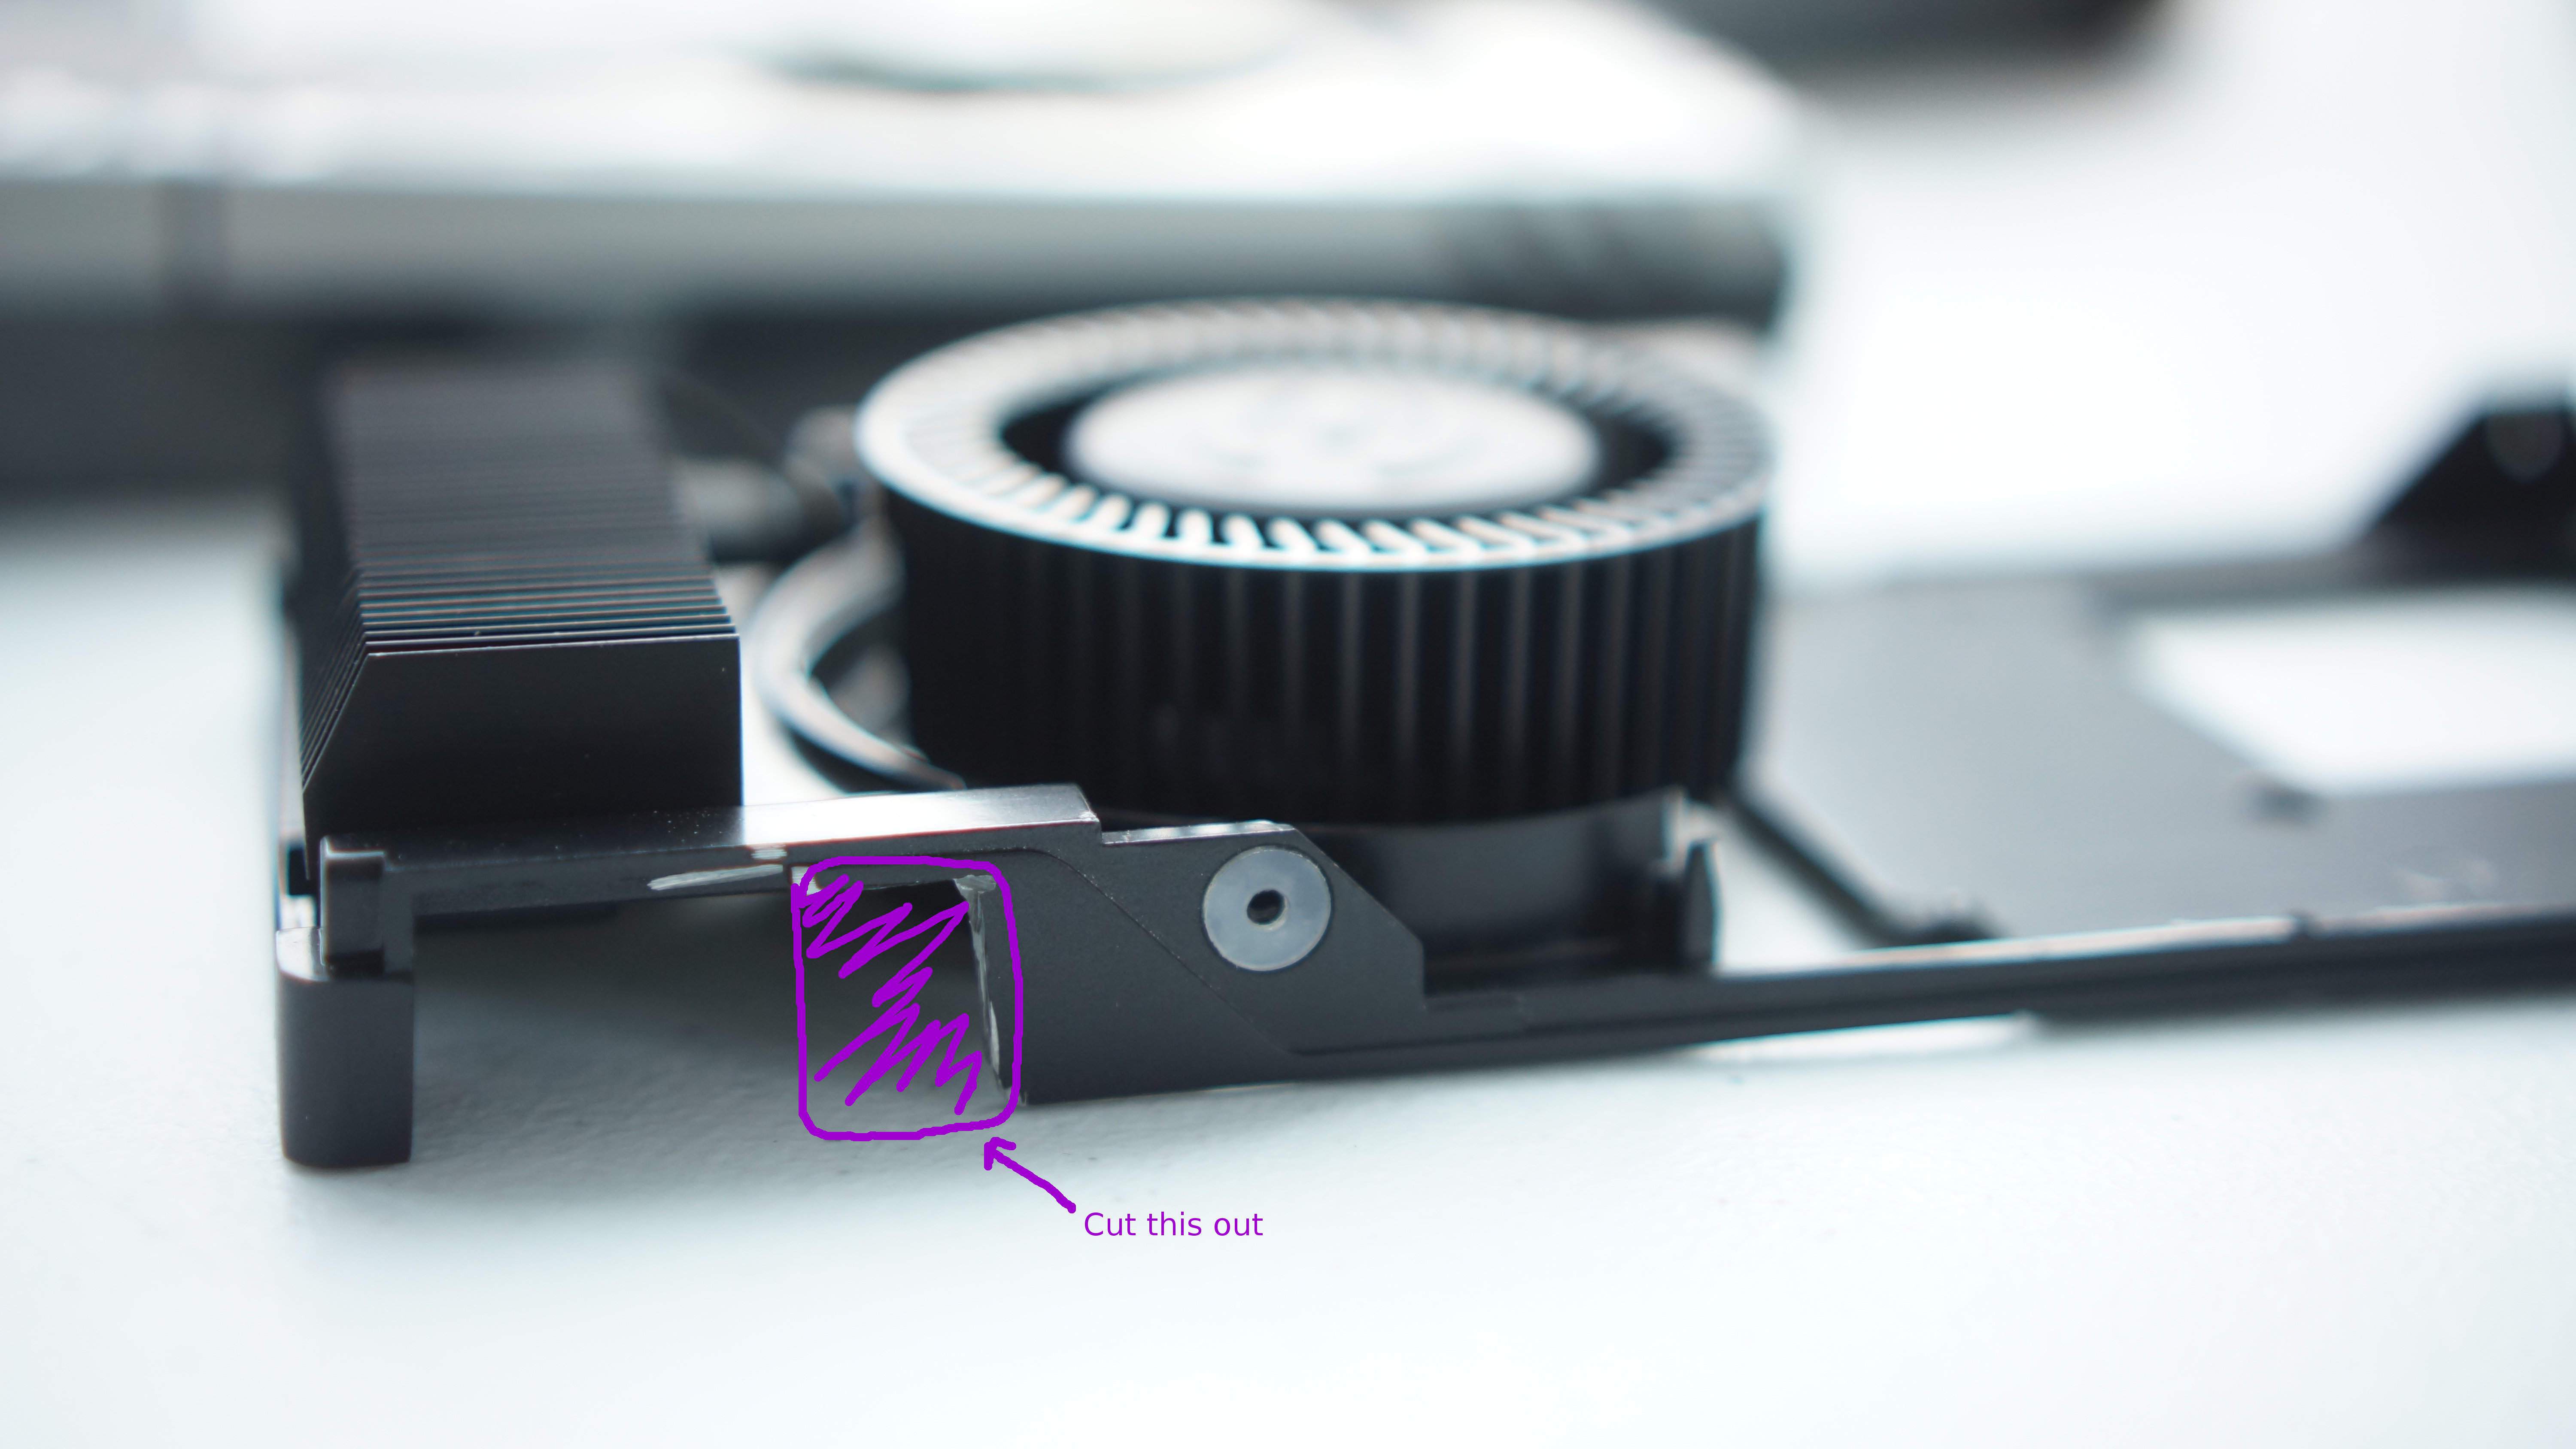
Area Removed for 6-Pin
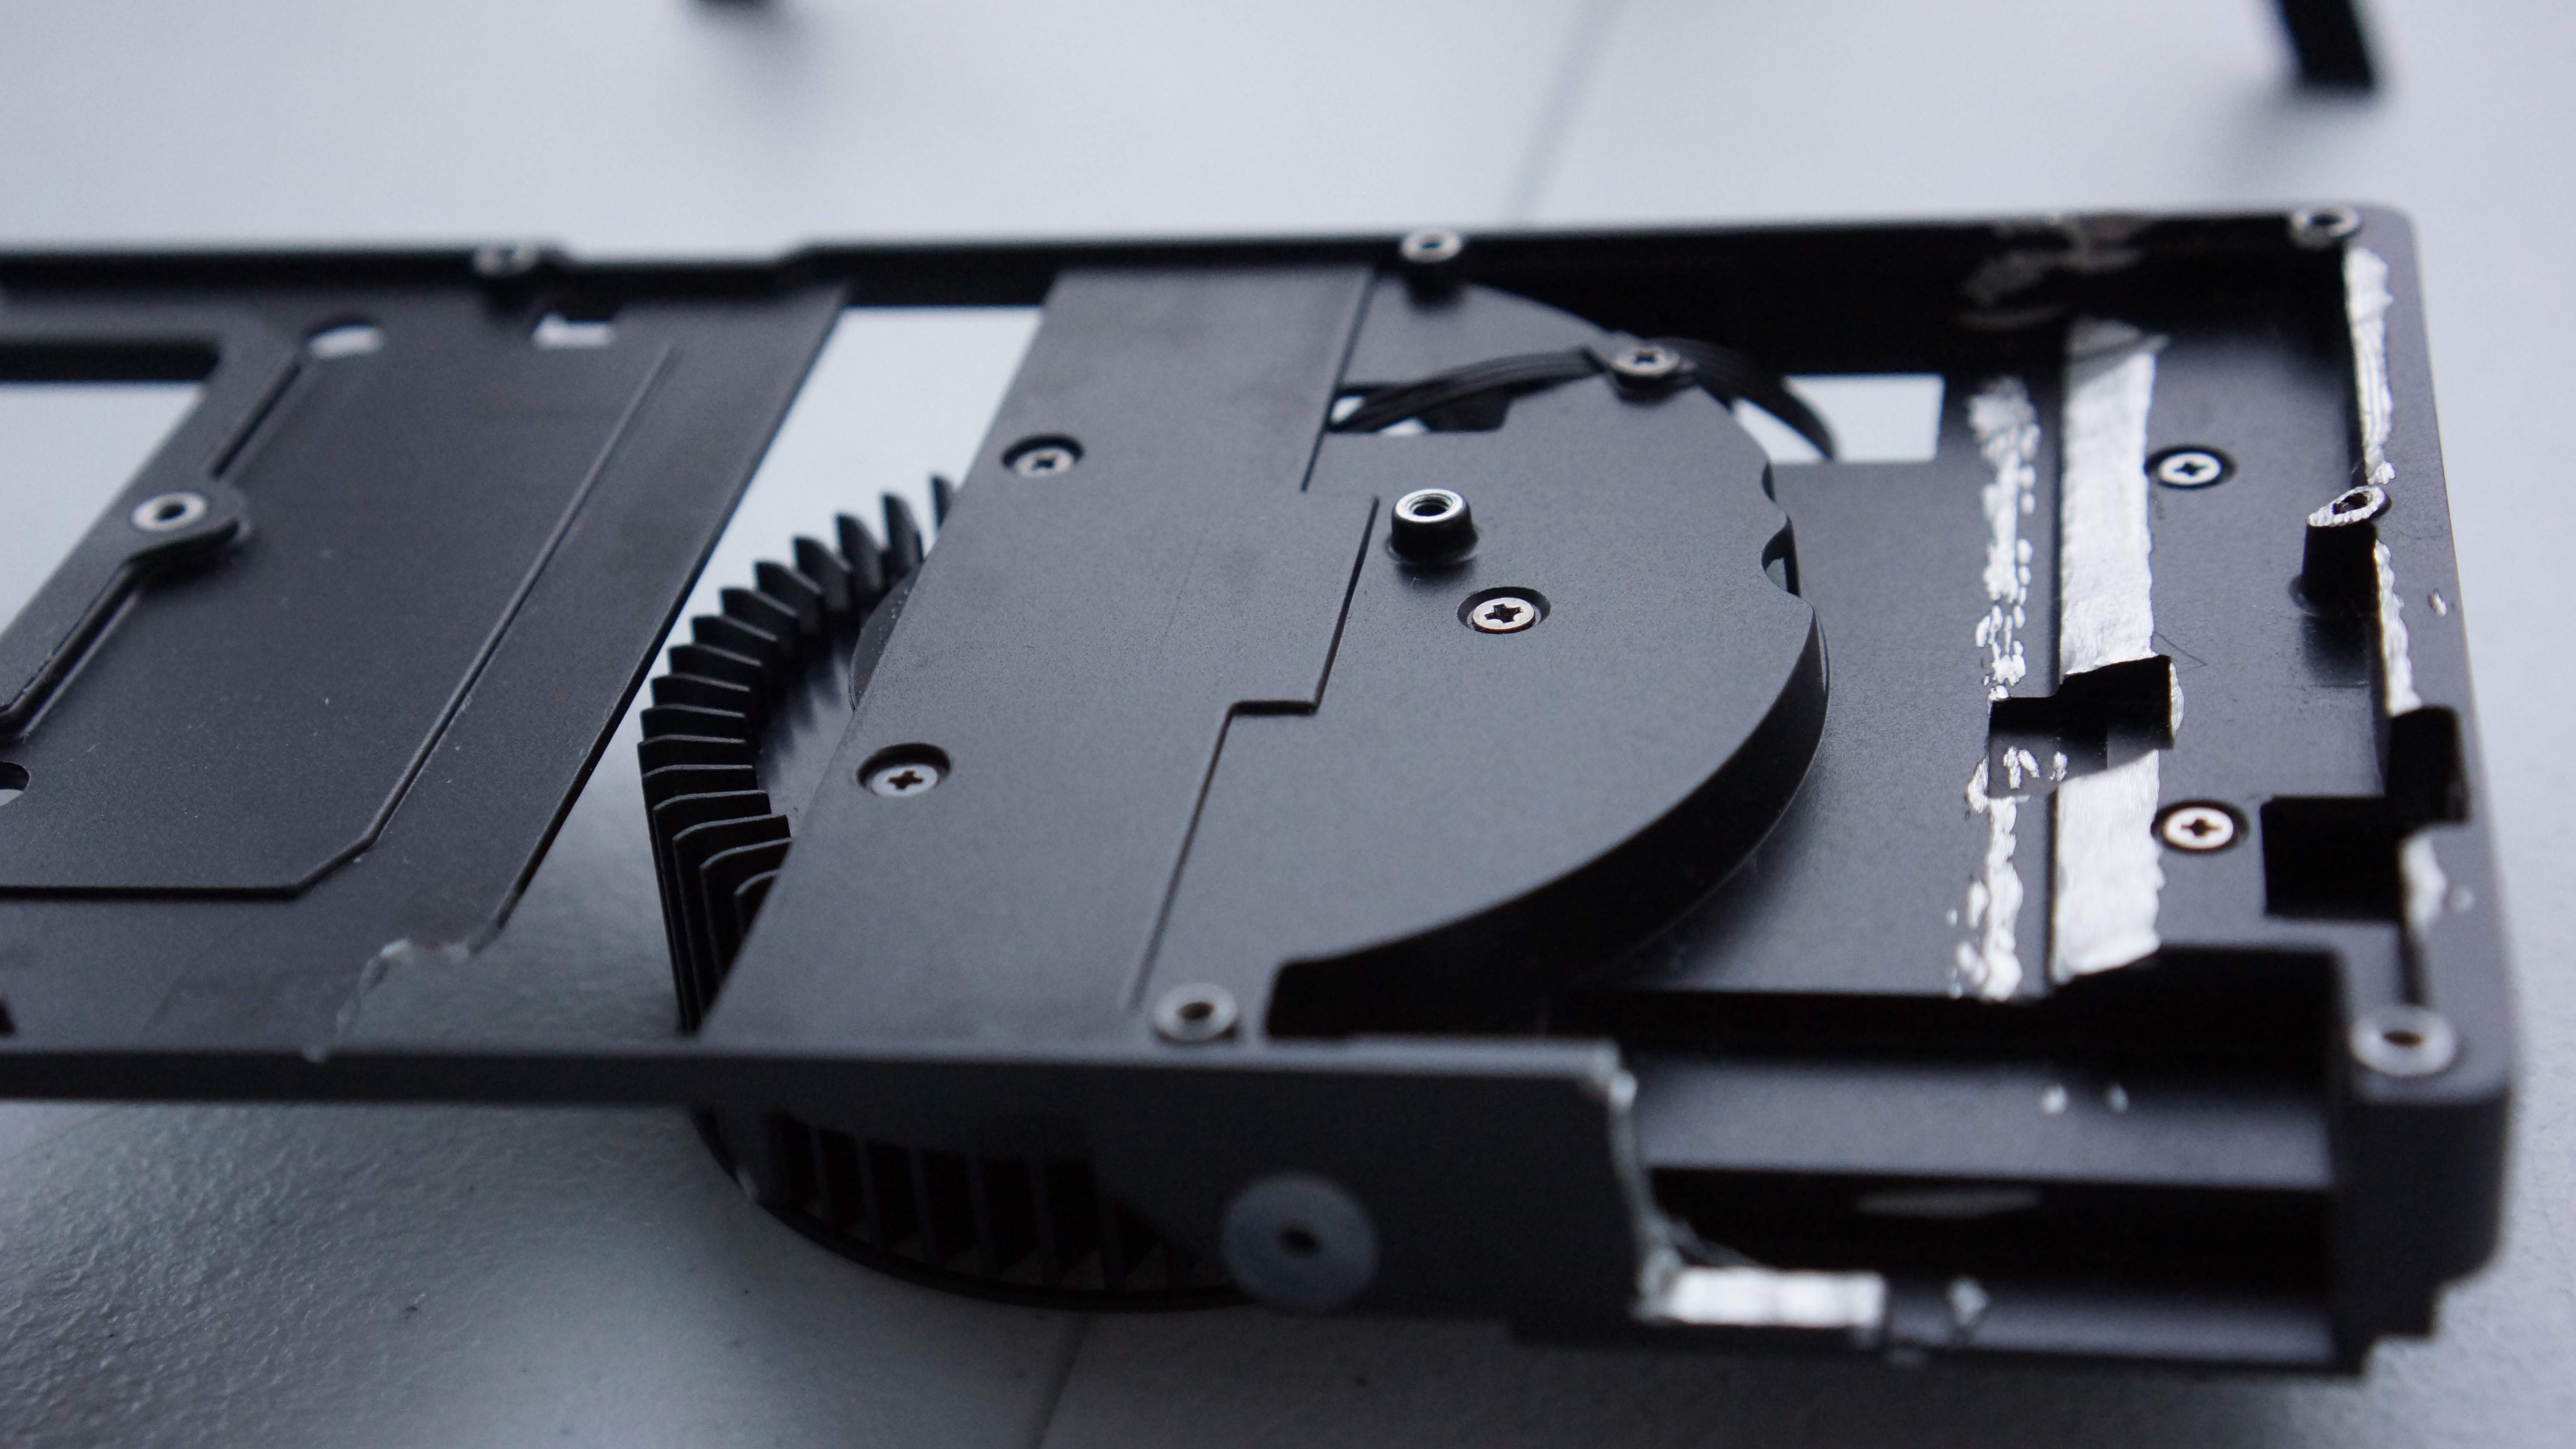
Step 6: Accomodating the Extra Phase Chip
Cut out a section for the extra phase chip. This part is tricky, I started by using a cutting tool to cut out a square a bit smaller than the area I thought I needed (all eyeballed). After which I brought the plate close to the PCB to see how much more metal I would have to remove and used a grinding bit to cut away slowly at the plate.
Here are my results:
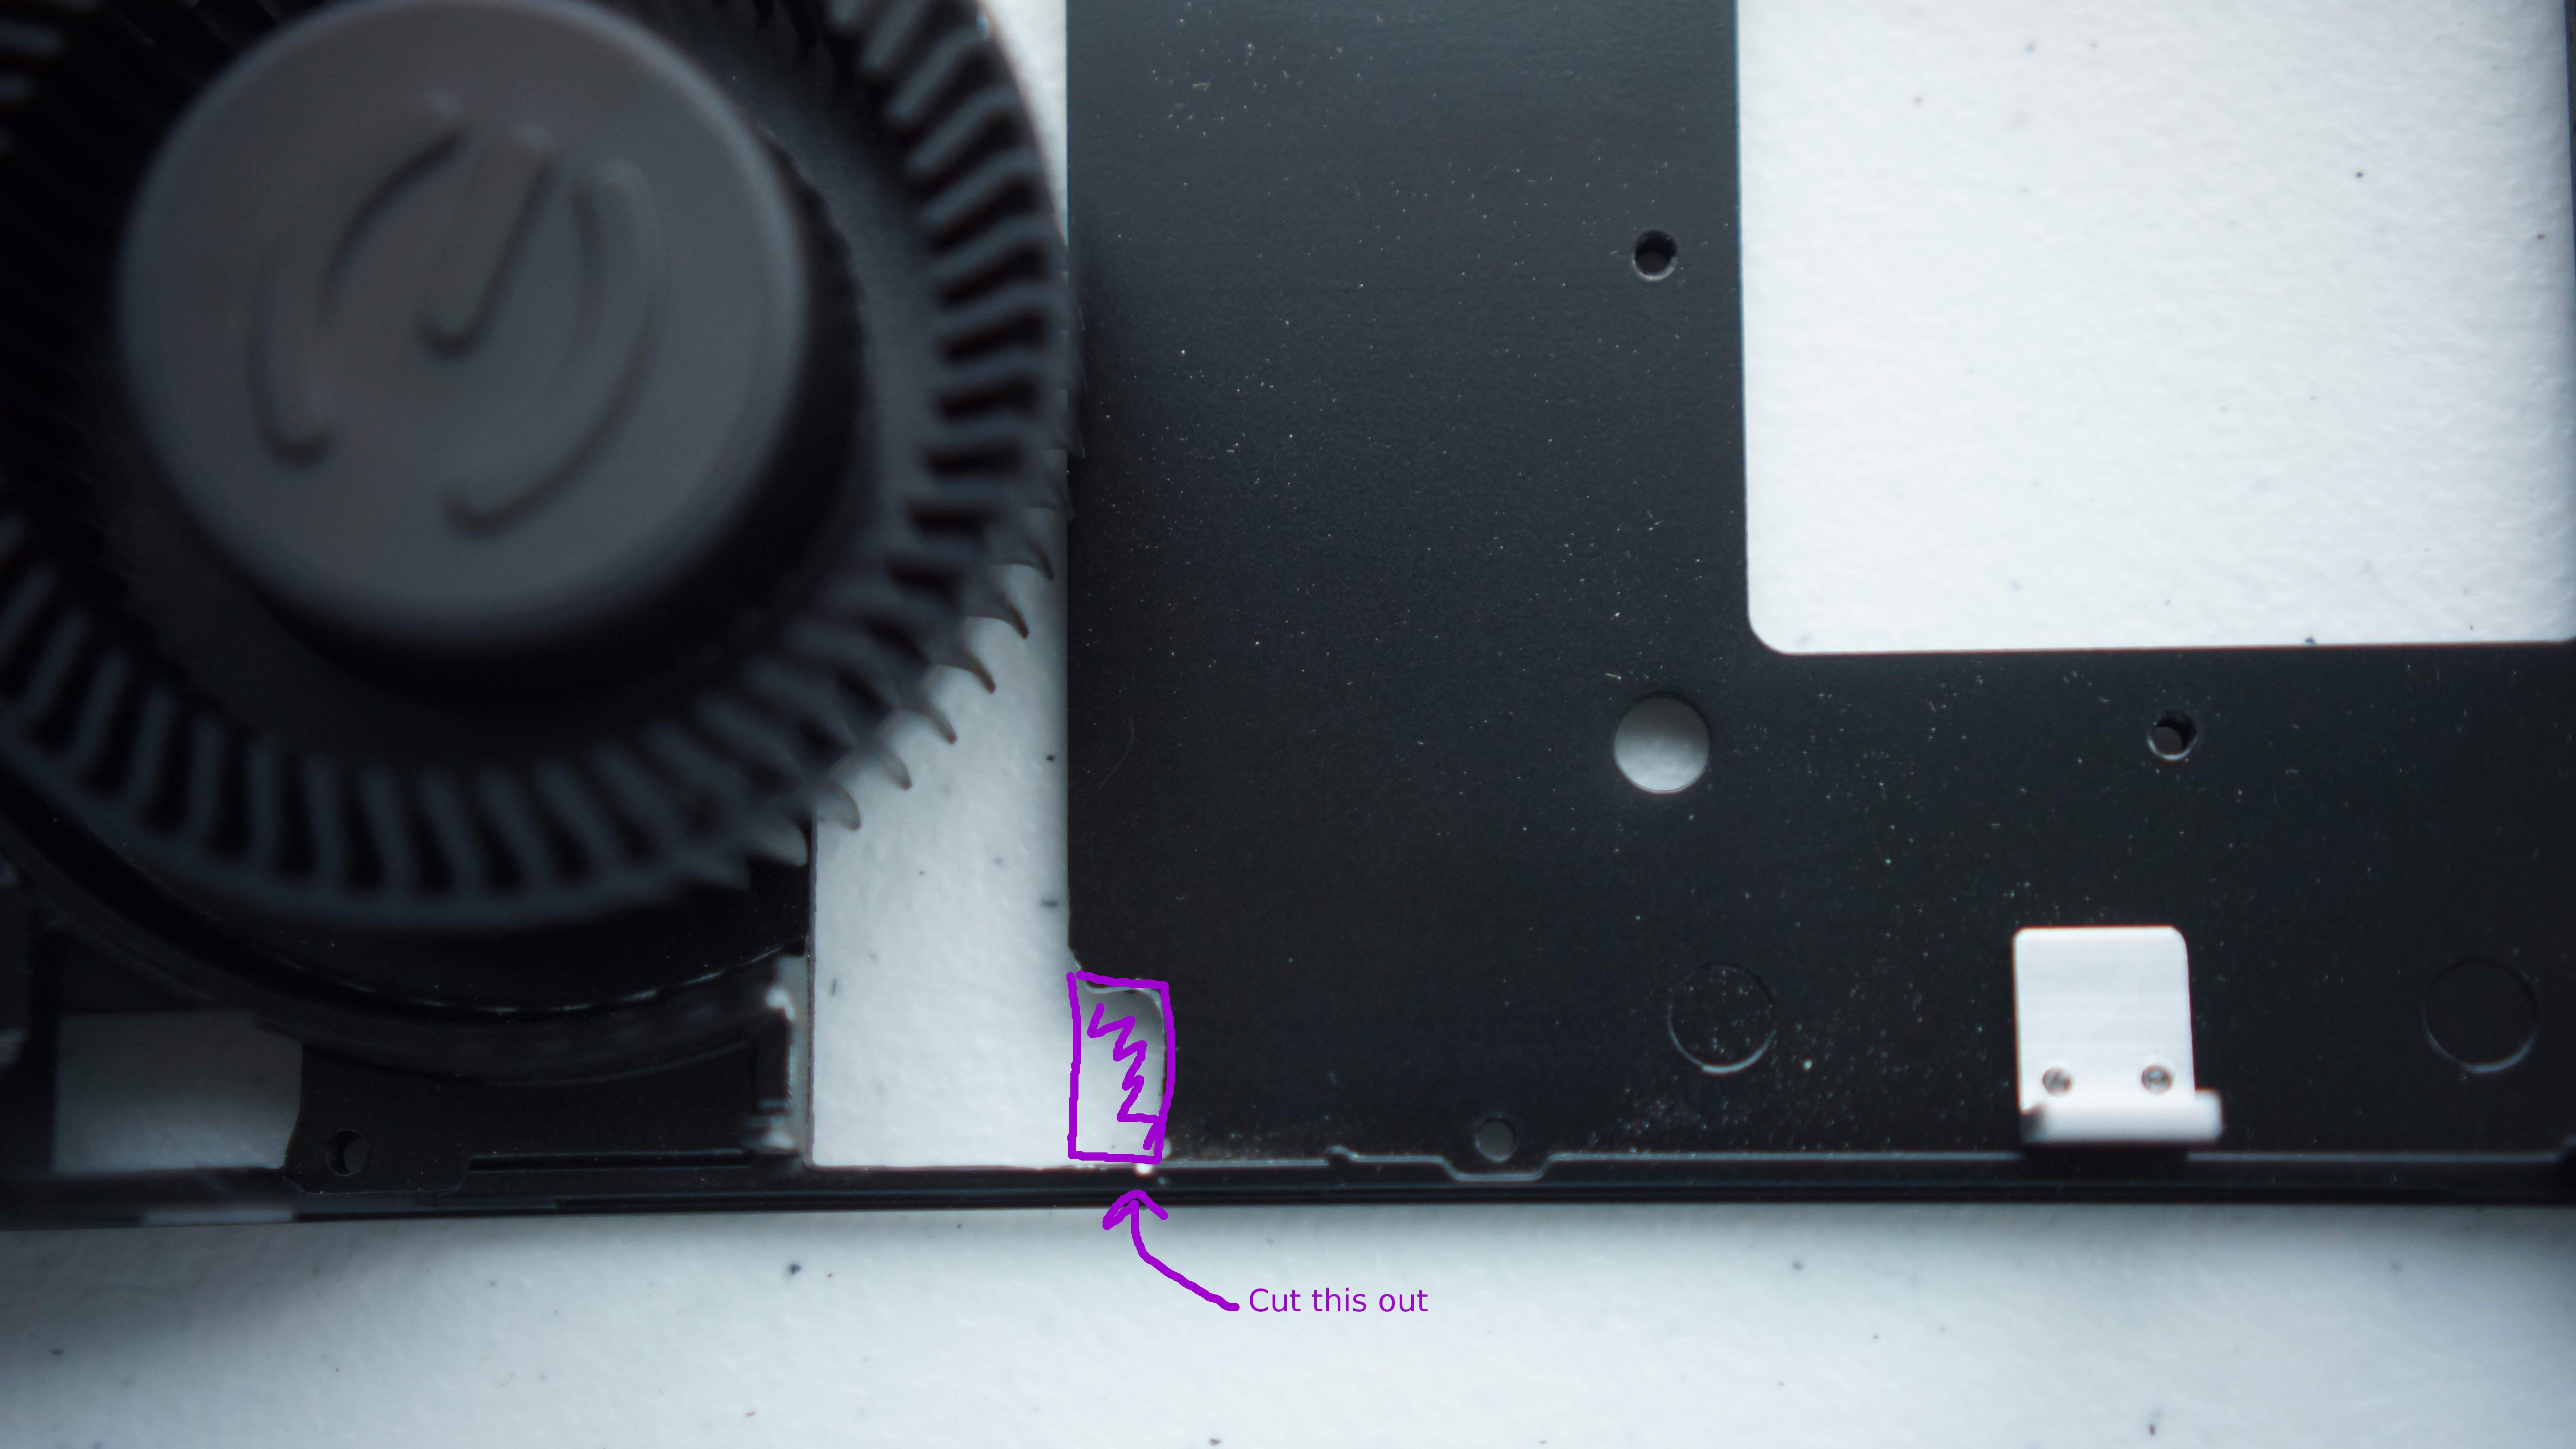
Area Removed for Extra Chip
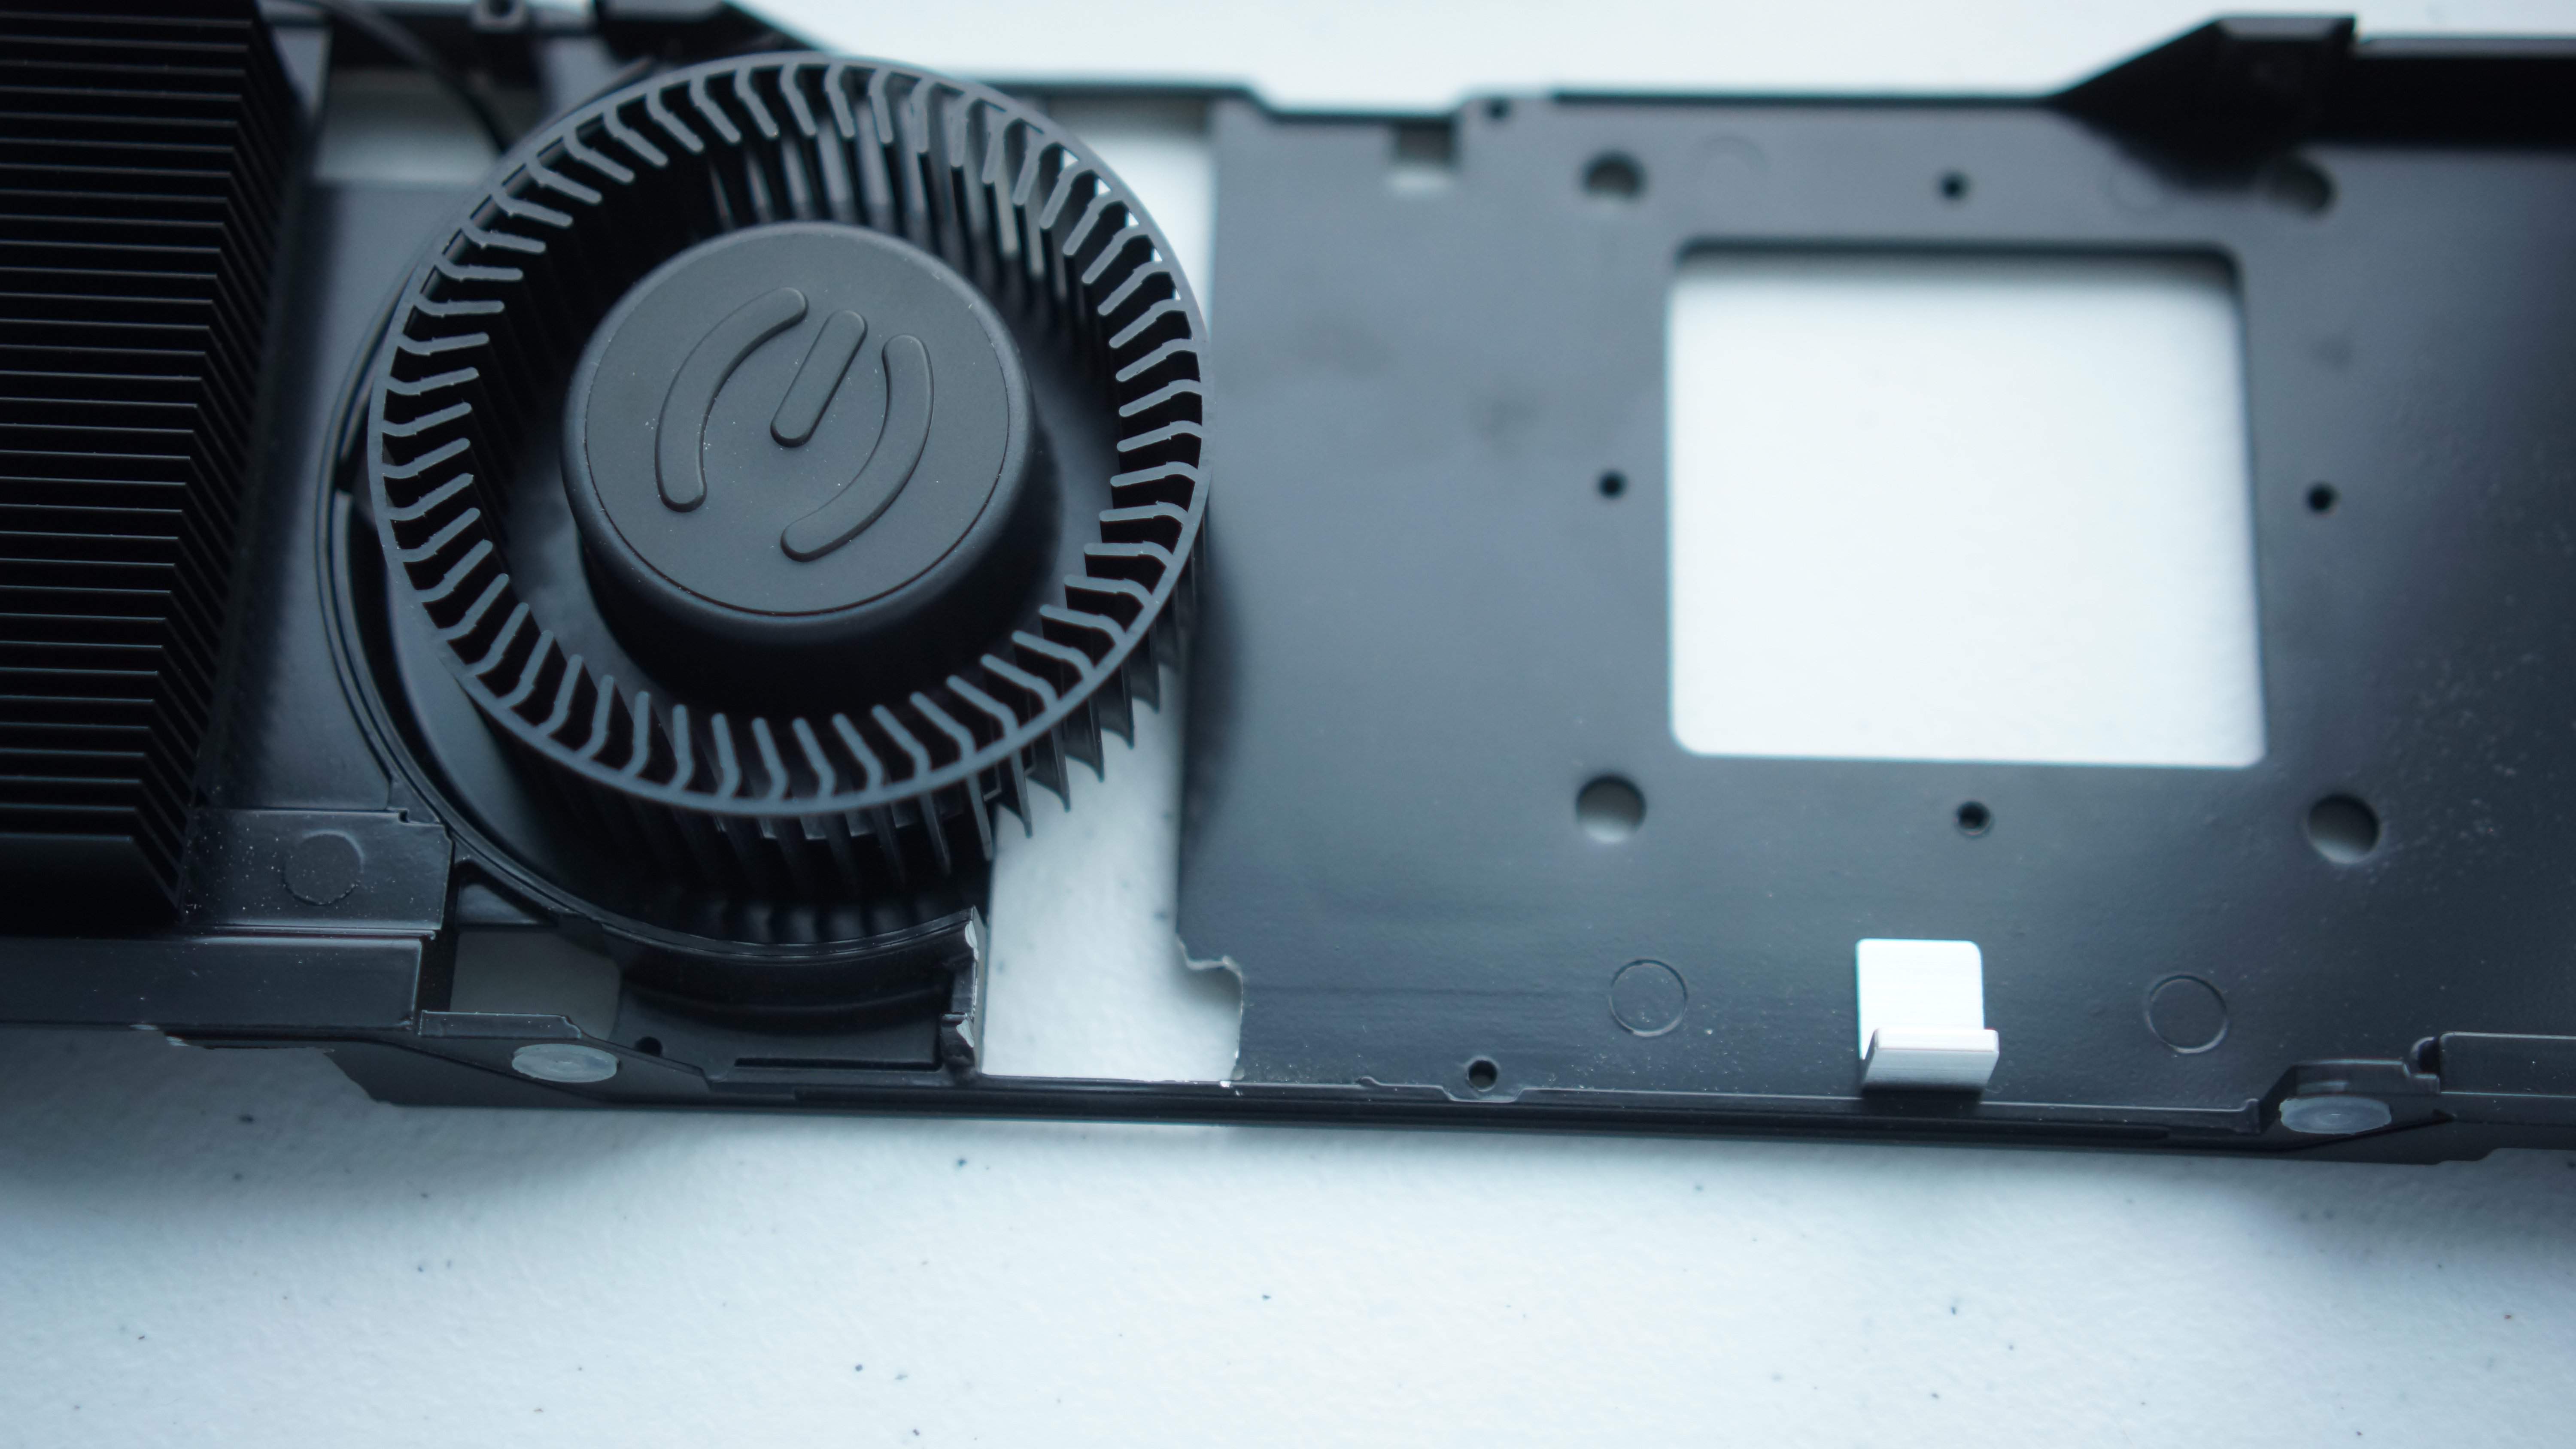
Wider View of the Cut for Scale
Step 7: Grinding a Space for the Capacitors
This is the aftermath of the panel after I grinded away the metal above the capacitors. I highly recommend using a dremel with the following bit. It’s included in most sets and makes it very easy to grind the surface away.
Note: Definitely test fit the plate to see if it’s flush with the PCB and keep repeating Step 5-7 until it’s flush.
Slight Collateral Dremel Damage on the Sides
Plenty of Space for the Capacitors
Step 8: Reassembly
The steps here on are the exact same as the tutorial from EVGA. The top plate that we grinded and the water cooler should easily attach to the pcb. Again follow this link for details on reassembly.
Step 9: Final Product!
See any pictures online of any hybrid card. The only thing differentiating this is that the PCB is low key a Titan ![]()
Temps/Results
This card on water is absoultely insane. Detailed benchmark on the way…